

 Oil service interval reset Audi A4 B8
Thermostat change in BMW 320d (E46):
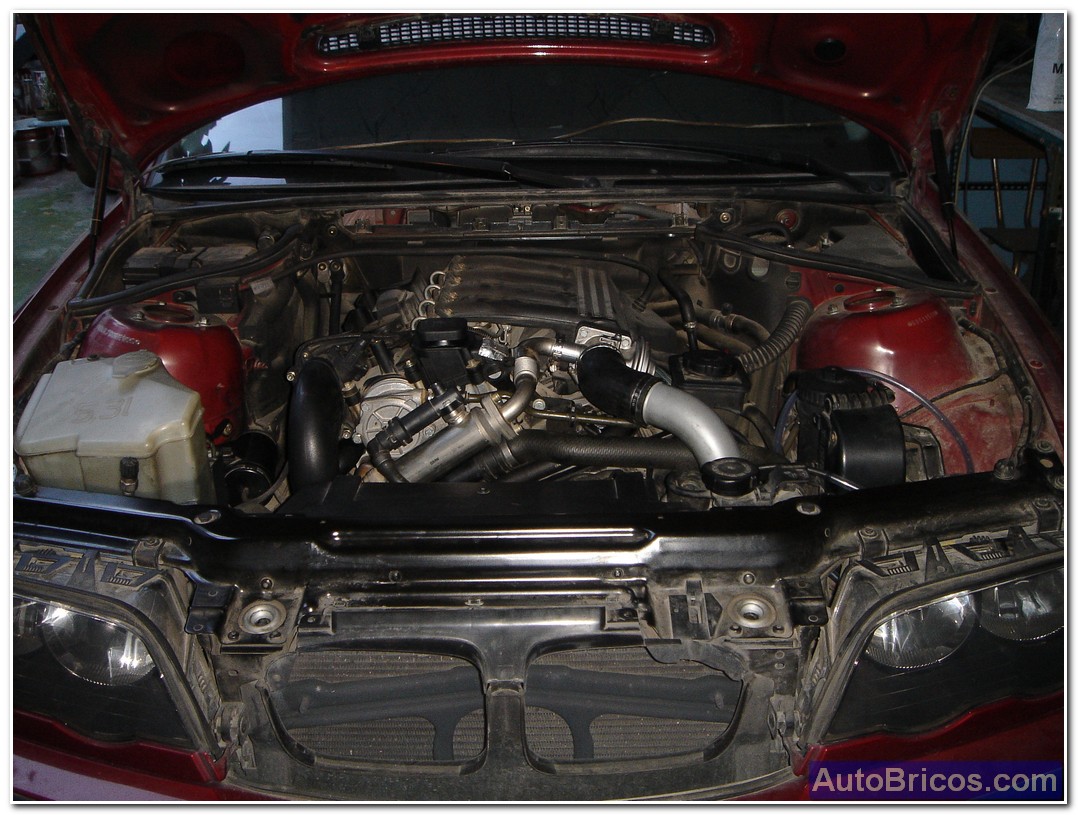
A typical breakdown of the BMW 320d (E46) first generation (engine type M47) is the rupture of the body of the thermostat, which is plastic, and that causes a coolant drain fast enough and poses a major threat to the integrity engine. In my car has broken 2 times, and rupture has been totally identical on both occasions, there is a plastic wall supports thermostat leakproof seal cracking and then the board relents and moves inward, causing the Tightness loss and subsequent coolant outlet to the outside. In the 2 cases because I noticed steam coming out of the engine compartment.
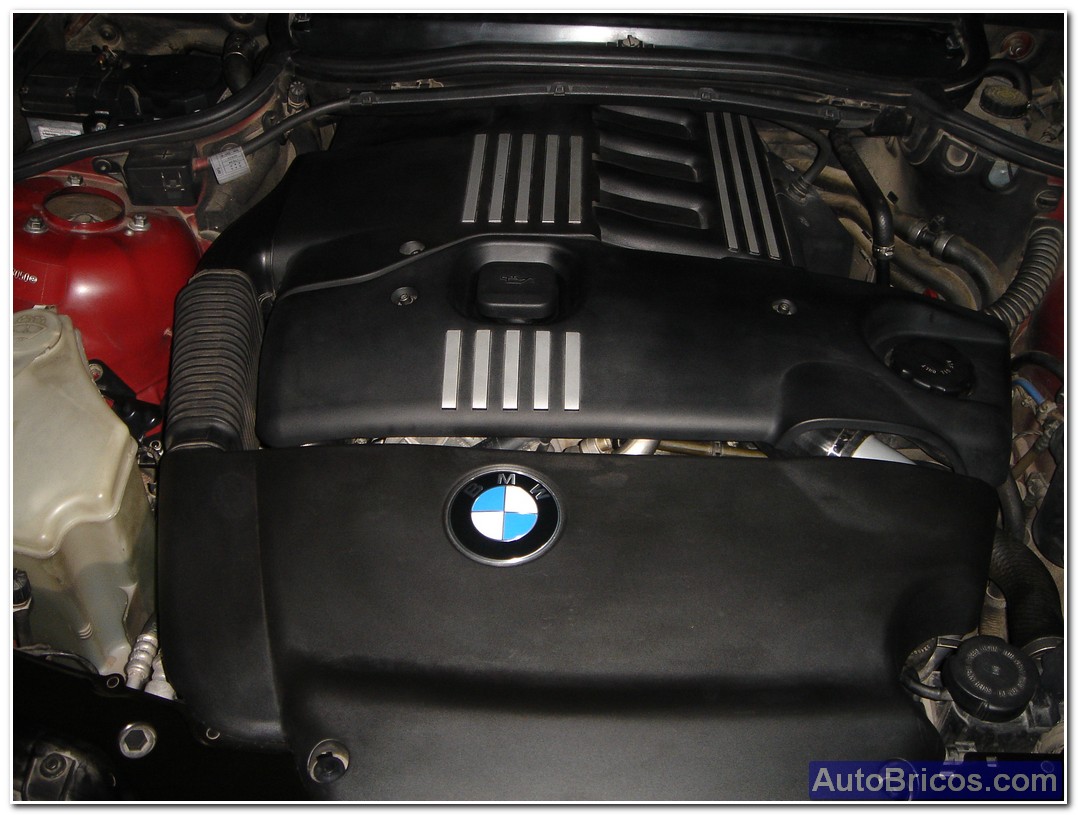
The first is to remove the plastic covers that cover the engine to be easily accessible to all parties that will be removed. By the time we get the first 2 plastic caps and plastic hose directs air to the engine air filter. We must remove plastic rivets to remove the caps. Kingpin pulling up can be easily removed.
 |
 |
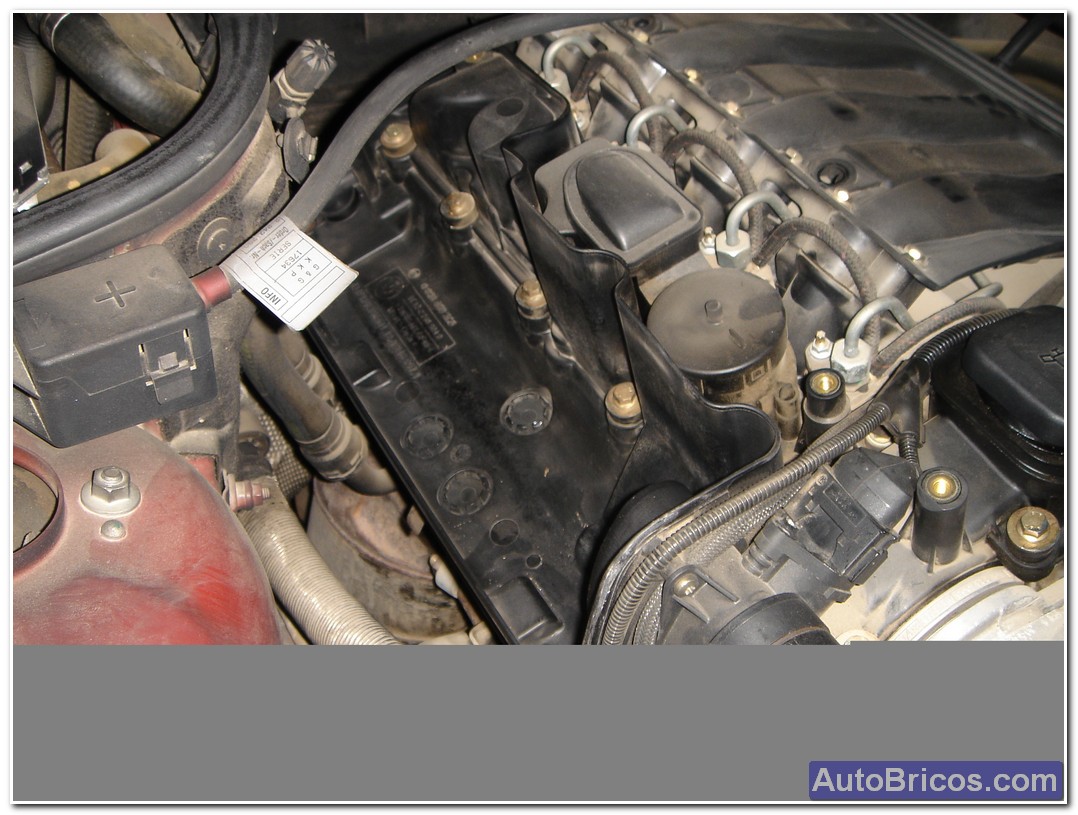
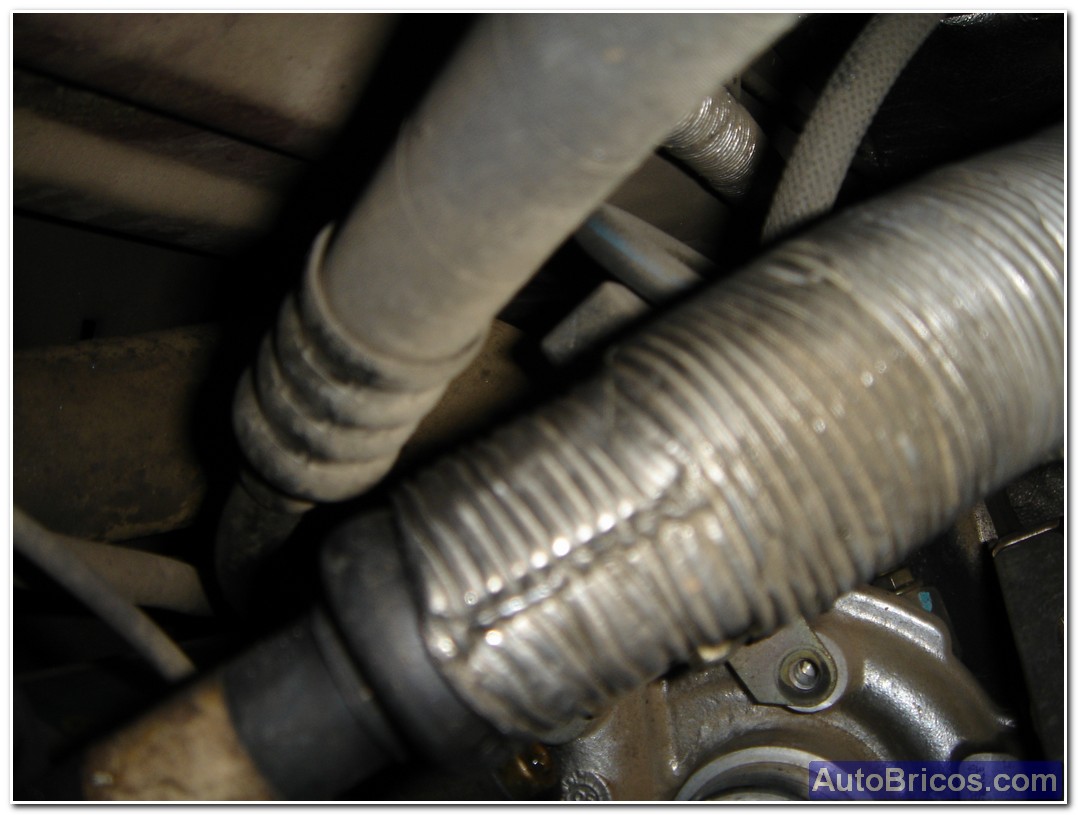
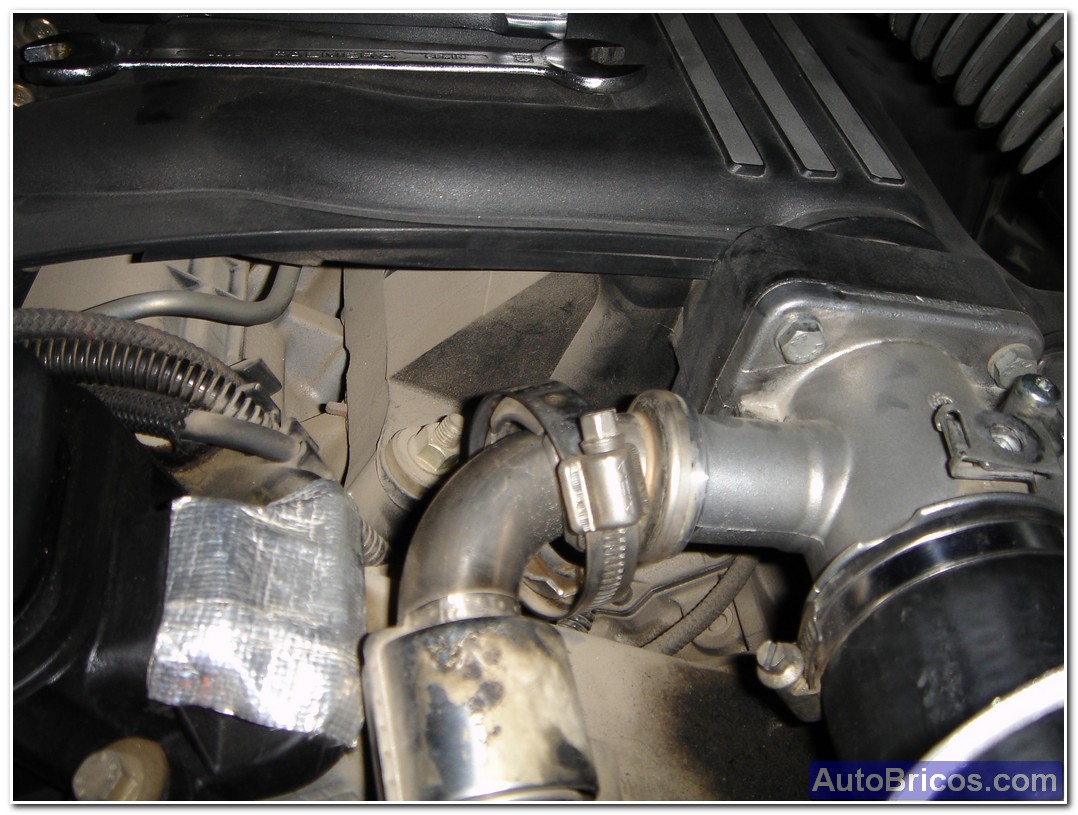
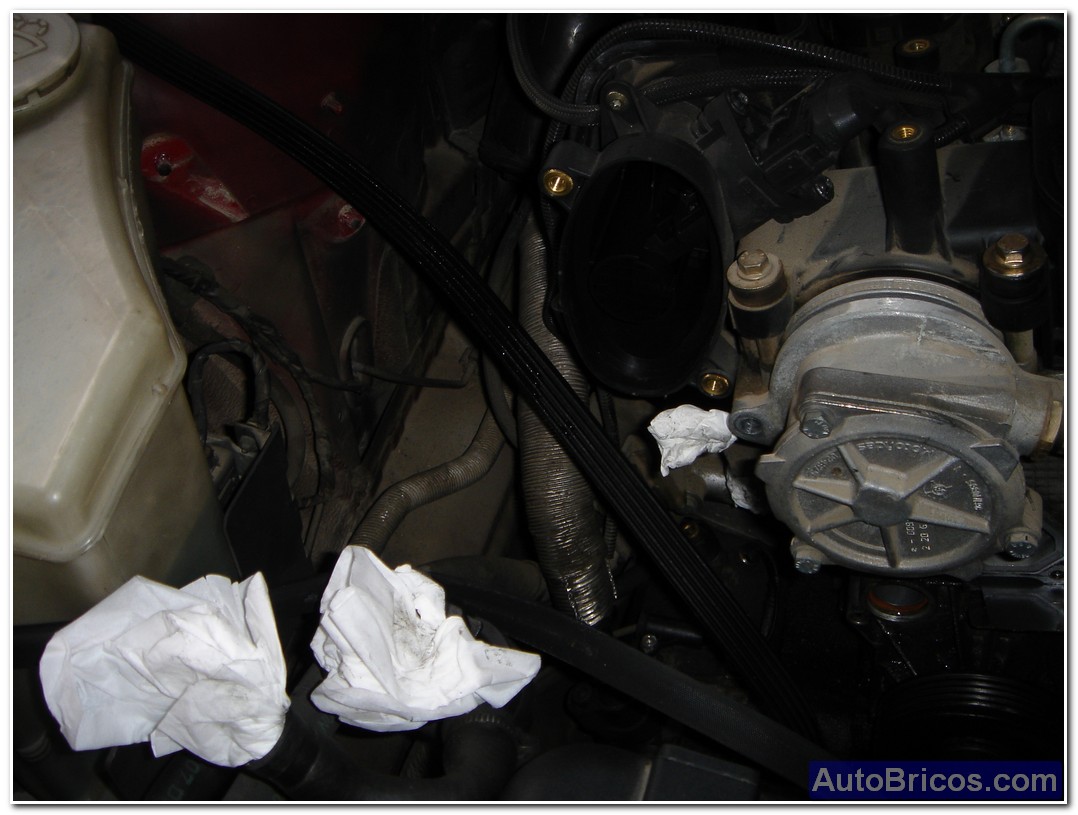
Once removed the plastic covers we are visible engine parts. We take to make a general look and see if all hoses are in good condition.
 |
 |
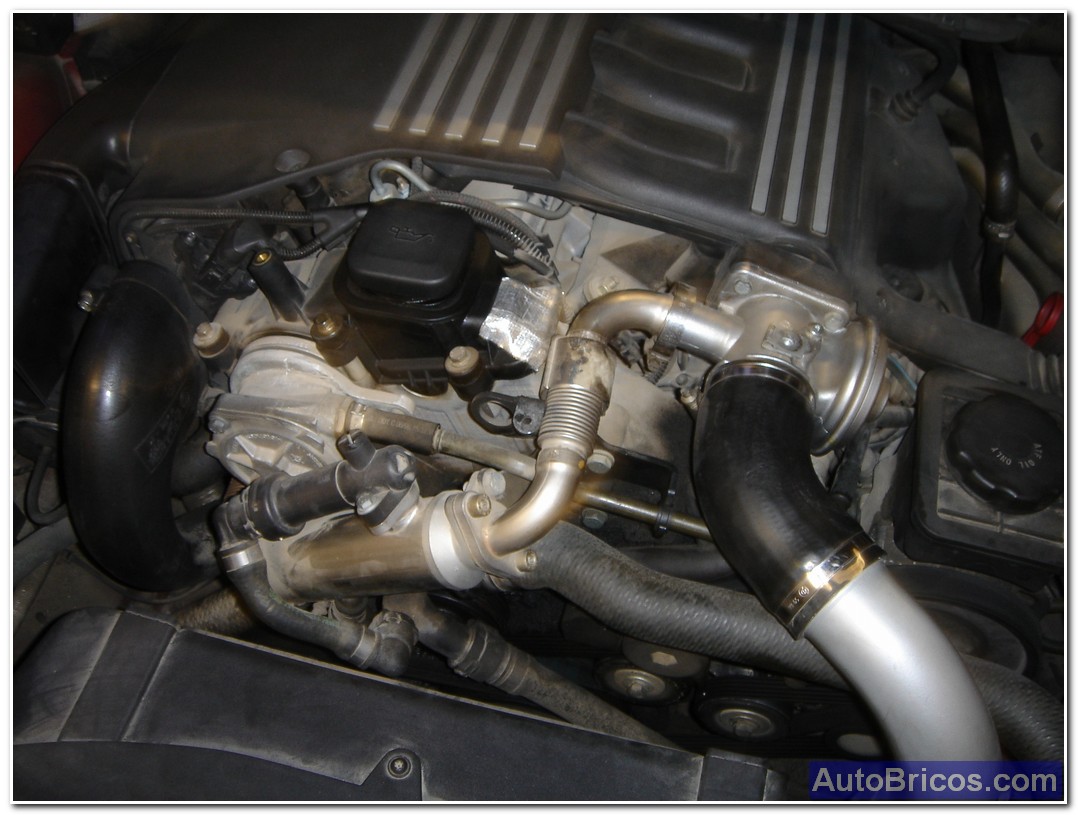
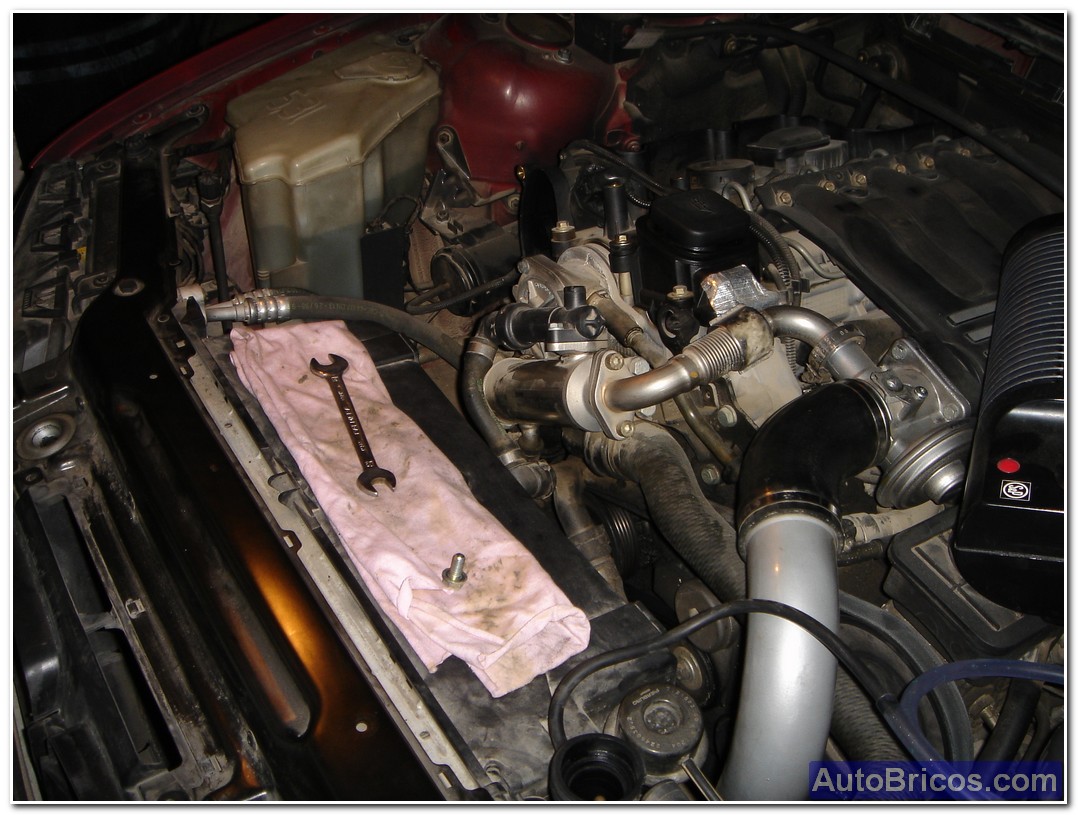
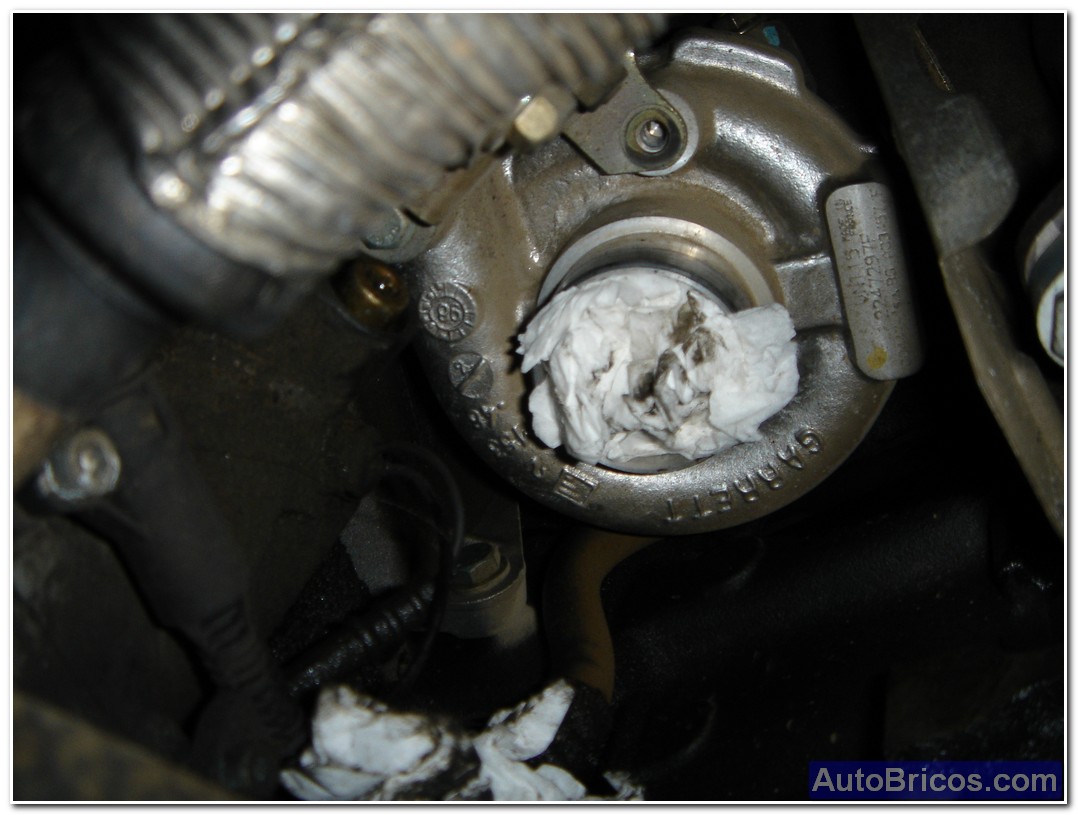
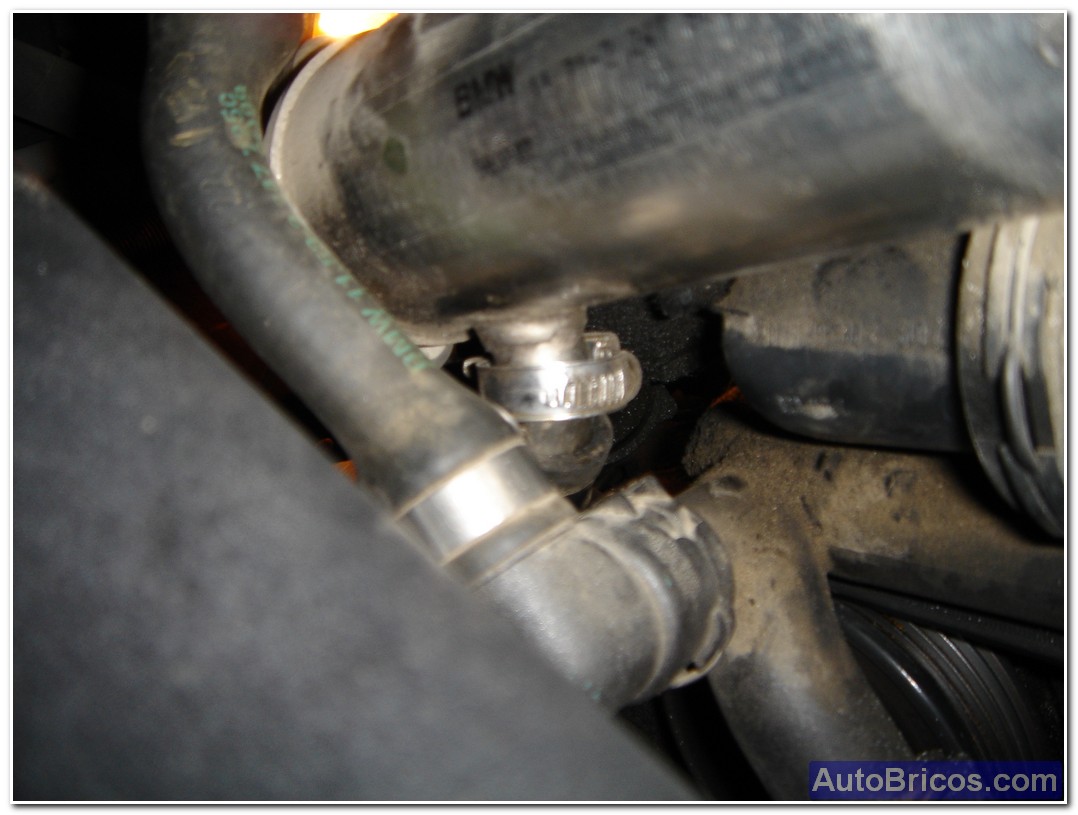
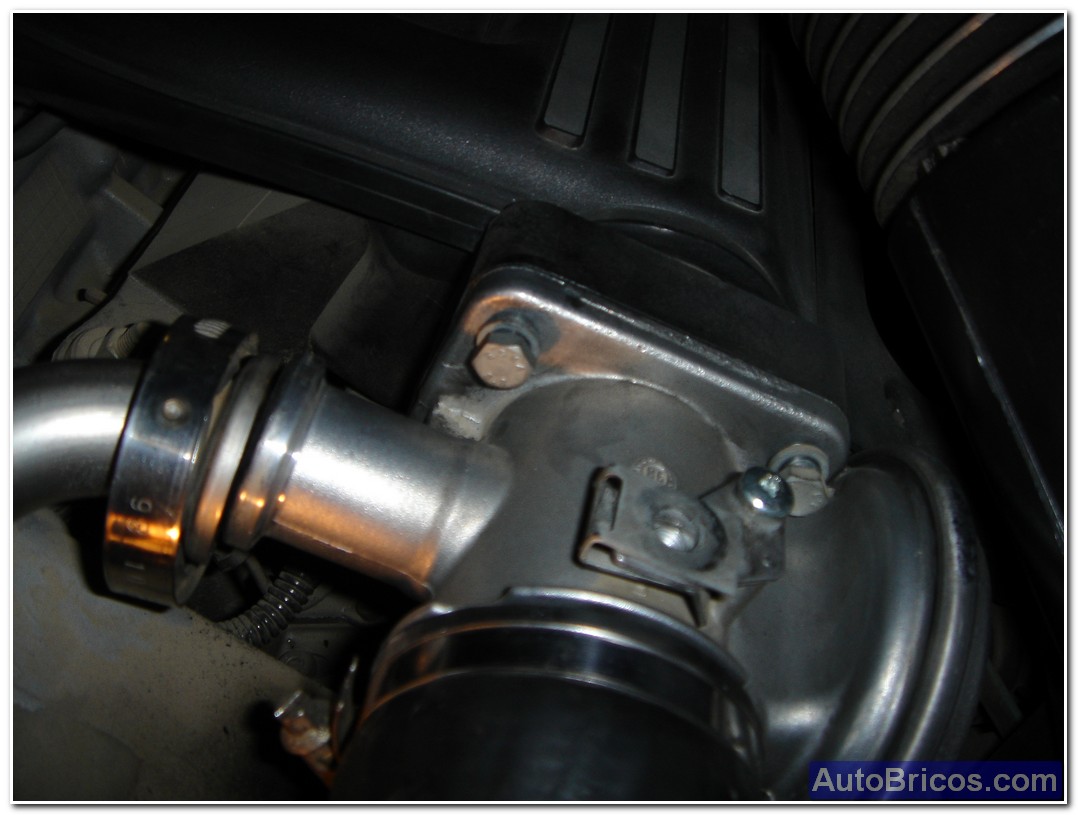
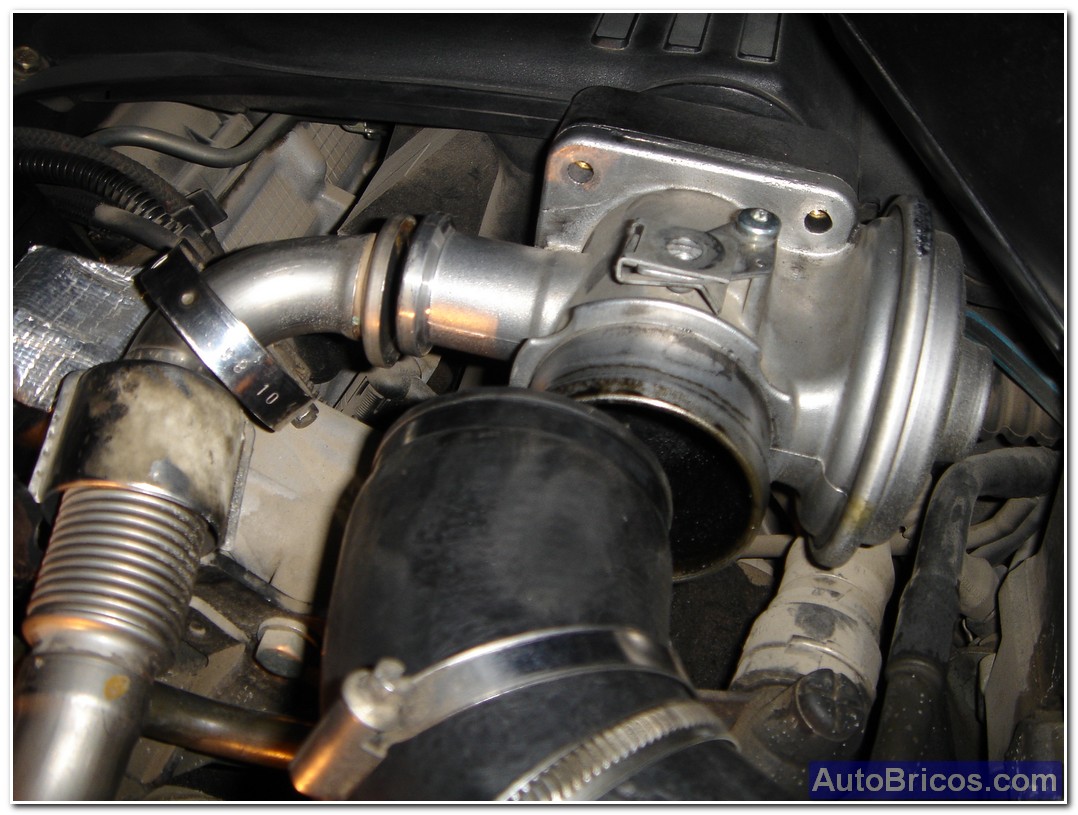
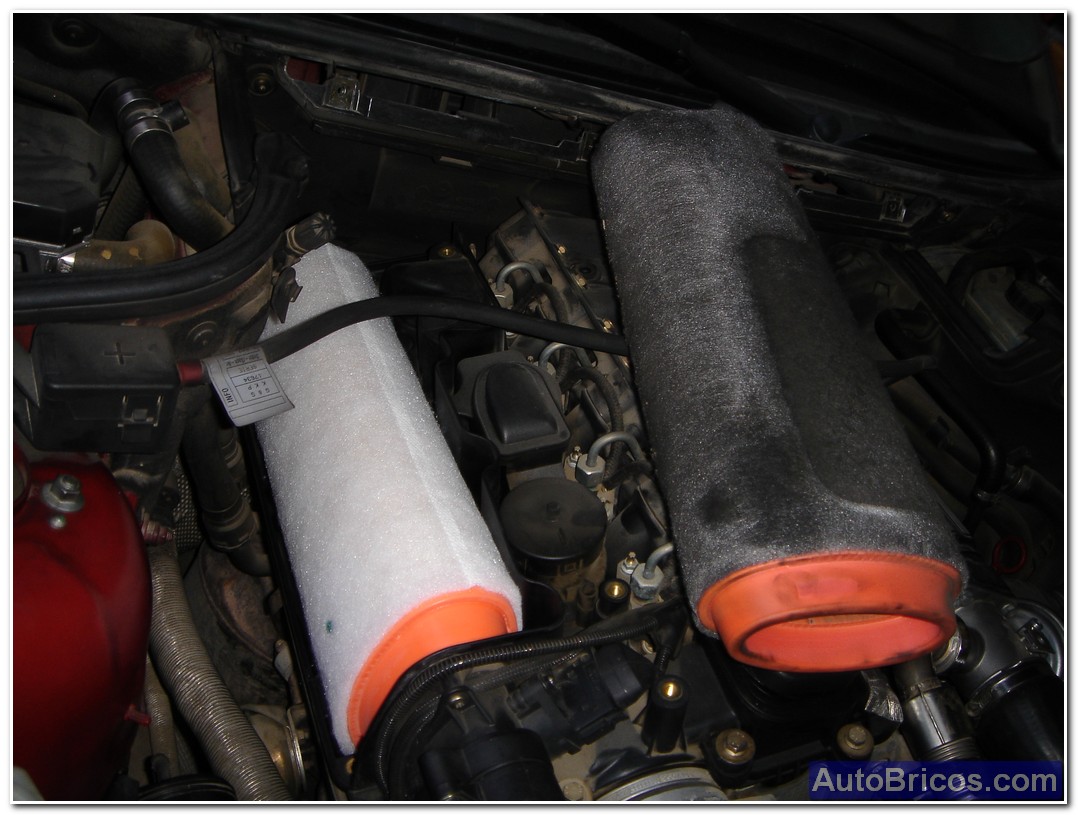
To work better, we will draw the third plastic top covering the engine, and we will draw also the air filter, we can use to clean the air filter housing, which often gets dirty with leaves, etc ... We'll get also trumpet-shaped pipe that goes from the air filter to the turbo, will give us space to get the other pieces that we need to take to reach the thermostat.
 |
 |
 |
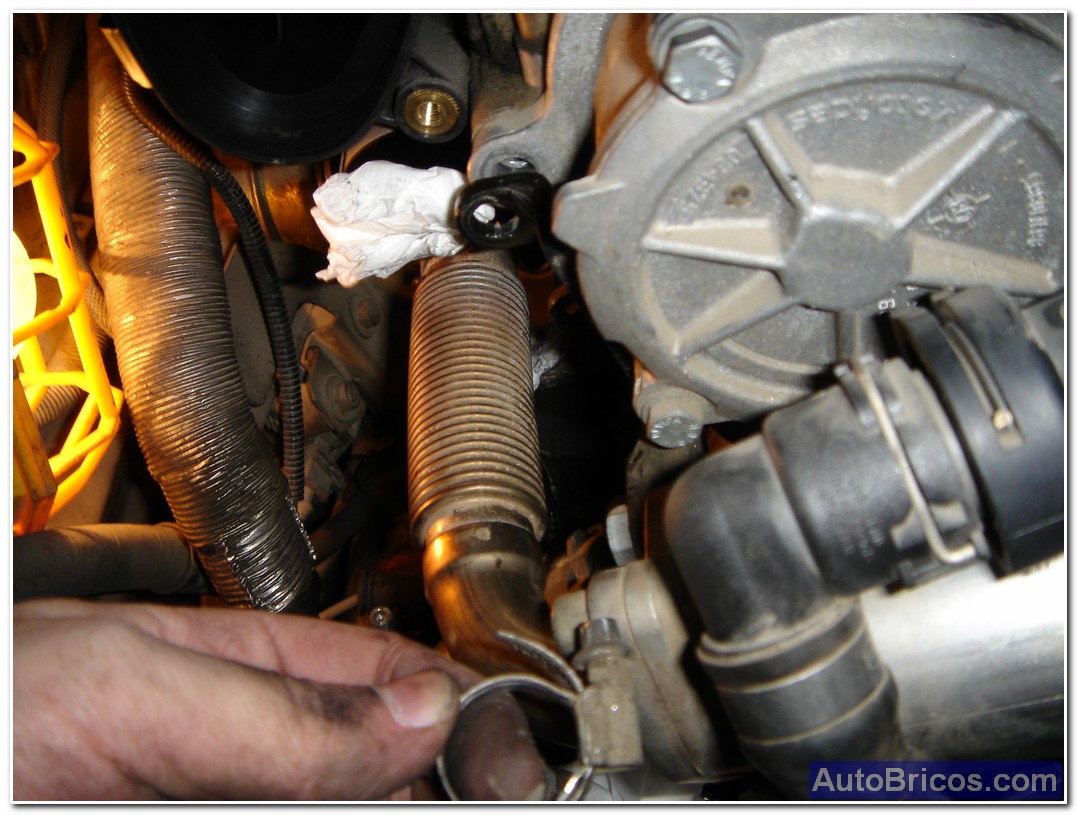
Then we have to take the heat exchanger which leads part of the exhaust gases into the intake through the EGR. We'll have to disassemble the parts needed to access all the screws of the exchanger. Keep in mind that the exchanger liner circulates coolant, so there sleeves should be disconnected from it.
 |
 |
 |
 |
 |
 |
The exchanger is subjected to a band iron black, which are to be disengaged from the motor. If necessary remove the empty tank for better access to the screws or get better the key, we can remove it by removing the retaining plate.
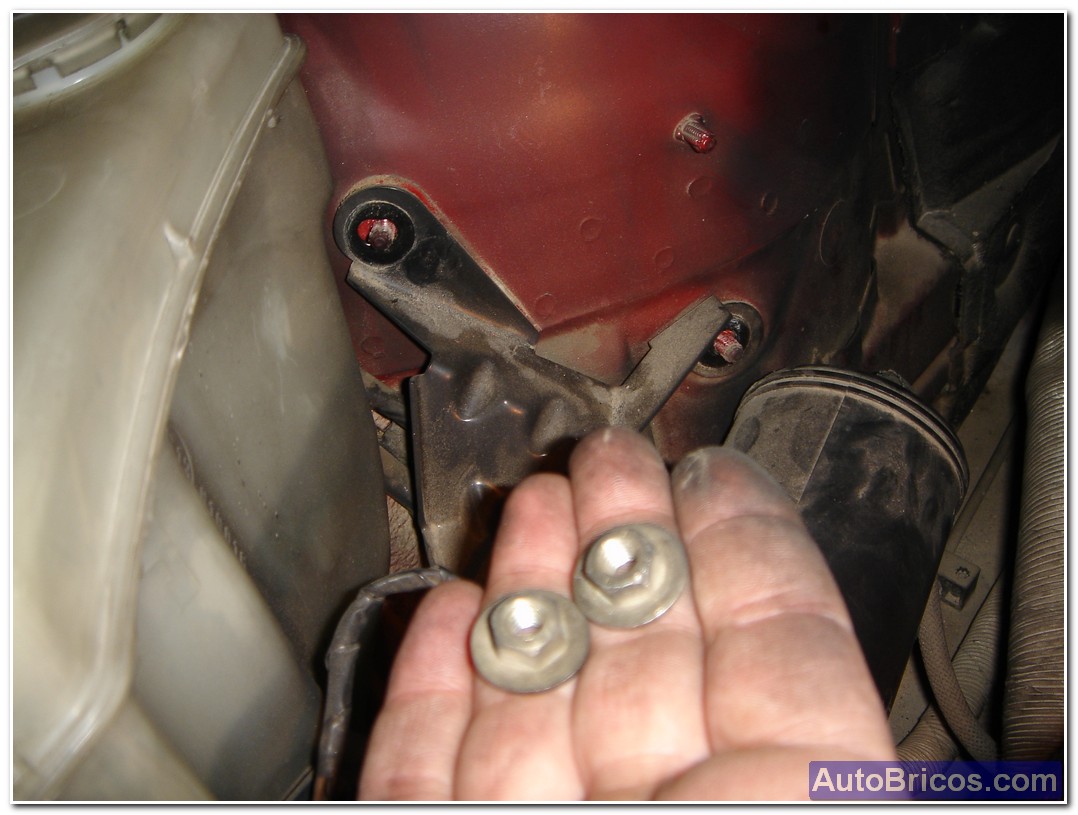 |
 |
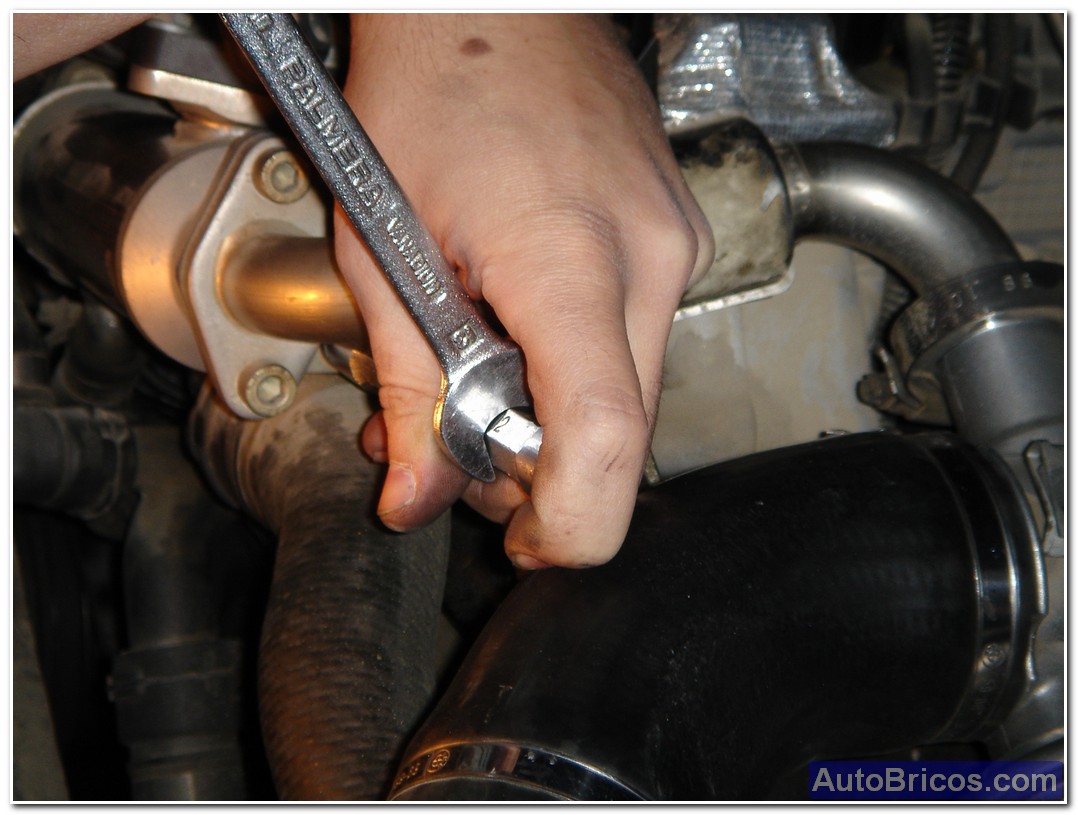
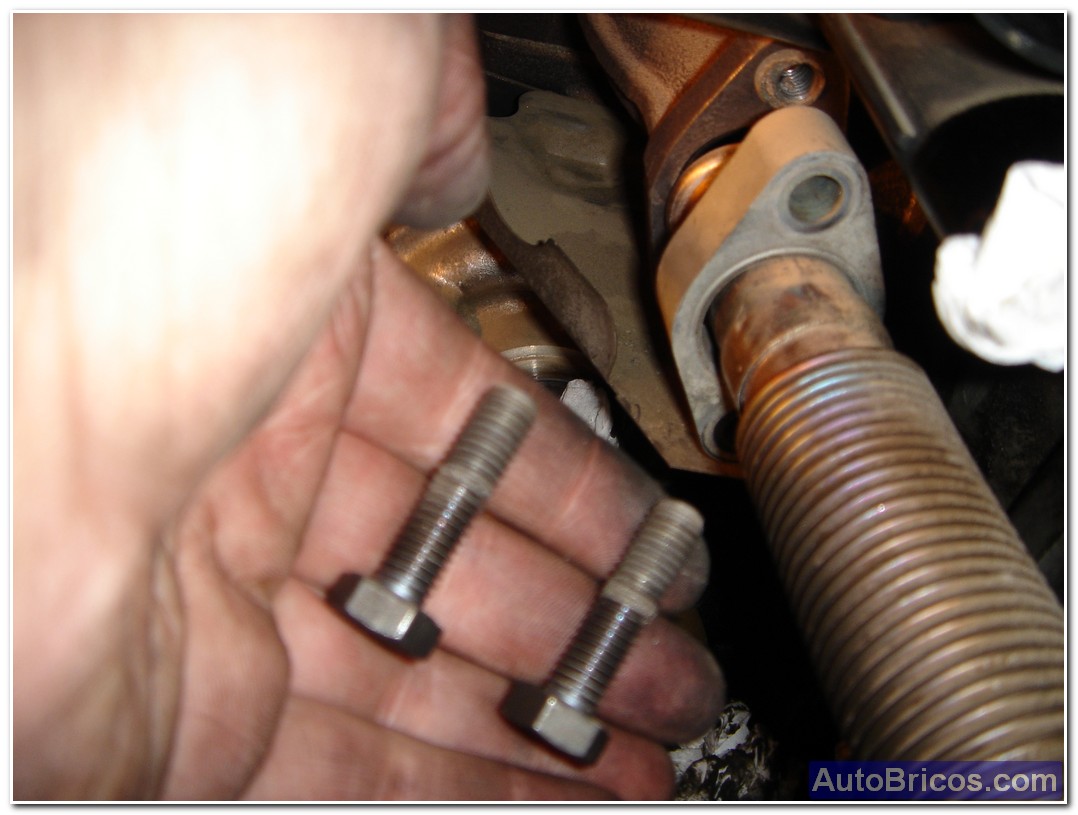
Once unscrewed the anchors, we can remove the 2 screws hex flange is secured to the turbo exhaust manifold.
 |
 |
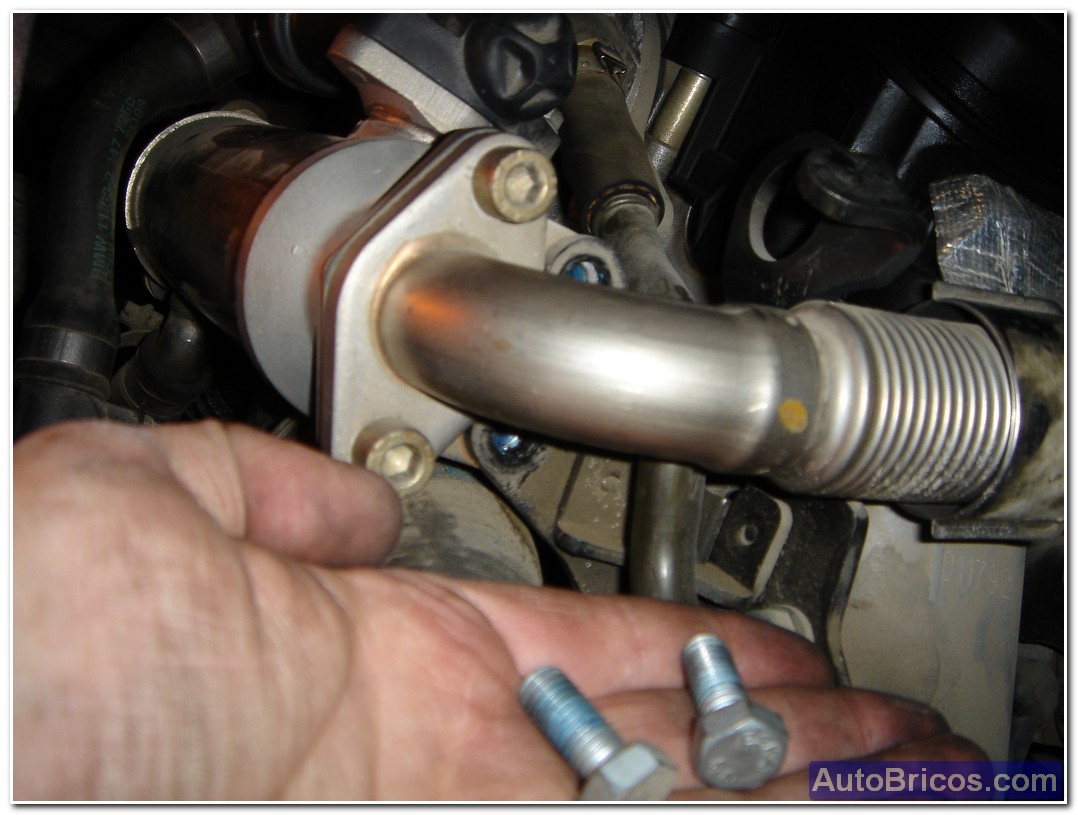
We can then remove the upper flange collar which makes connection between the EGR valve and the heat exchanger (exhaust gas / coolant).We can also remove the bottom flange of the exchanger which fastens a rubber sleeve.
 |
 |
 |
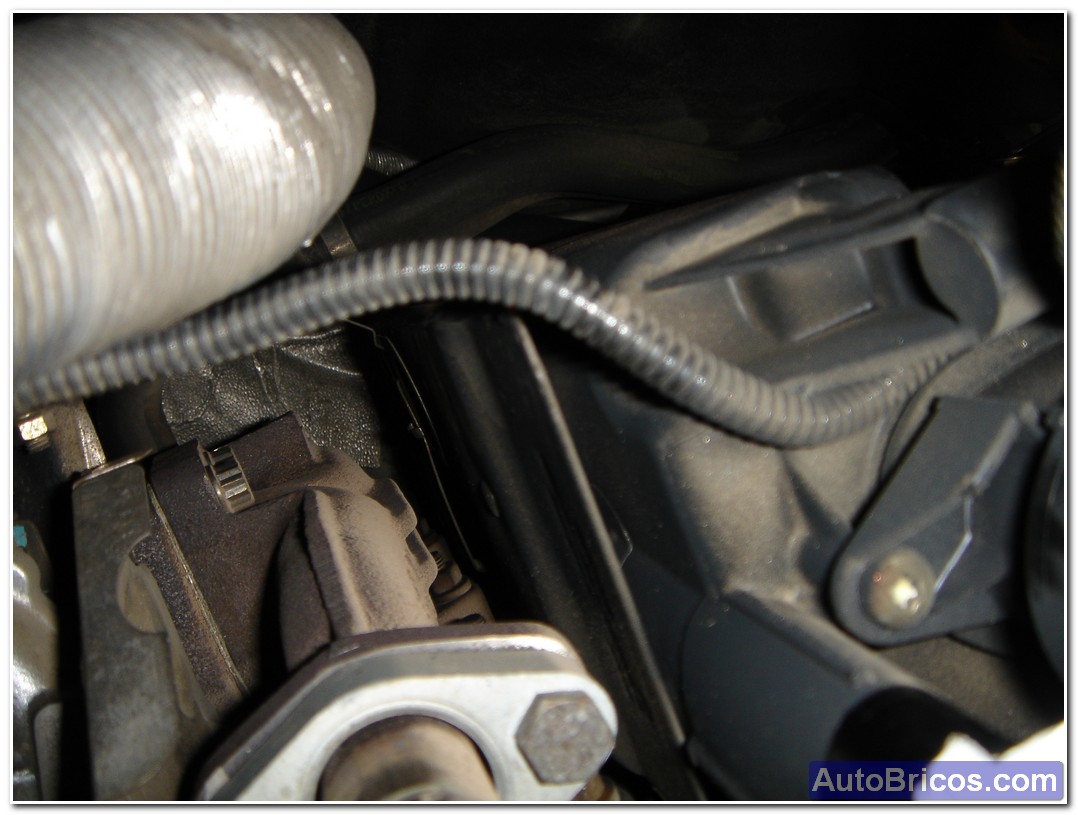
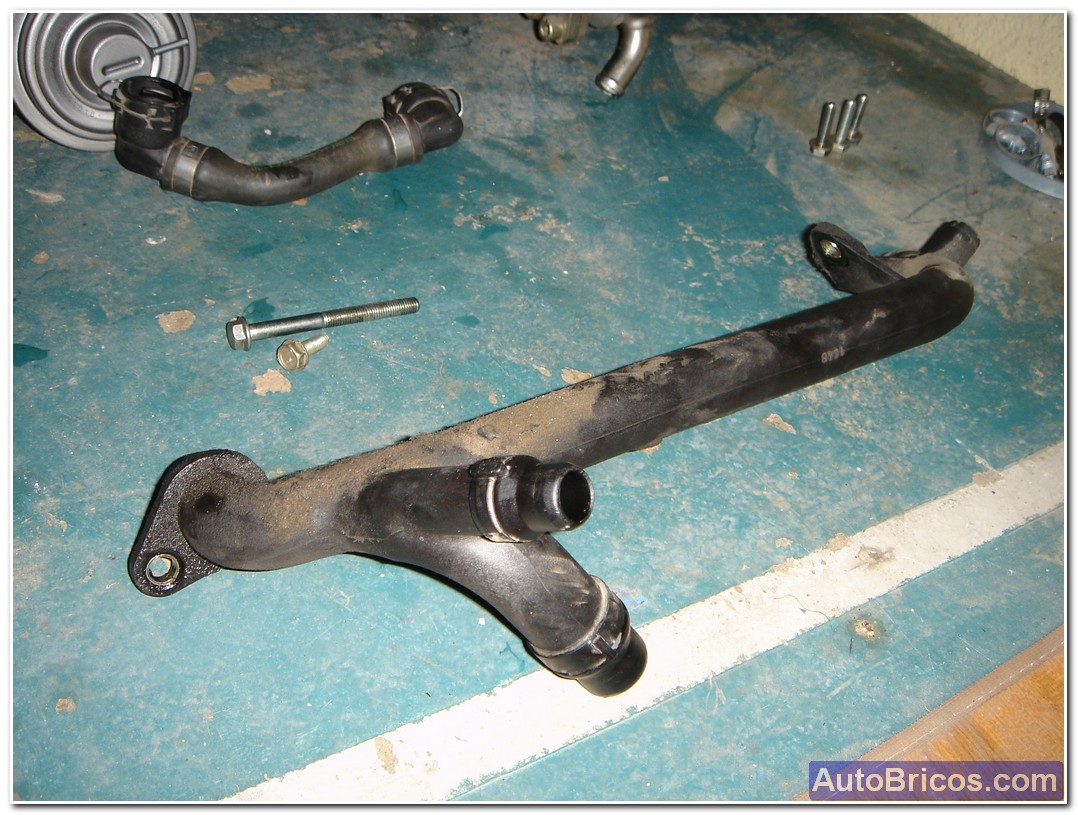
We can then extract the small cuff that goes from the plastic elongated lower manifold up to the top of the exchanger. We can also switch out whole or the part that bothers us for removal of the exchanger. In my case I took full (top and bottom connector.
 |
 |
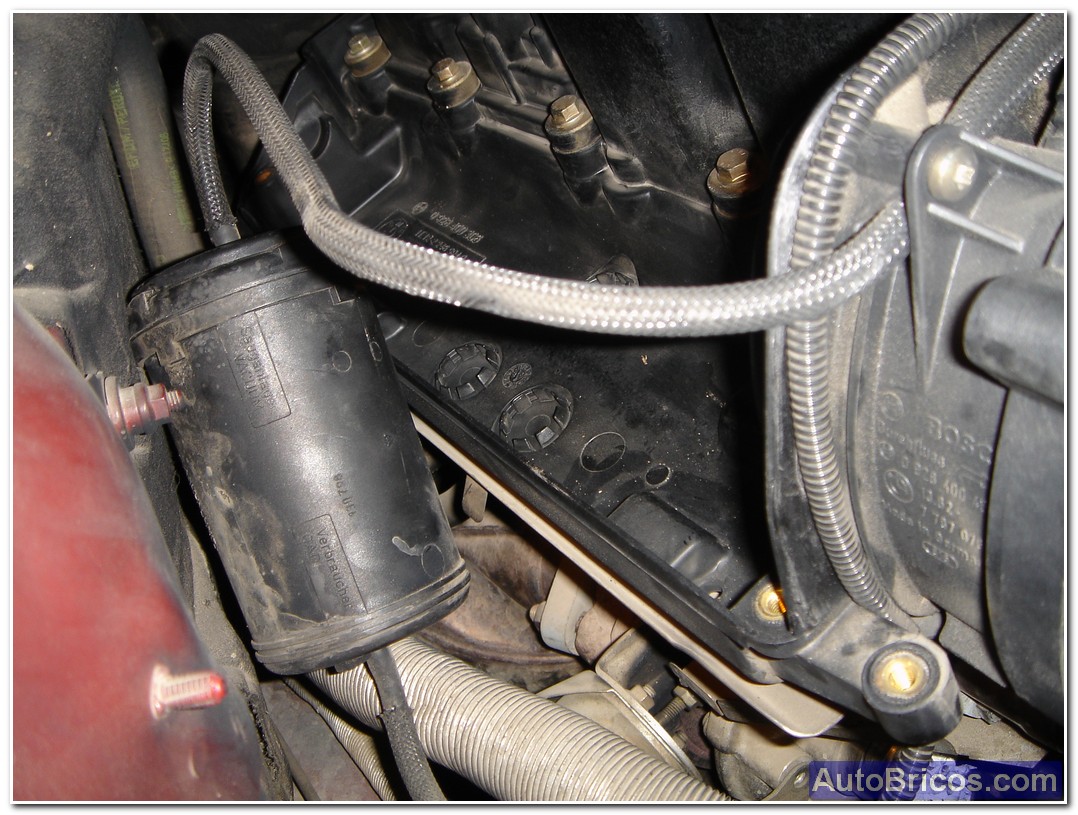
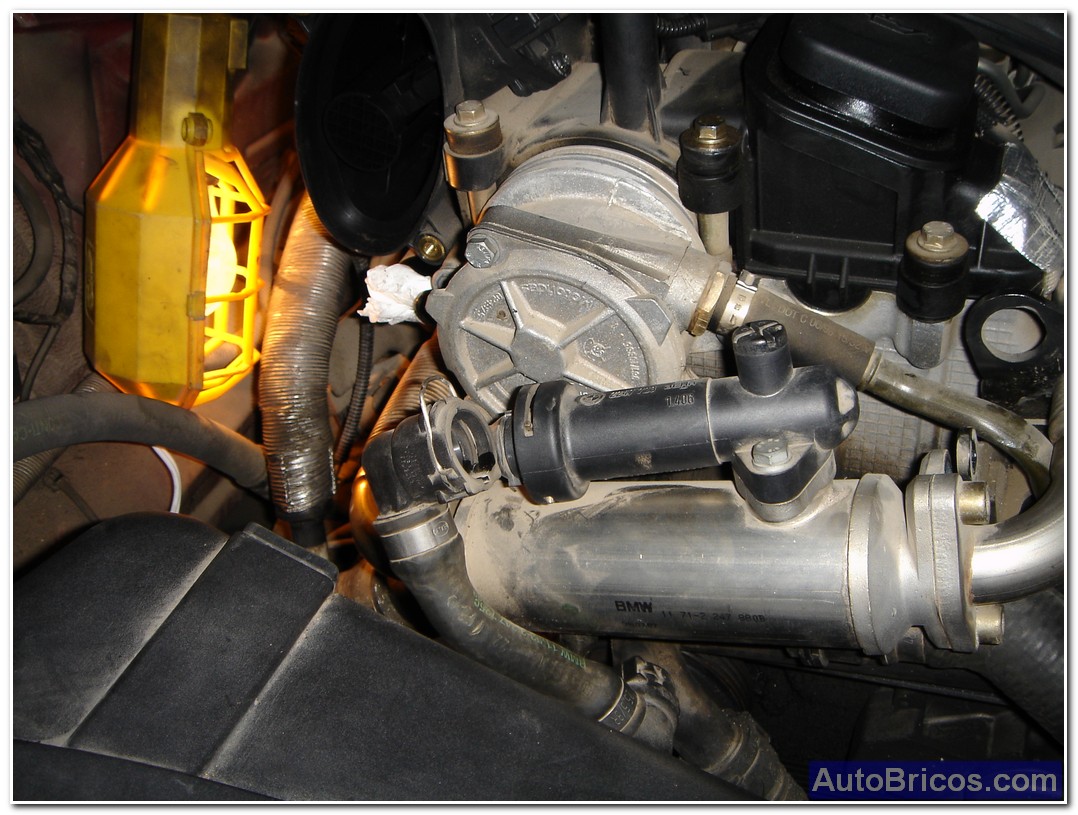
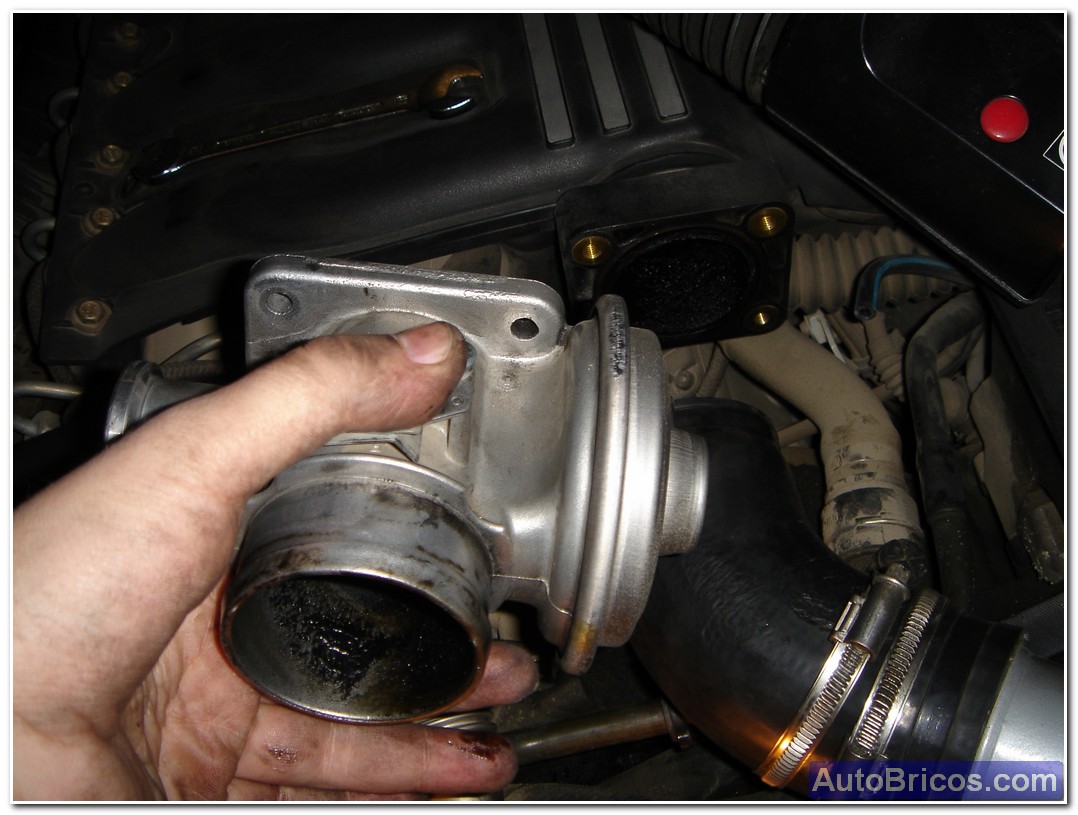
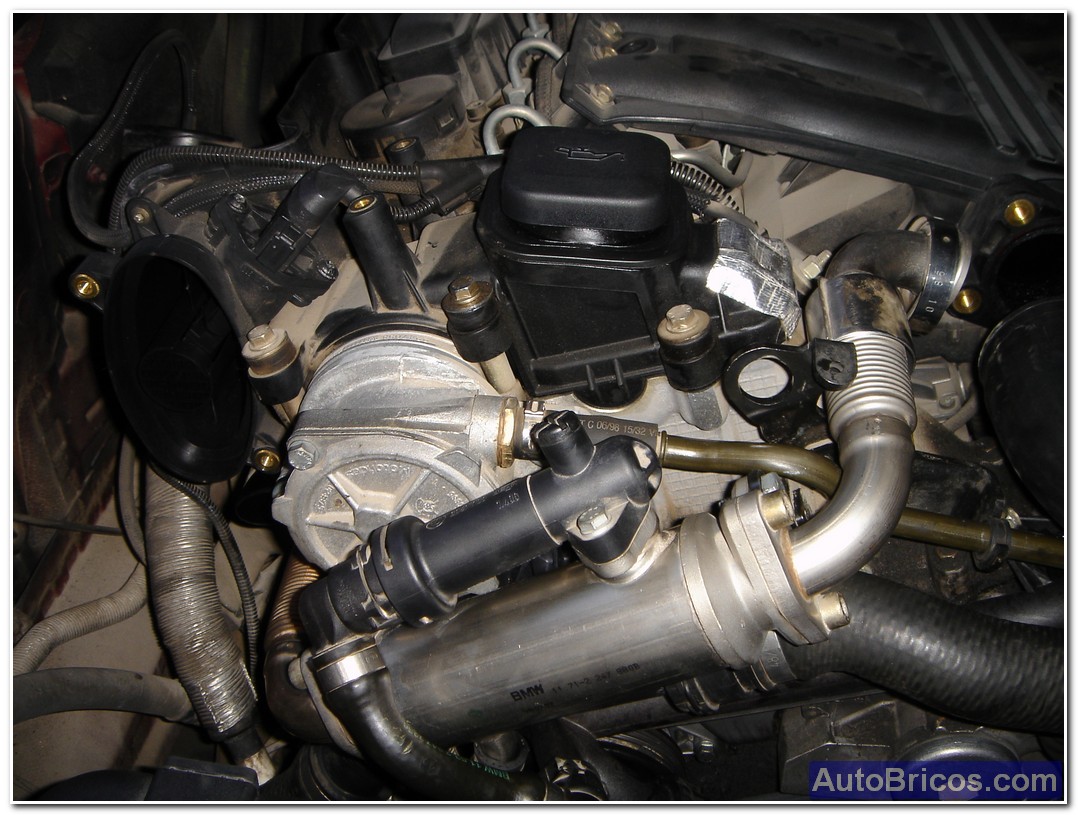
Taking advantage dismantle much of the front, and to give us more access to the tools, I am about to remove the EGR valve, it is a good time to inspect it and see if it is also closed at rest. If necessary, it can be cleaned to remove soot that may cause a malfunction of the valve, you just have to loosen the clamp that holds the rubber hose inlet intake air, and remove the 4 hex screws that hold the plastic intake manifold. The flange-collar and had been previously removed.
 |
 |
 |
We can remove the small cuff section refrigerant plastic manifold was below the top of the exchanger, and finally withdraw cash exchanger.
 |
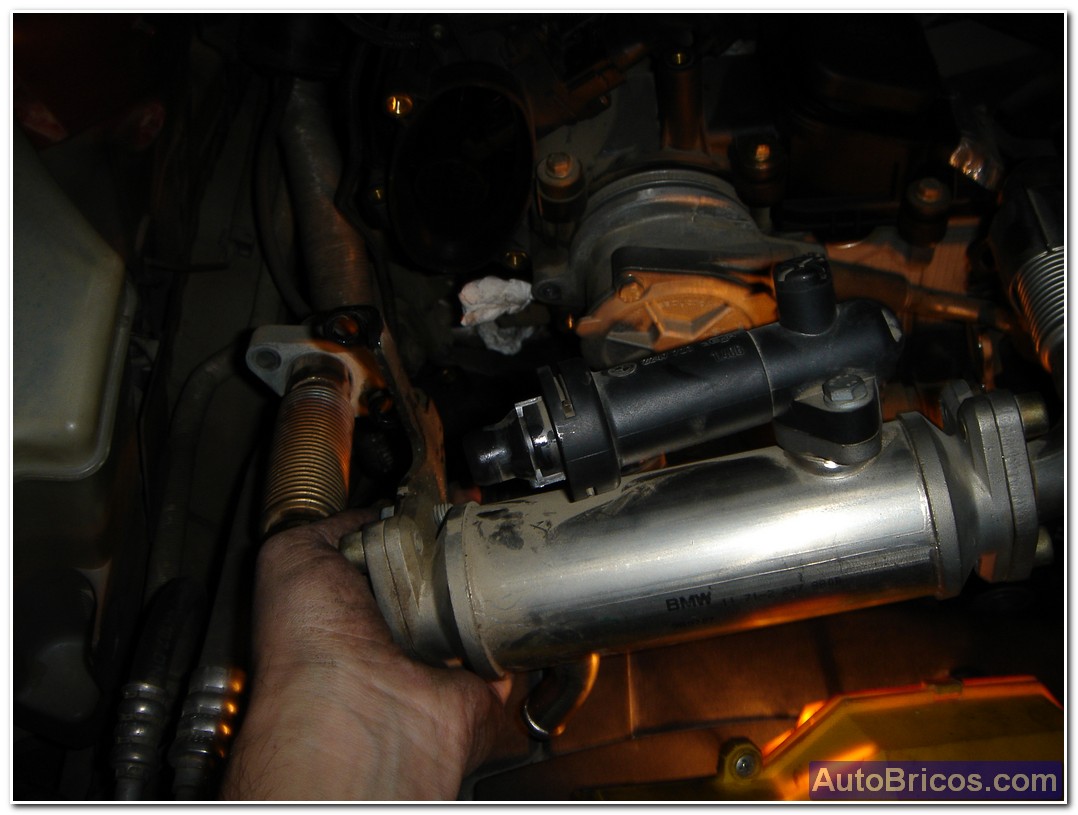 |
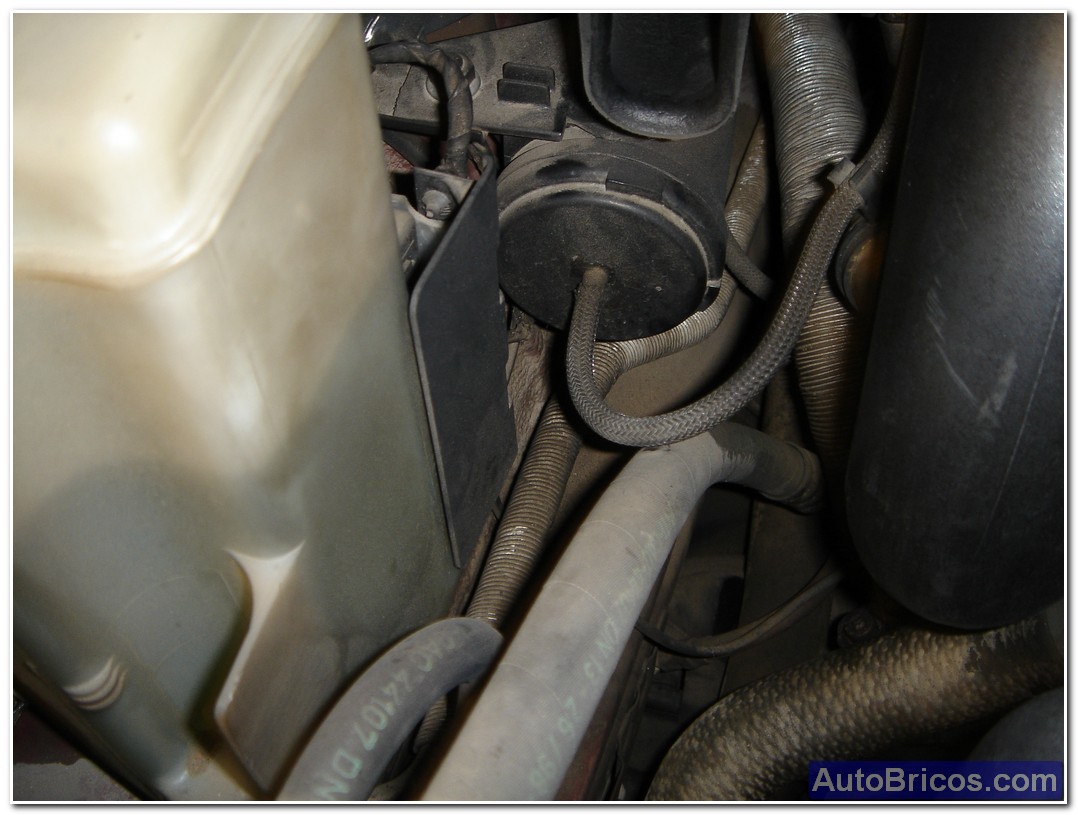
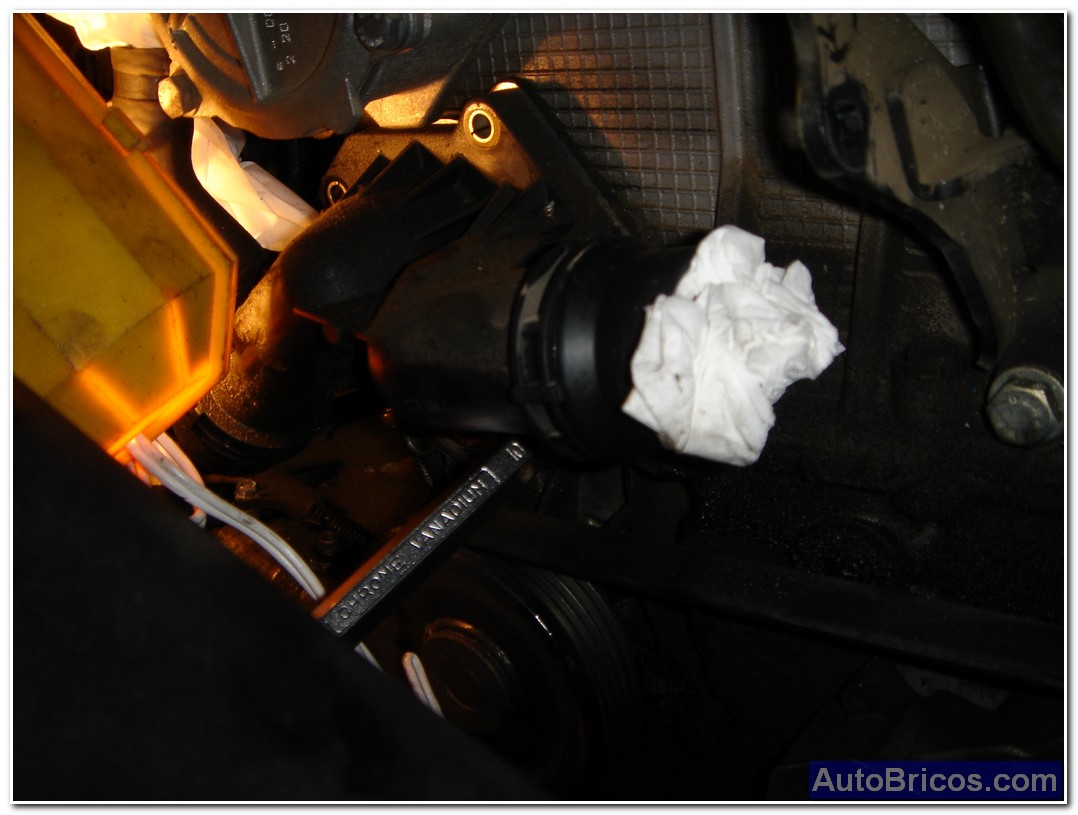
Now we have to look at the thermostat (plastic body with two cooling hoses "fat"), and also the plastic manifold has smaller outlets in diameter, and has a long plastic tube. First withdraw the two sleeves Fat thermostat housing.
 |
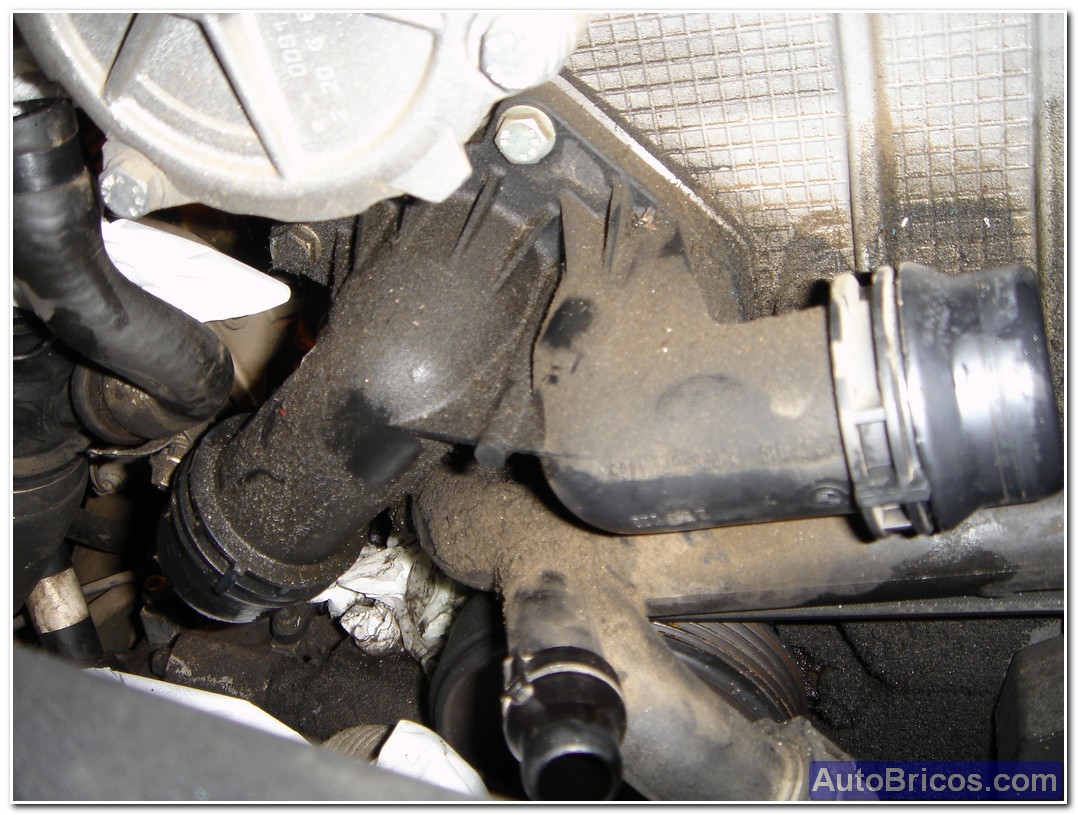 |
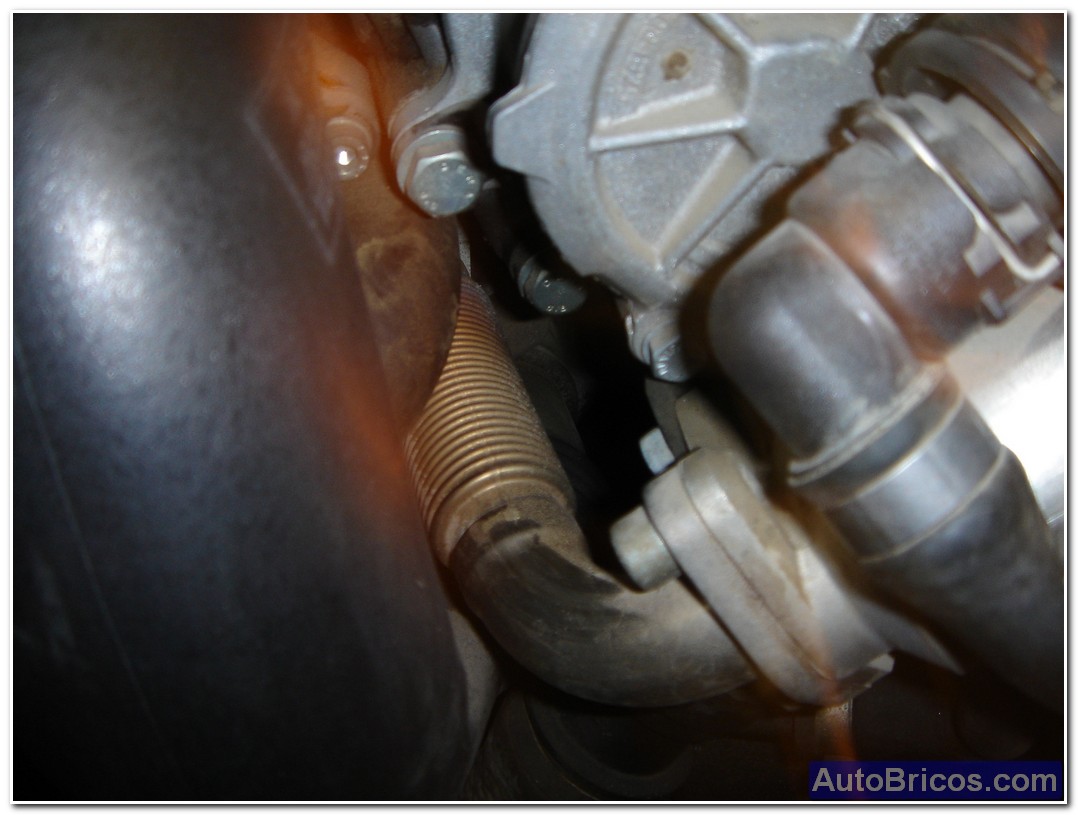
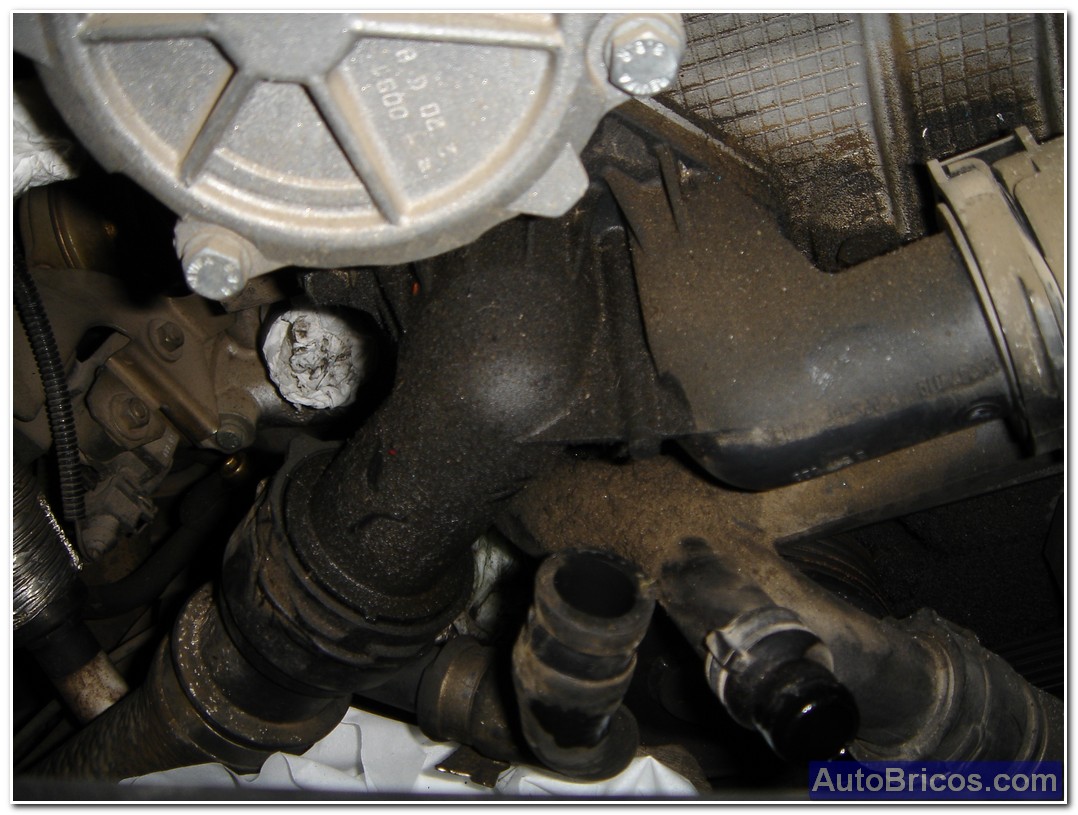
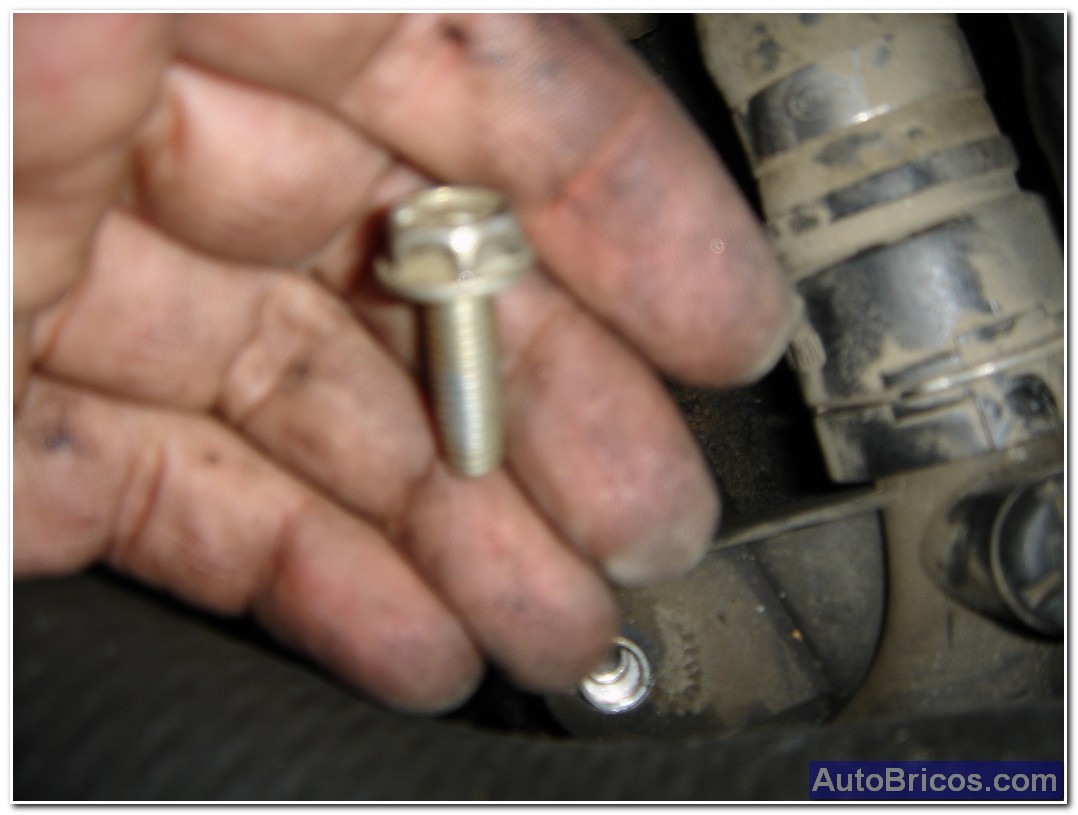
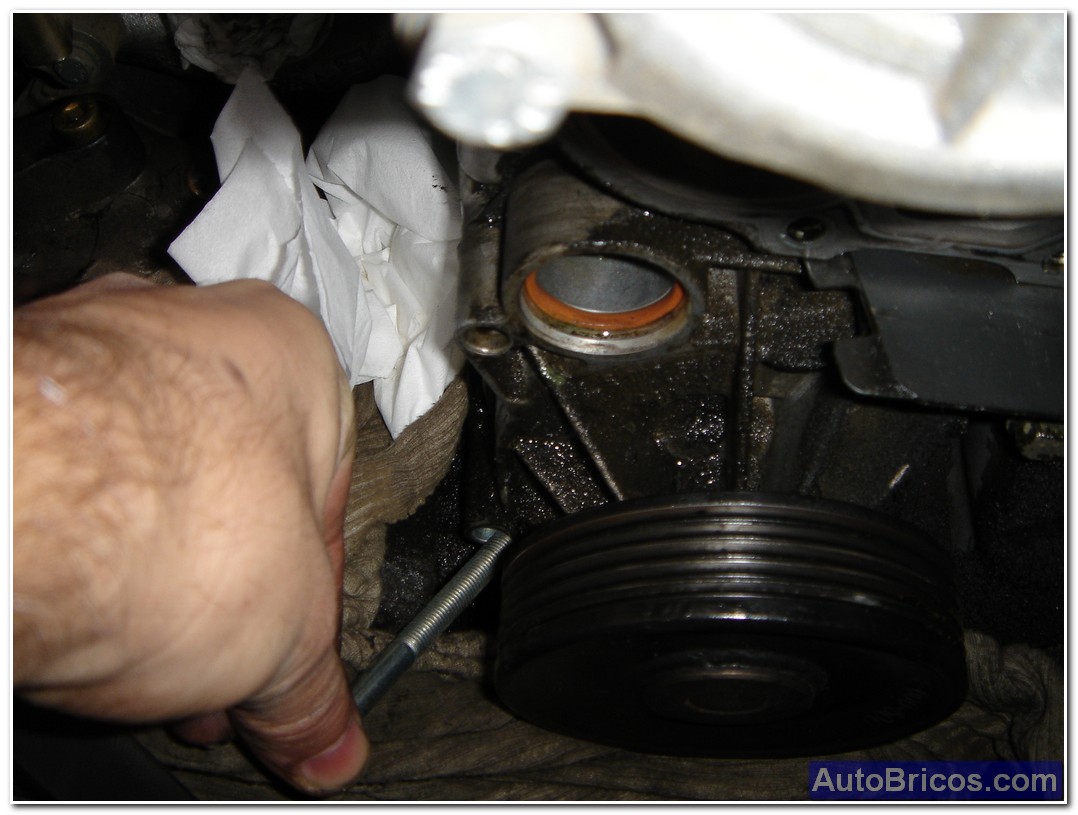
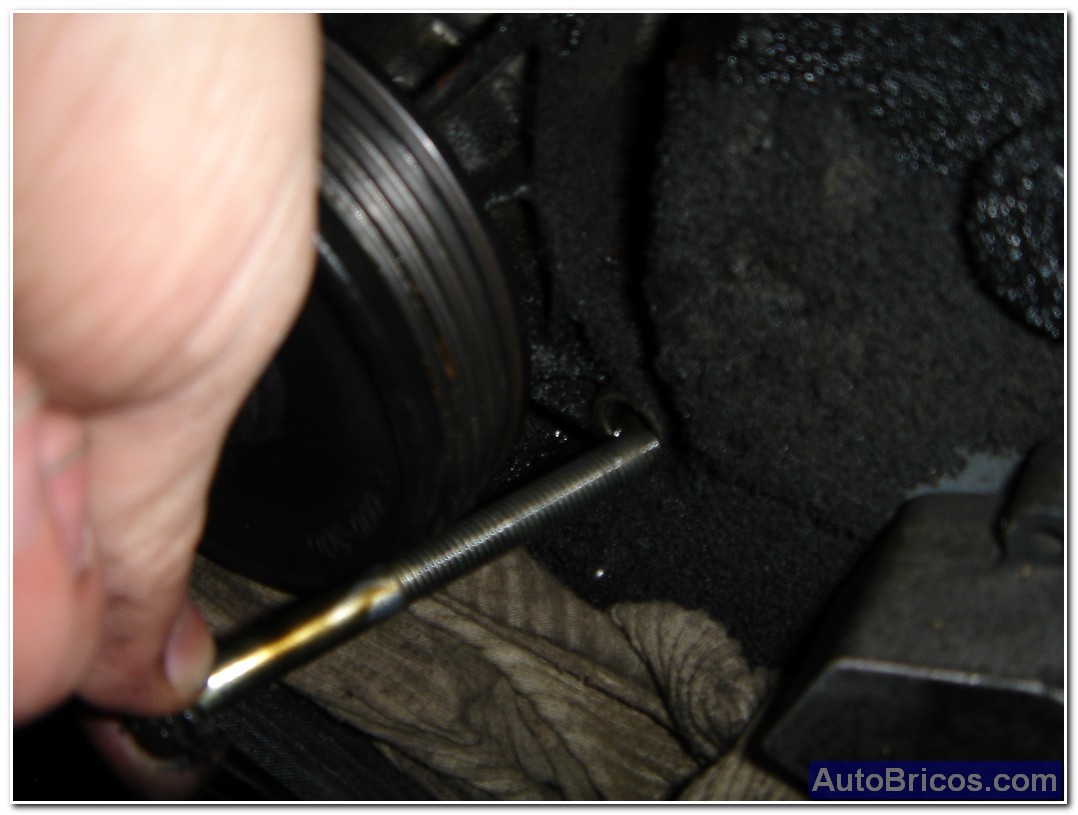
To disengage the thermostat easily, it is best to first remove the plastic manifold, one of the manifold bolts is very long, as it is also one of the anchors of the water pump. We will see that three of the four screws on the thermostat are almost easy access, while the fourth screw is the one that is more complex to remove, and which suggest first removing plastic manifold.
 |
 |
 |
 |
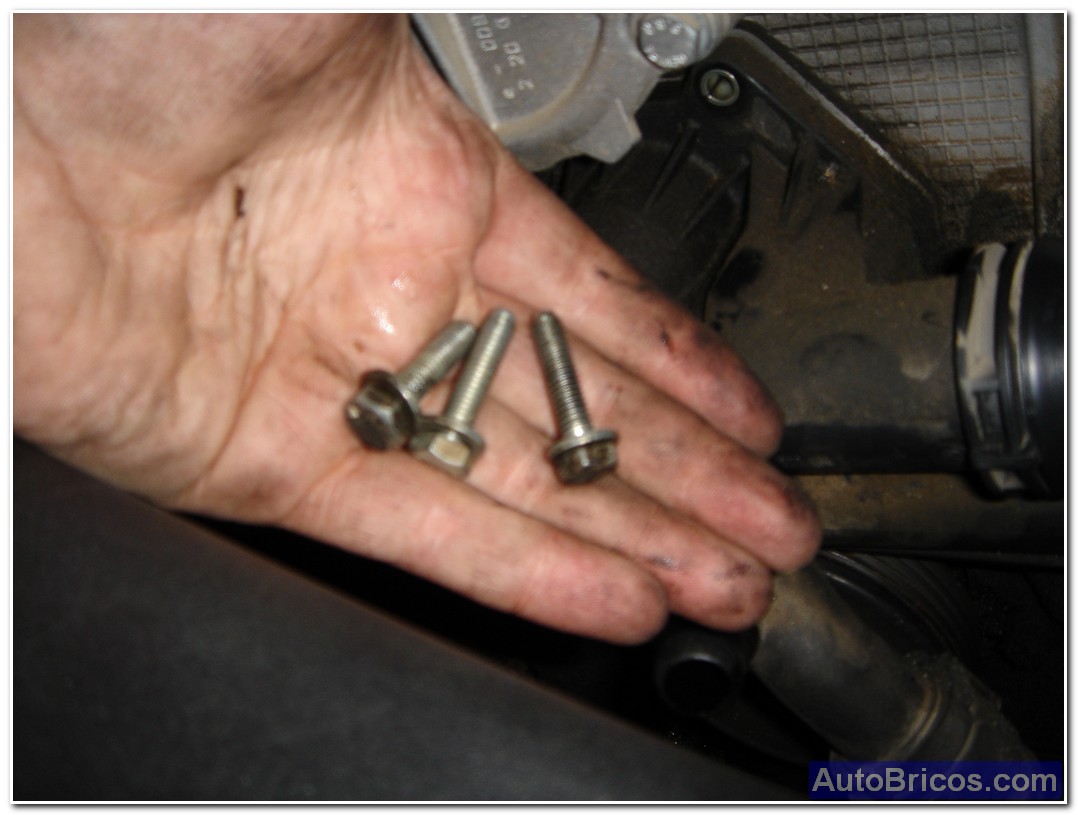
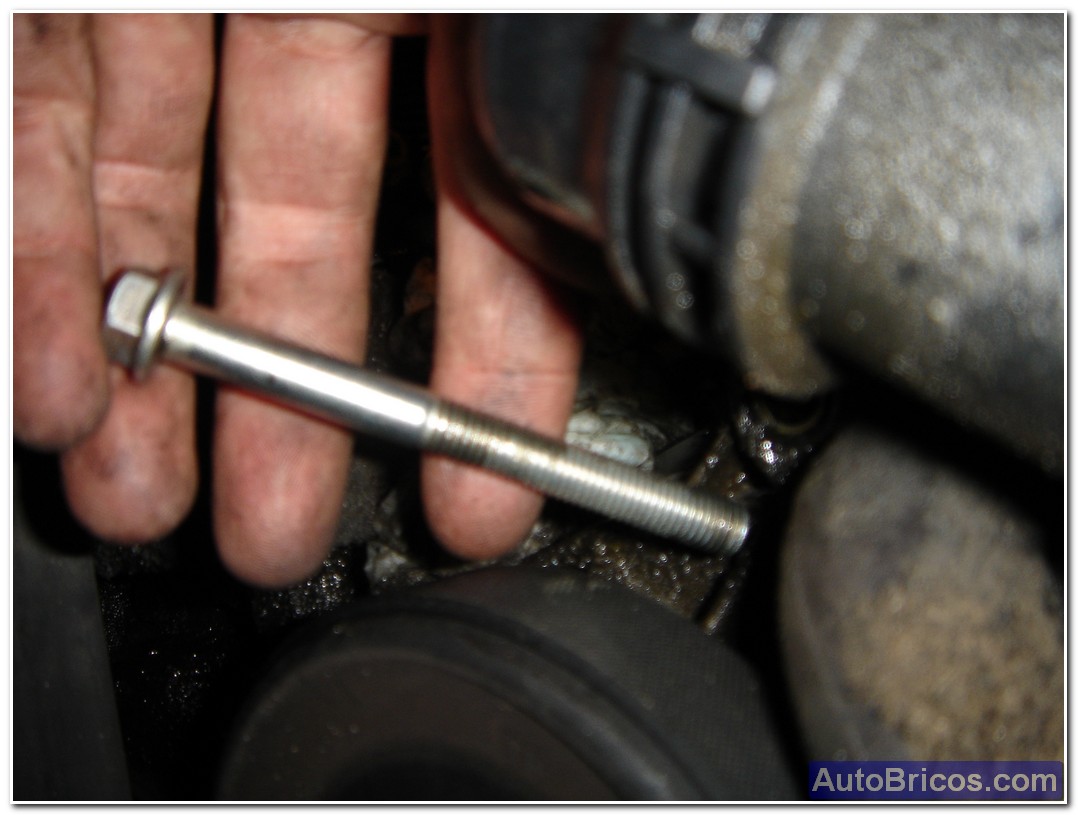
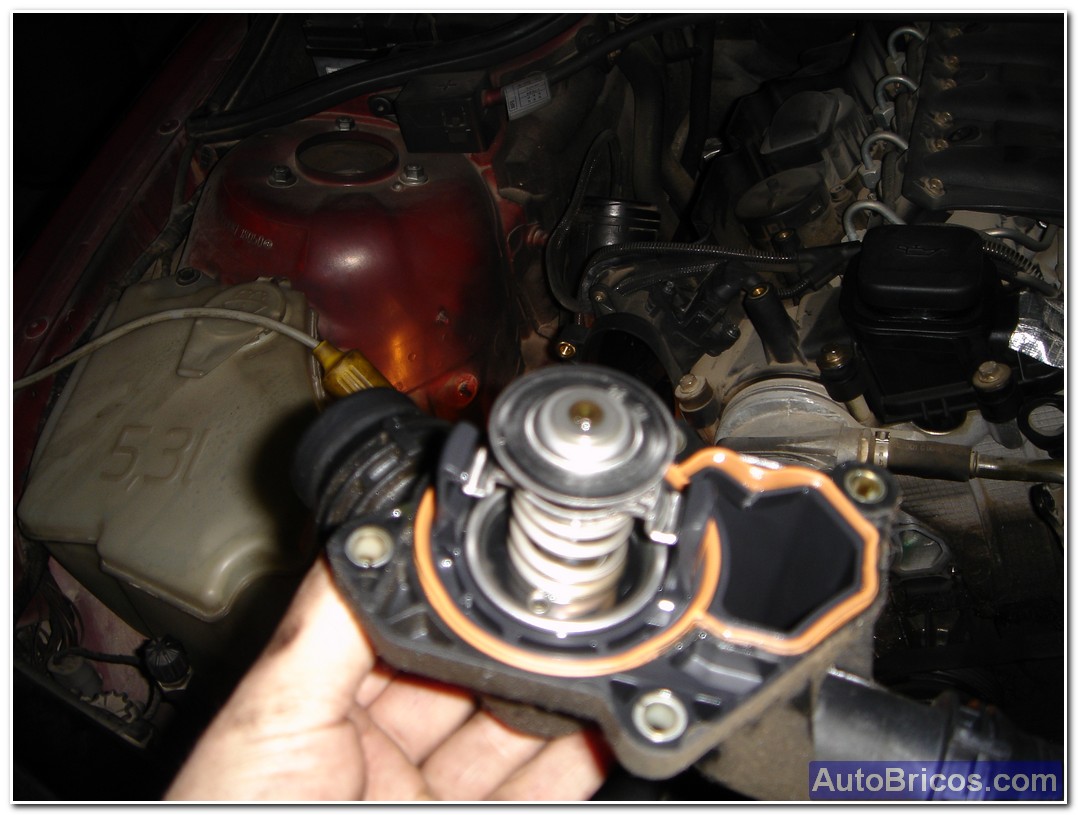
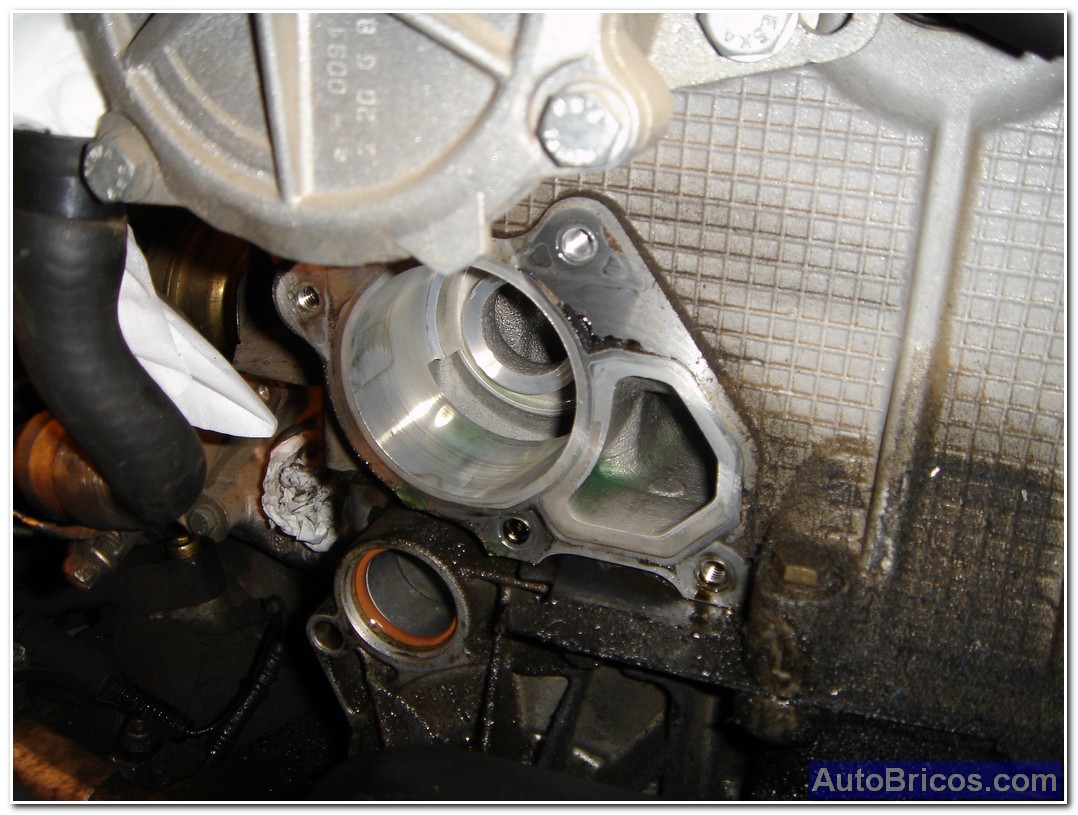
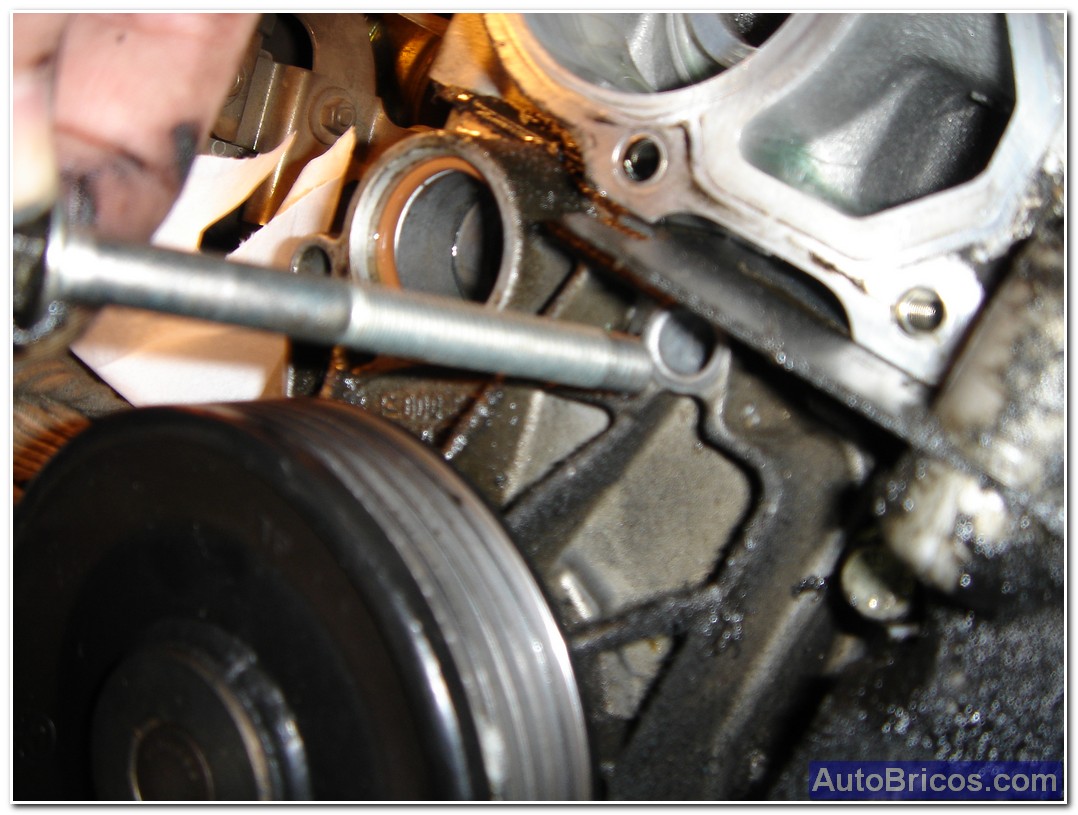
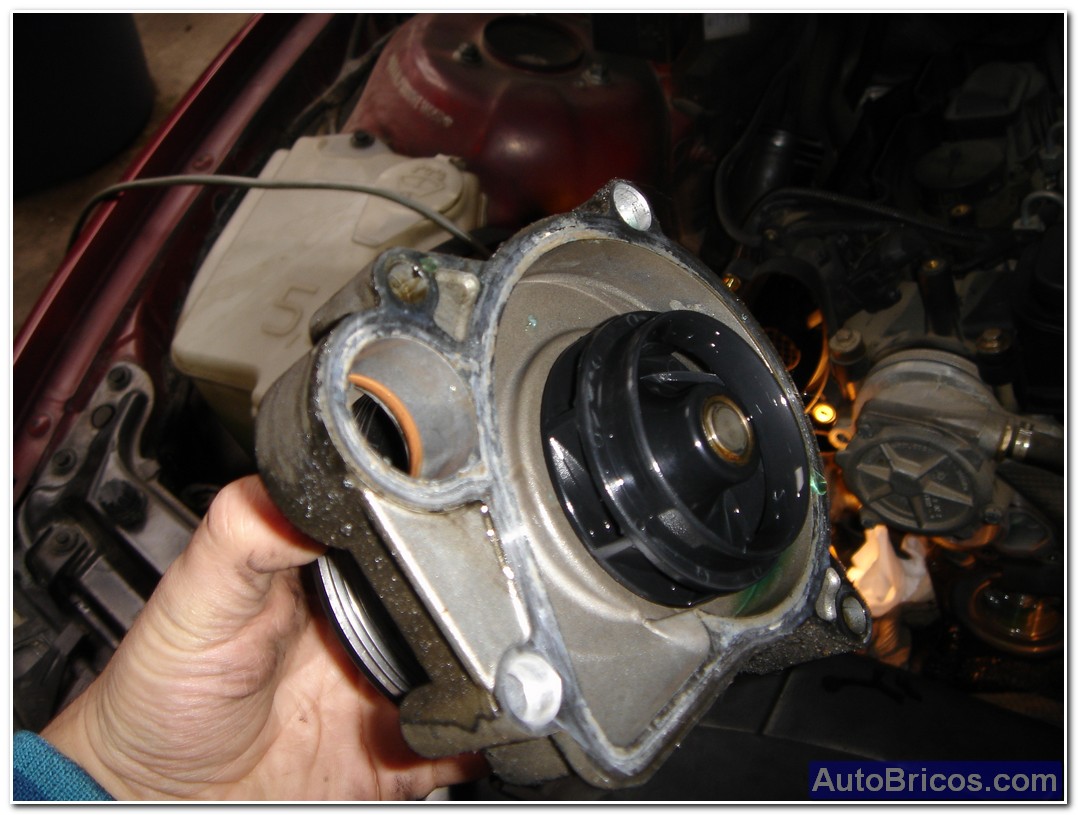
Already with the plastic manifold off, we have good access to the fourth bolt thermostat housing. We can remove the thermostat housing to see if it is in good or bad condition.
 |
 |
 |
 |
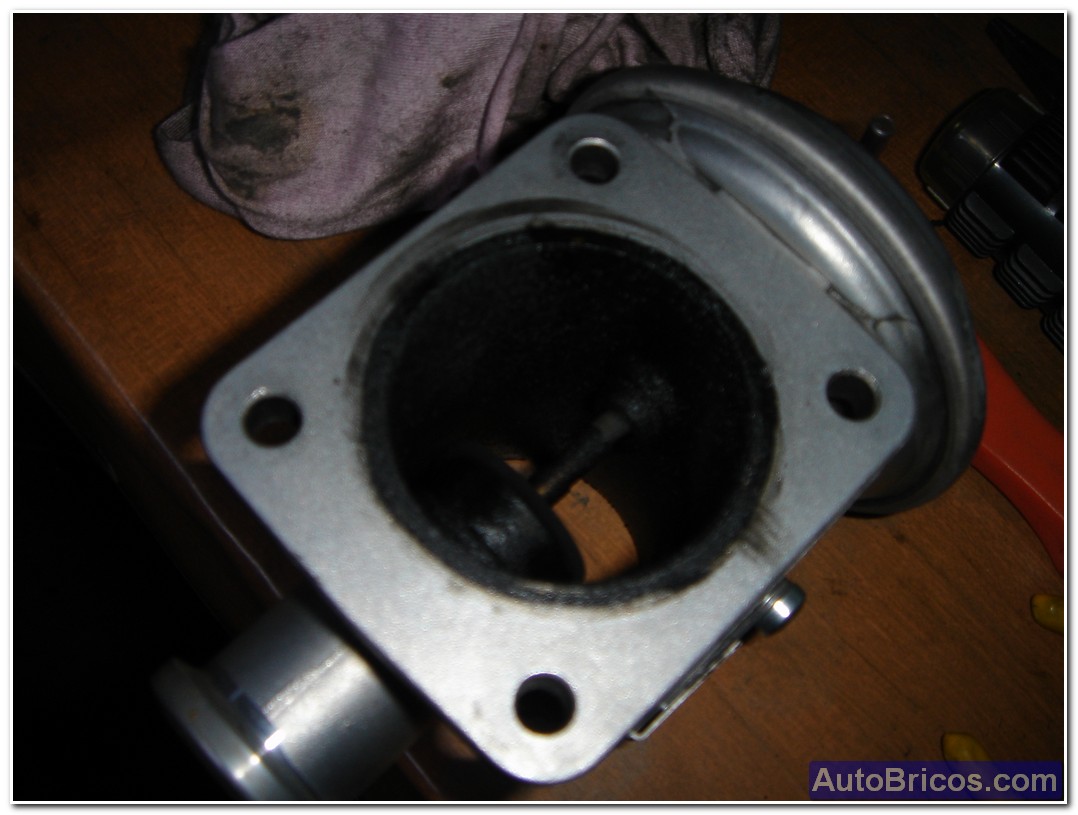
Another view of the thermostat with its 4 screws:
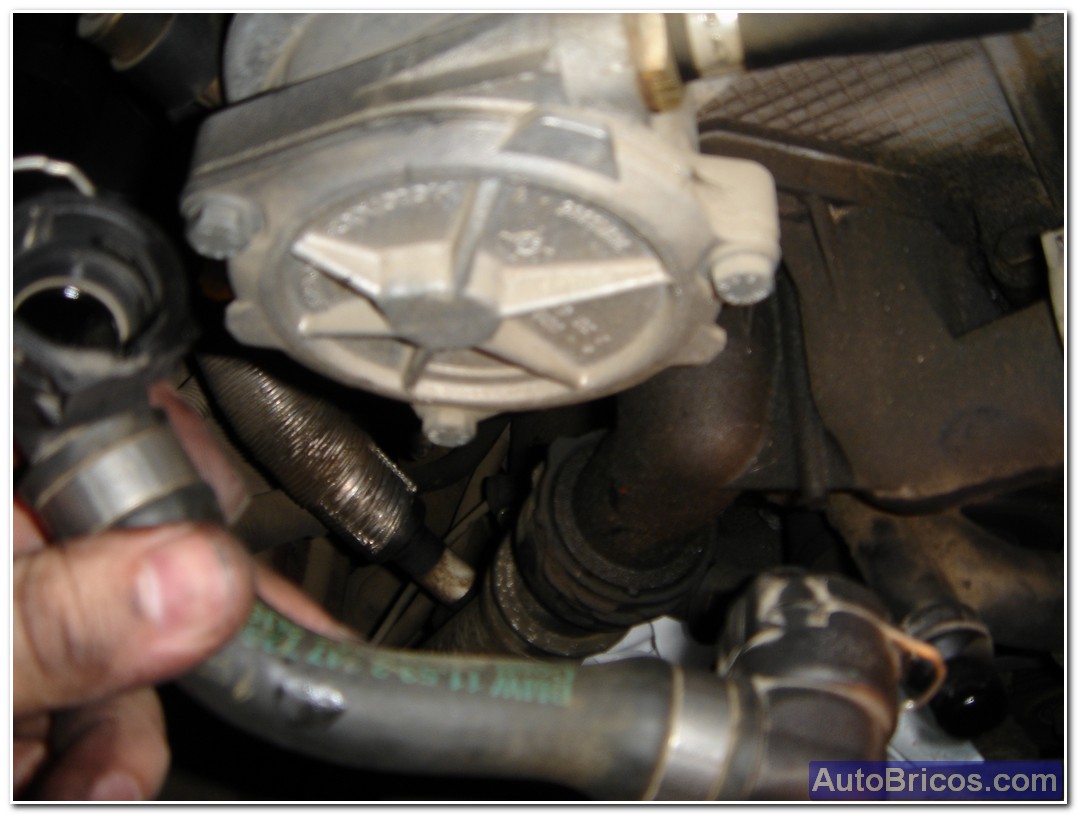
If the fault is clear and in my case (there is a clear break in the body of the thermostat that causes the lip seal does not stay in place), and only change the thermostat, here ending on Brico, and should replace the thermostat for a new one and do the reverse process (assembly), but I wanted to make sure and change something else, since we have removed much of the front of the engine. The next thing I do is check the water pump is in good condition, and has no gaps or loss of water through the shaft. To remove the pump first thing is to decouple the poly-V belt, and we must make us a tool that allows us to leverage on the tensioner to release the belt tension and remove the belt to the water pump. Once taken off the pump belt, draw the other screws holding the pump. It is possible that the start of the screws is different, so you have to know what goes into each orifício.
 |
 |
 |
 |
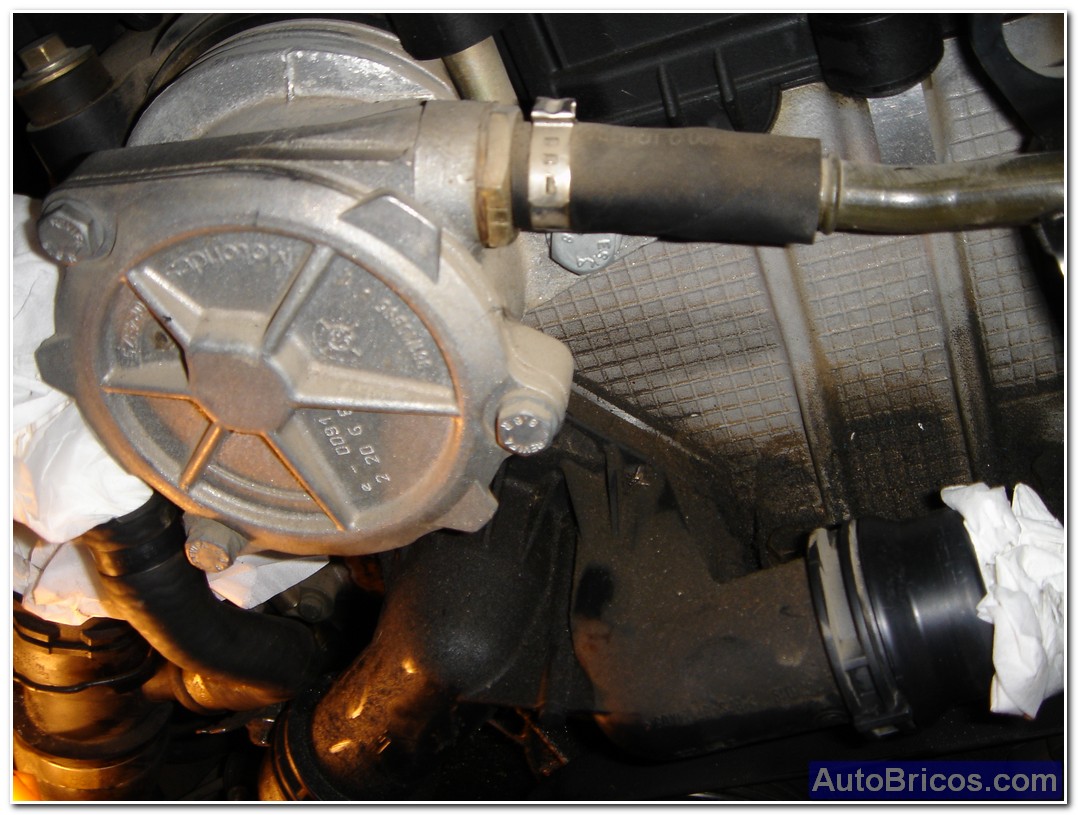
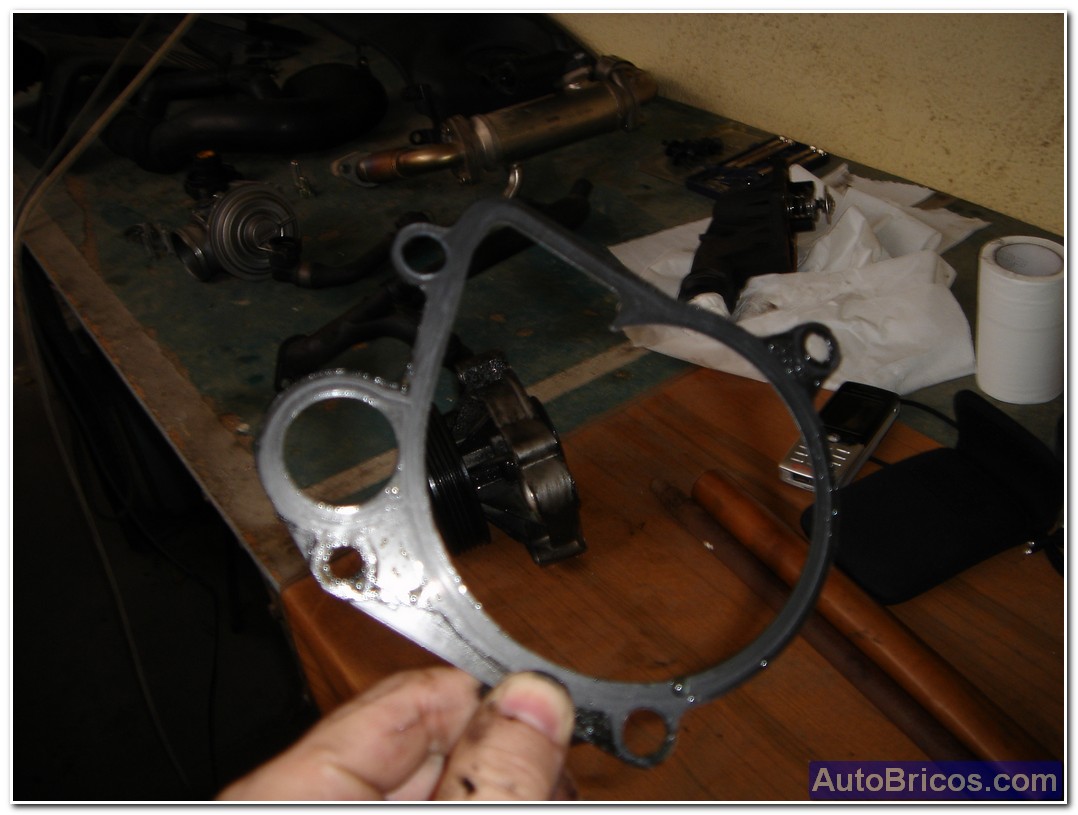
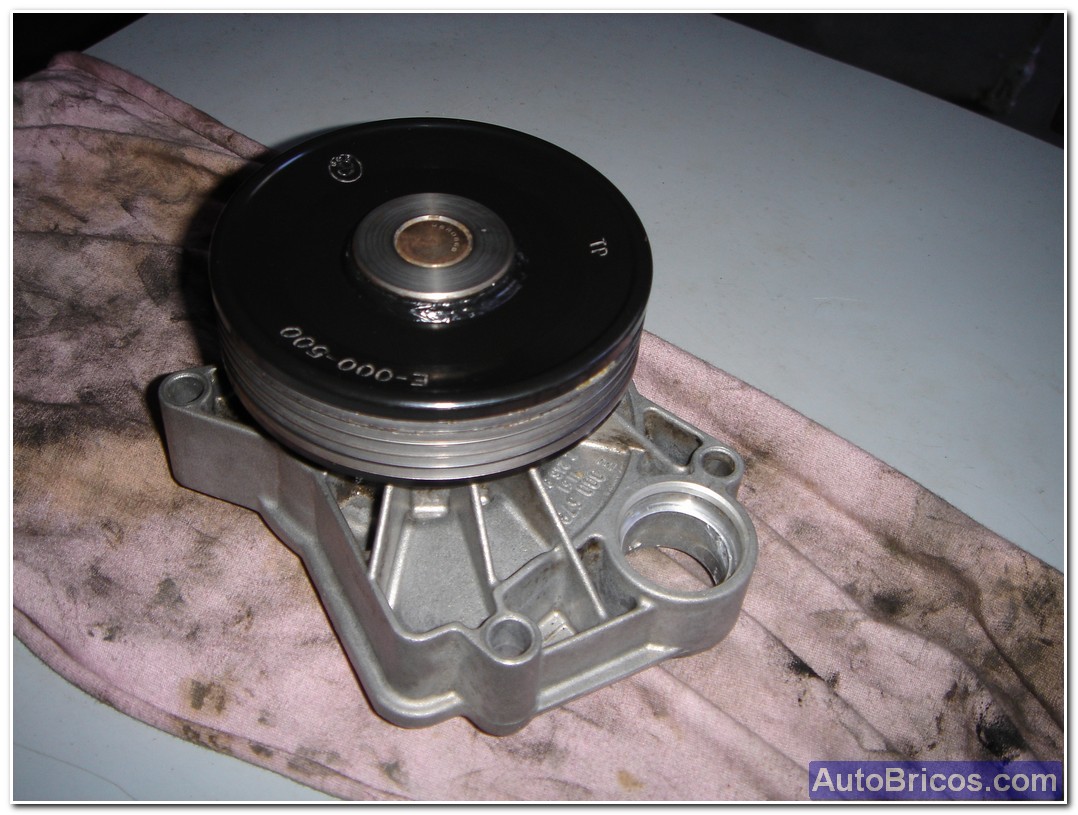
Here we see the pump removed, and its board, luckily the pump is in perfect condition, and everything is correct (look also the plastic turbine shaft is really stuck in the shaft, as can sometimes happen that the turbine shaft turns but the plastic has taken off, and therefore, do not pump water properly and cause motor overheating. In my case it is not, and the only thing that will change is the seal of the water pump, which will substitute the new one.
 |
 |
 |
 |
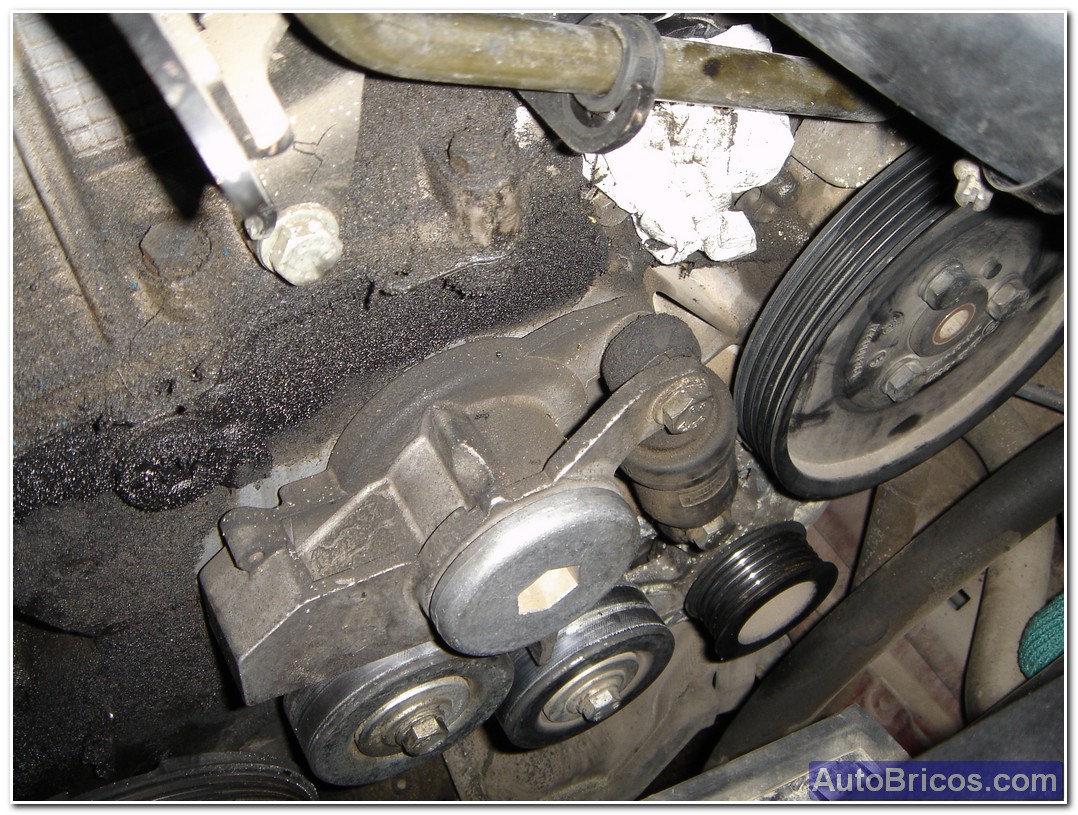
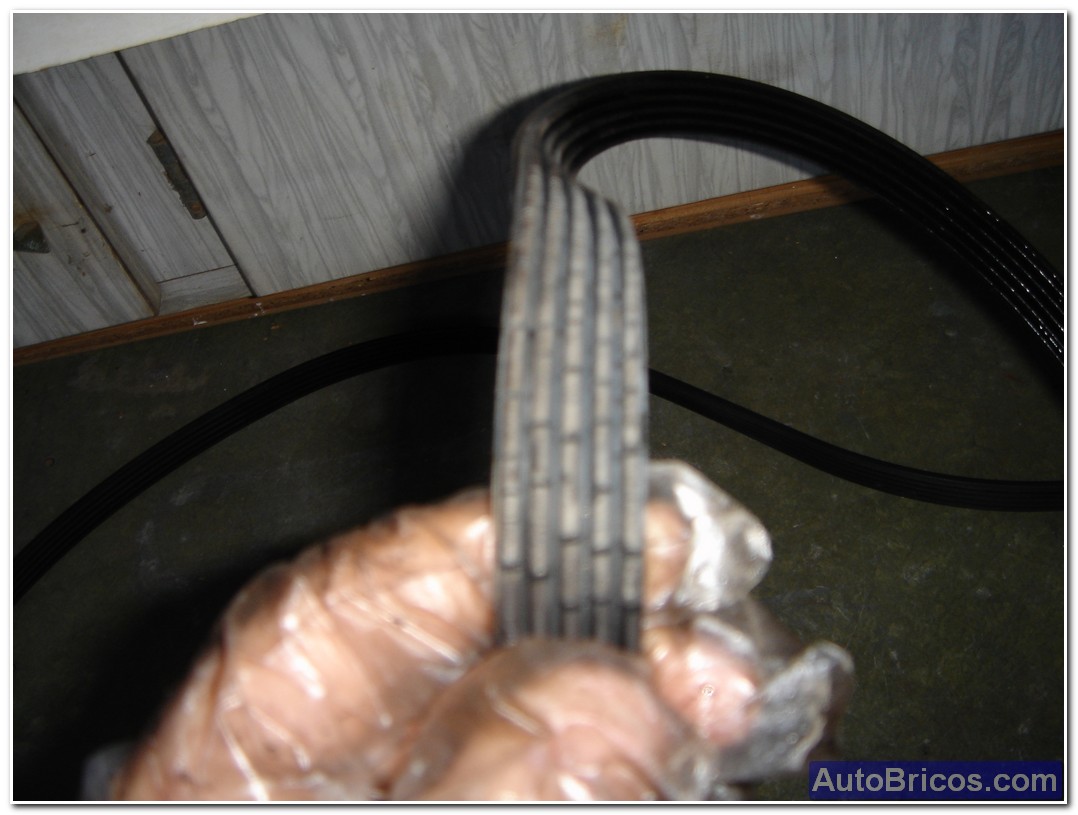
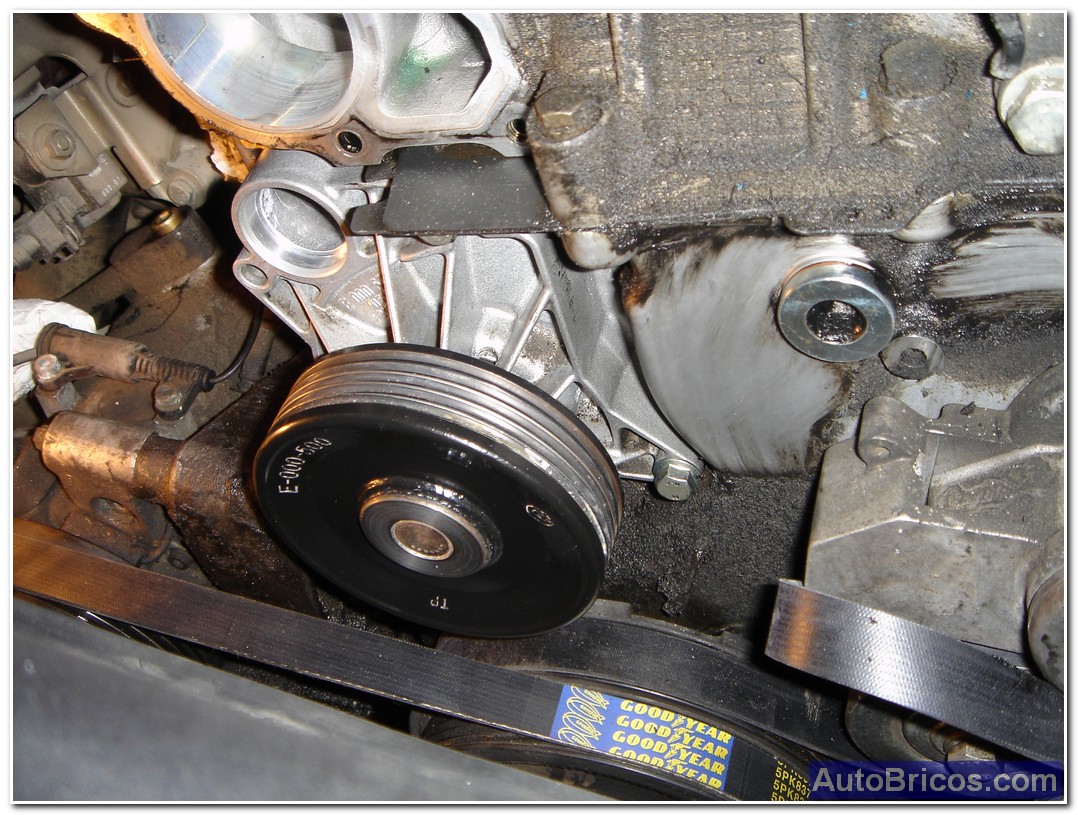
Finally I decide to change the drive belt and belt air conditioning compressor. In the pictures you can see all the pulleys involved with these two belts. To remove the compressor belt, must also overcome the tension that lies between the crankshaft pulley and the air conditioning compressor.
 |
 |
Here you can see the two belts, and the state of one of them, you can see that is quite cracked. To replace them, I recommend putting the original straps and I have noticed that I have lasted more than a surrogate of the same type and start, but obviously would be worth.
 |
 |
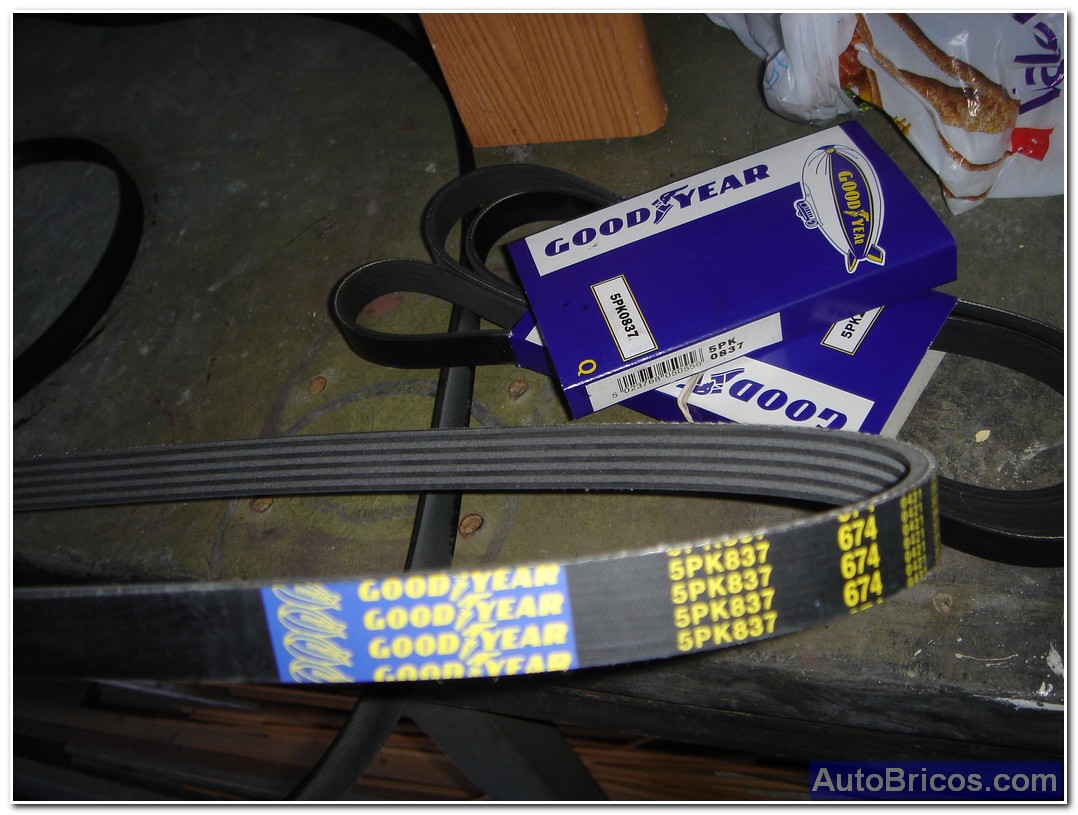
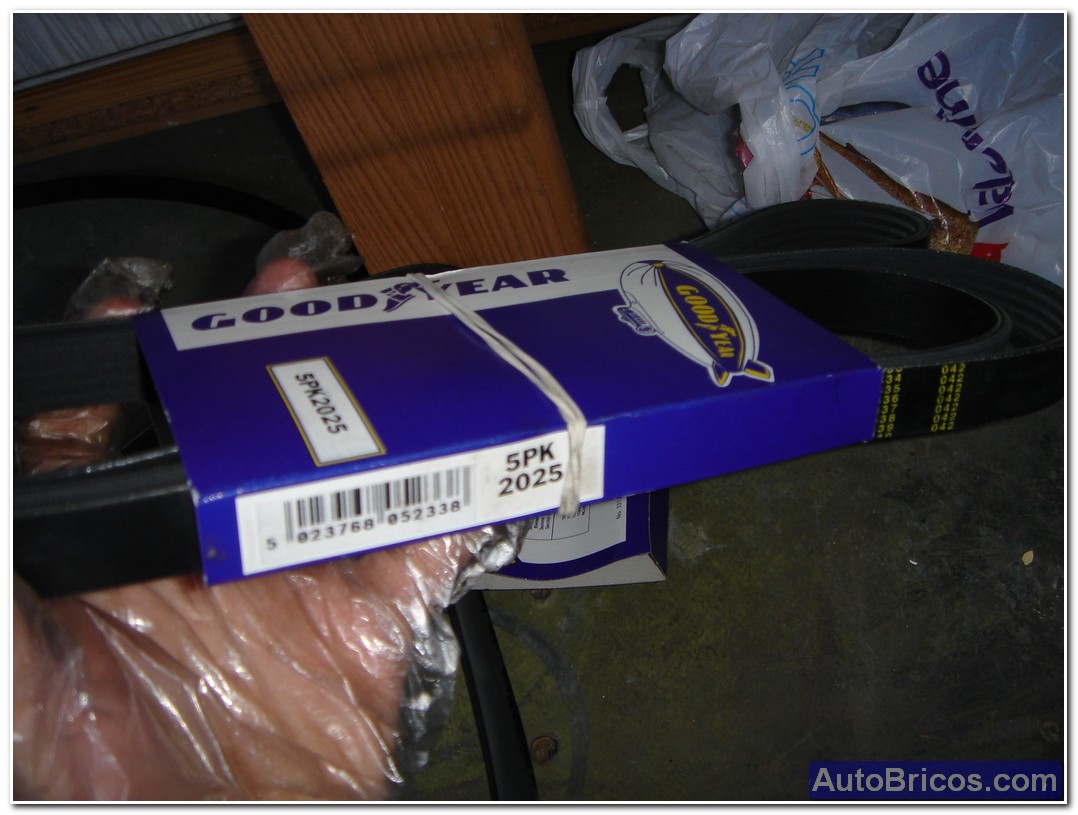
This time I put the following (are going pretty durable).
 |
 |
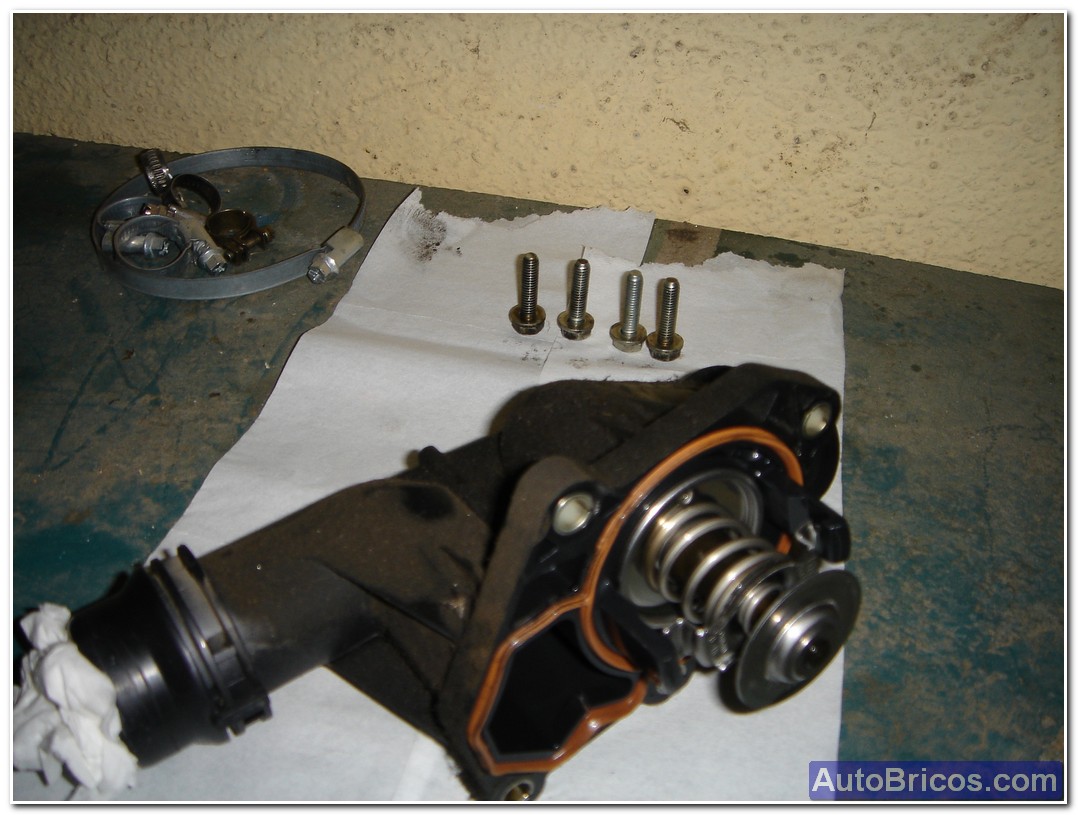
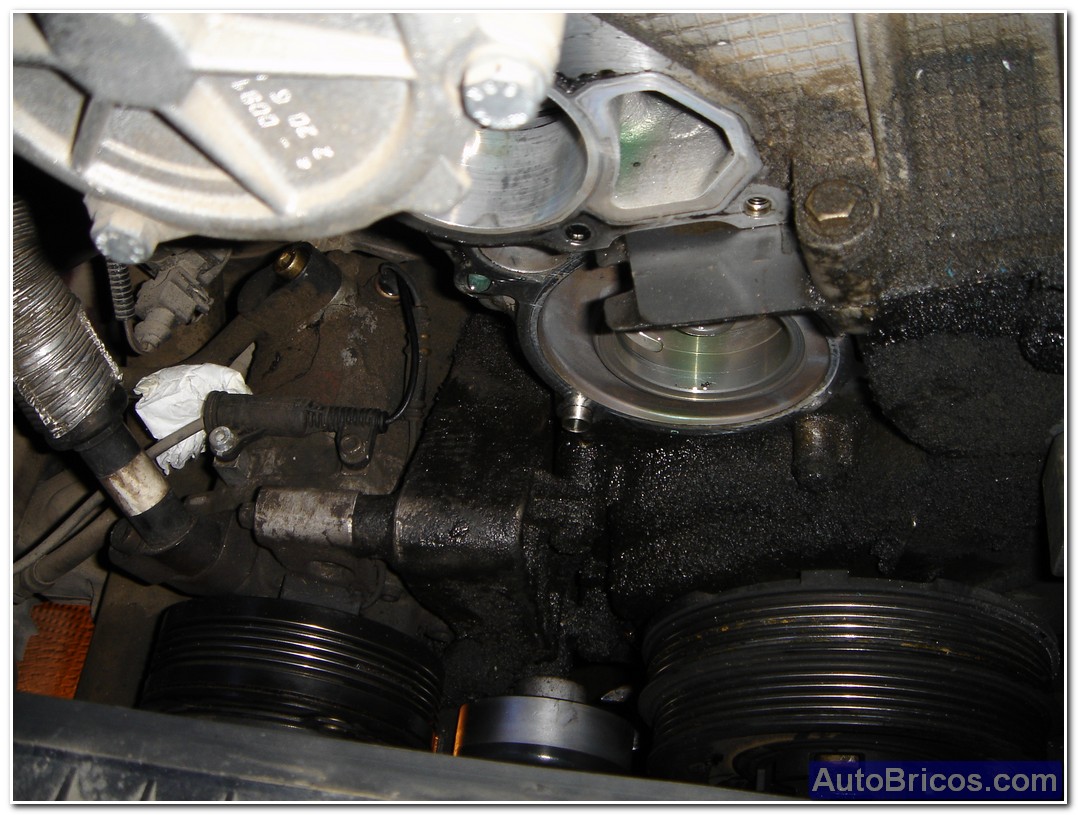
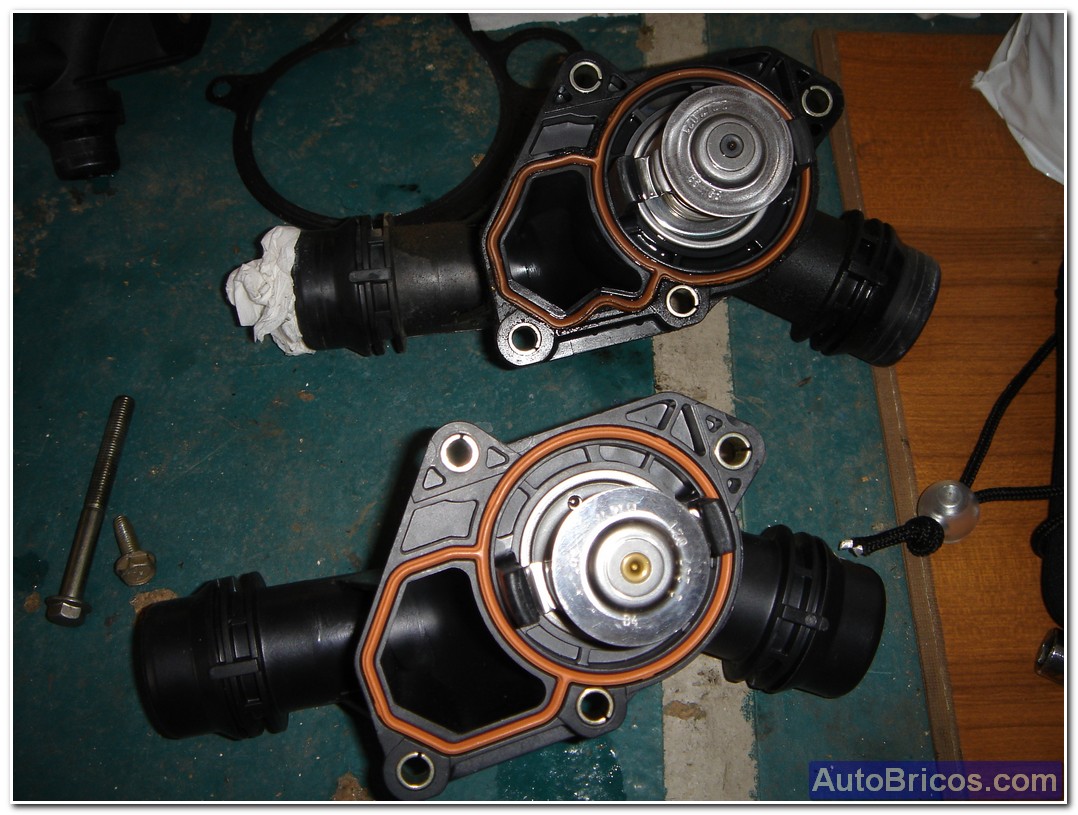
At this point if I come now to the assembly belt air conditioning compressor and assembly in reverse order all the parts that have been taking.First mount new water pump with new gasket, and then already can mount the new thermostat and plastic manifold. Note the difference between the broken thermostat (with the board out of its housing) and the new.
 |
 |
 |
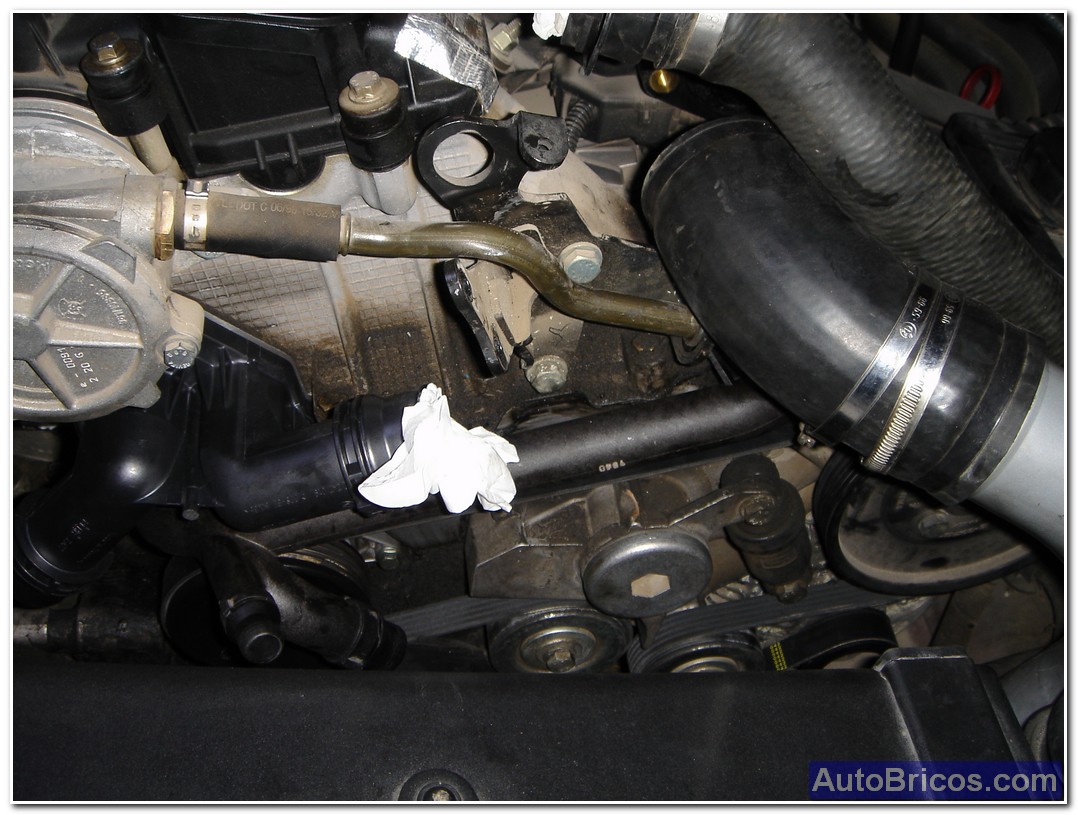 |
Following the reverse process, place the metal exchanger and also the EGR with all anchors, couplings, clamps, etc ... we have drawn above.
 |
 |
 |
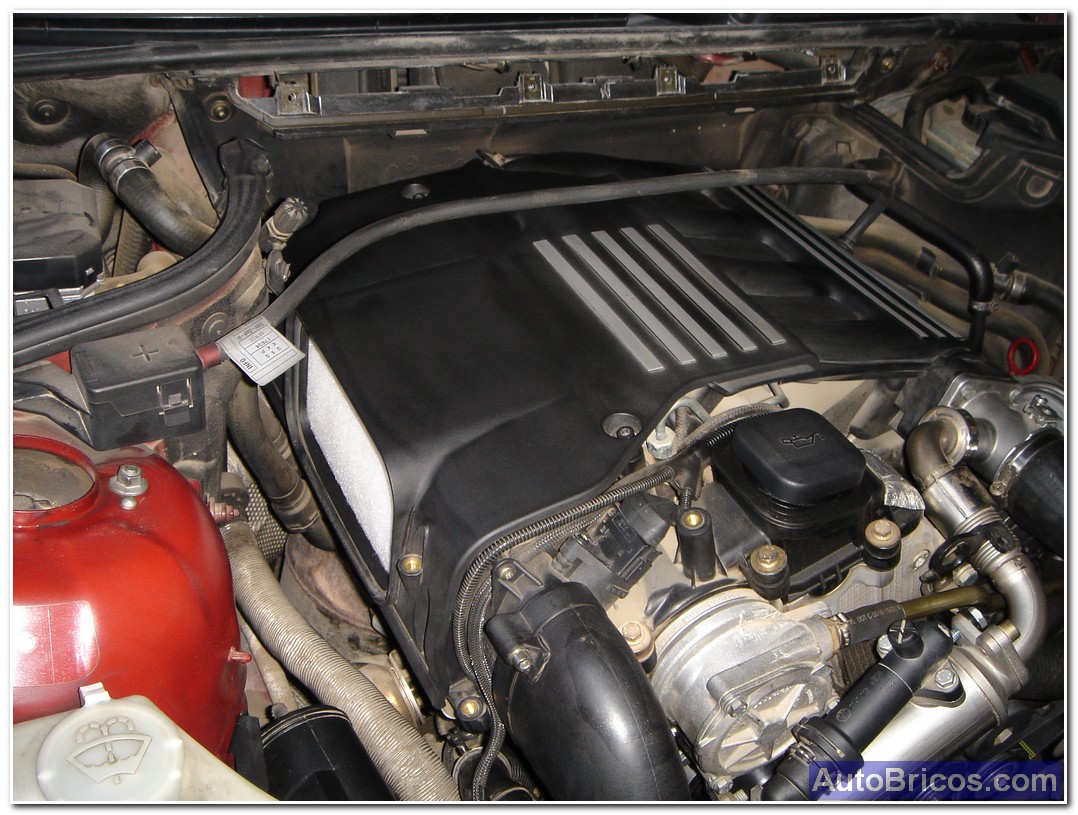
Finally, taking advantage that I have the lid open air filter, change the air filter with a new one, of course this is totally optional, in my case since I played, so I take the chance.
 |
 |
As with all covers installed, I recommend giving an overview, review all the flanges and bolts, it is all right, and then we can proceed and fill and bleed the cooling circuit. The anticonjelante I always use the original, to be mixed with 50% distilled water, it goes very well, I think it is very good quality. We will have to open the corresponding purge points and continue the purge process so there are no air bubbles in the cooling circuit. It will purge points closing at the time out to stop air and coolant starts to come out. It is best esguir the purge process as we mark the manufacturer.
In my case, I start filling everything I can in the coolant, at least about 3 liters and then open all the vents (at the moment with the engine off).By the time any of the traps will air stops flowing coolant starts to come out, I close. and hope it comes out the other vent refrigerant, and if you leave, close the other trap, and so on. The problem comes with the highest points of the engine bleed (additional heater vent), and some other near the dipstick I think, with what you have to start the engine to pump refrigerant and reaches these points .
There you go filling the coolant as purging go, until you reach the more than 4 liters you need the cooling. Theirs is to control the coolant level in the tank and wait for the thermostat to open and fill the radiator completely. Should also be noted that the temperature needle go up progressively box (without reaching the red zone), and it should stay still for half the journey. At this point we could give the purge circuit.
Anyway you can always get some air to the engine operation autopurgando go with which we can lower the coolant level the first few days of operation, until autopurgue at all, so you have to go watch the level least the first days of operation of the engine and fill with antifreeze if necessary.
| Tweet |