

 Oil service interval reset Audi A4 B8
Change valve cover gasket:
When an internal combustion engine has its years old, it is usual for the board of the rocker cover sweat a little oil, and you need to replace it to prevent these leaks and thereby also prevent soiling excessive engine and start to smell of burning oil.
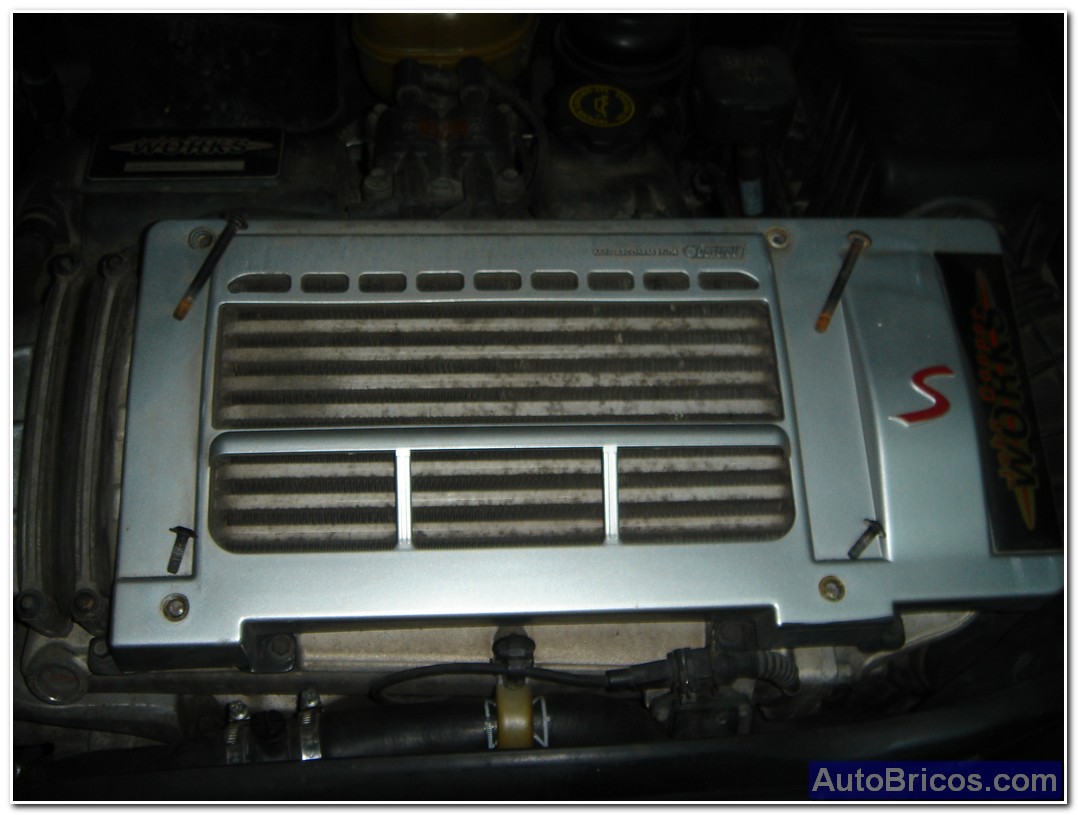
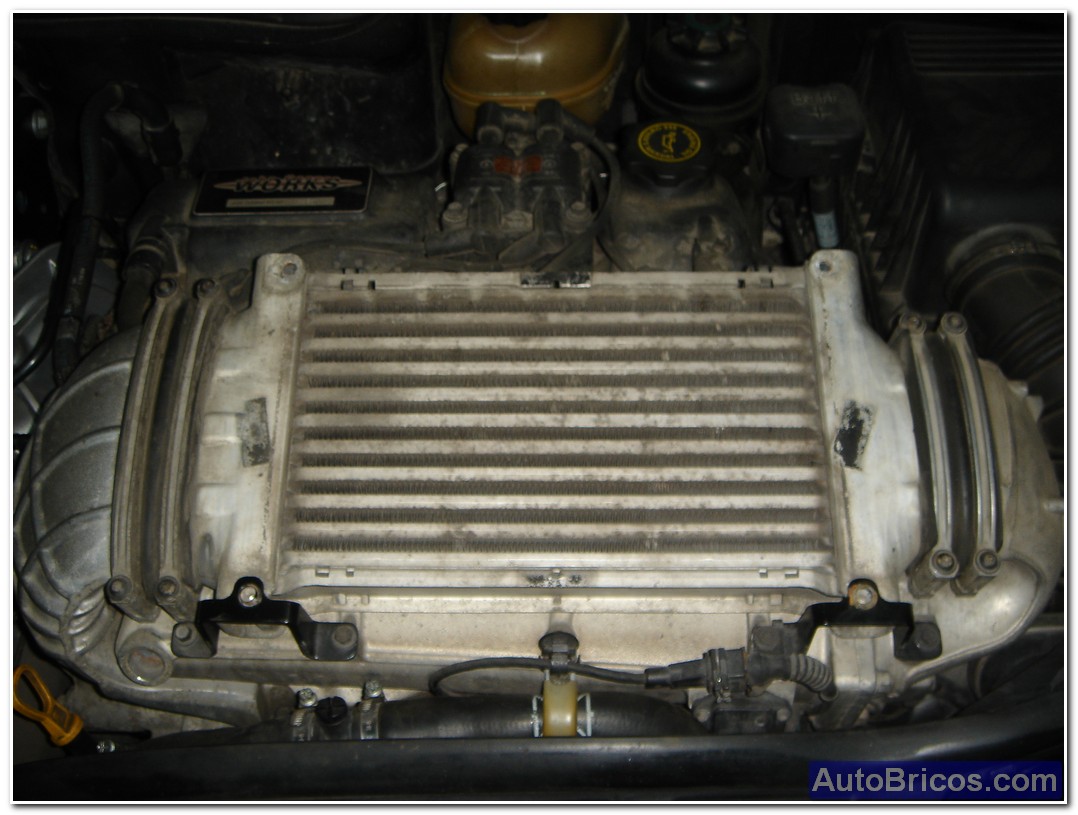
In the case of the Mini Cooper S JCW (R53), to change the board of the rocker cover, first remove debenos plastic cover that covers the top of the intercooler air intake of the engine. There are 4 Torx head screws, keep in mind that the 2 rear screws are longer than the above, in the first image you can see the difference in start. In the second image we can see the air exchanger (intercooler) without the bezel.
 |
|
The next thing is to remove the aluminum flanges that hold the rubber bellows on both the inlet and outlet of the intercooler. These aluminum flanges are also subject Torx screws. Once unscrewed the screws and aluminum flanges removed, we removed the rubber bellows very carefully so as not to cut or get scratched. That done, and proceed to remove the intercooler. As a precaution, the better cover the entrance and exit to where they were located air intercooler bellows to prevent dirt can get inside.
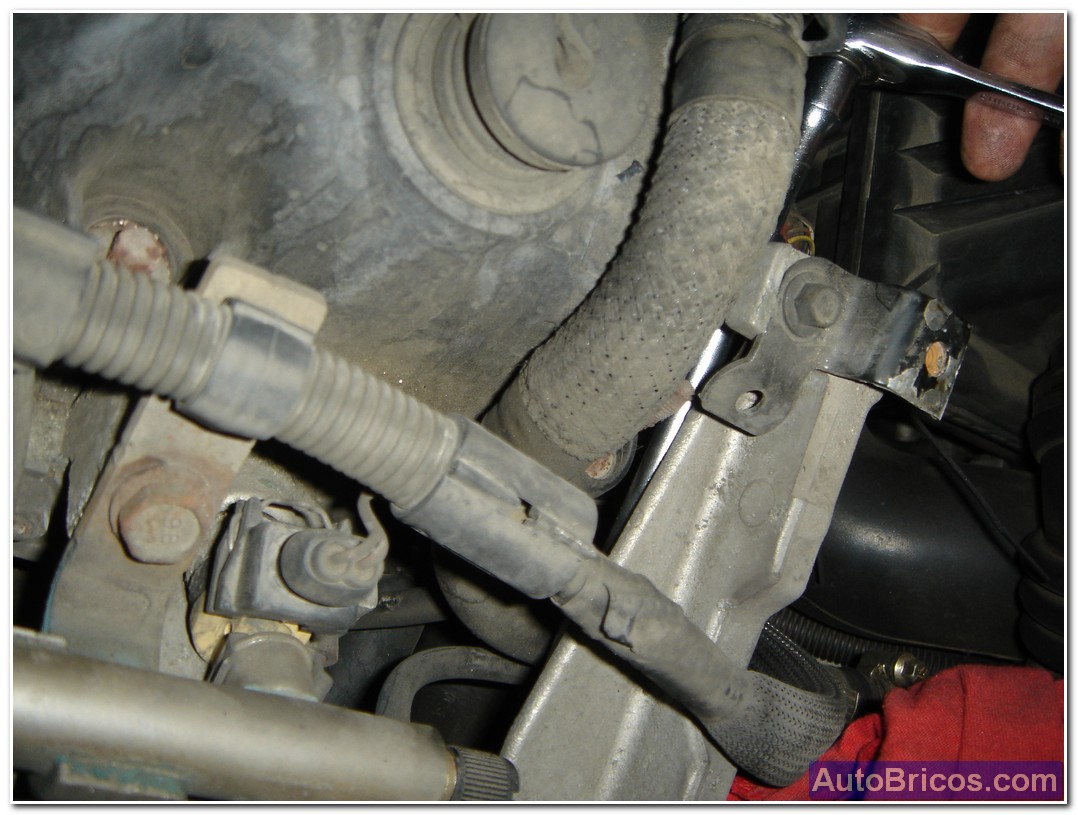
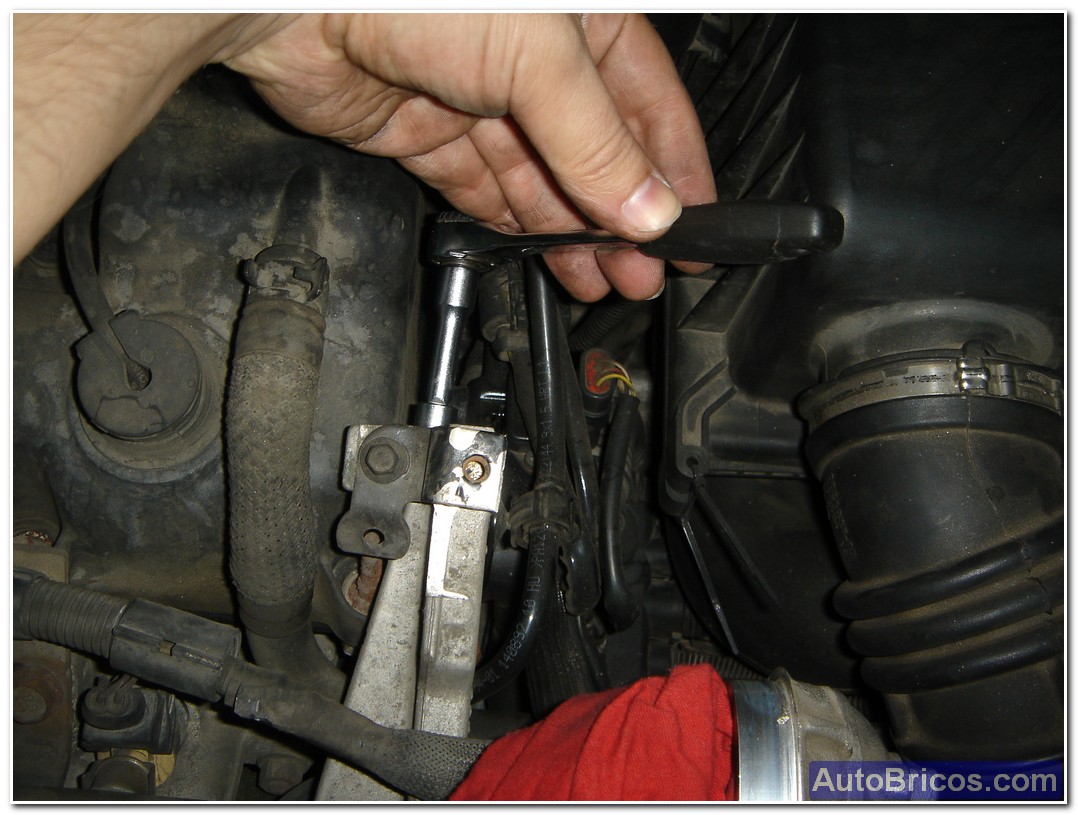
That done, we have more head cover in sight, but we need to clear space so it can be easily removed without damaging it. To begin, remove the left and right brackets intercooler (two pieces of aluminum that act as support and securing the intercooler. Started pulling duty aluminum bracket, use a ratchet with extension to reach the bolts; must be careful not to unscrew fall, as some have difficult access.
 |
|
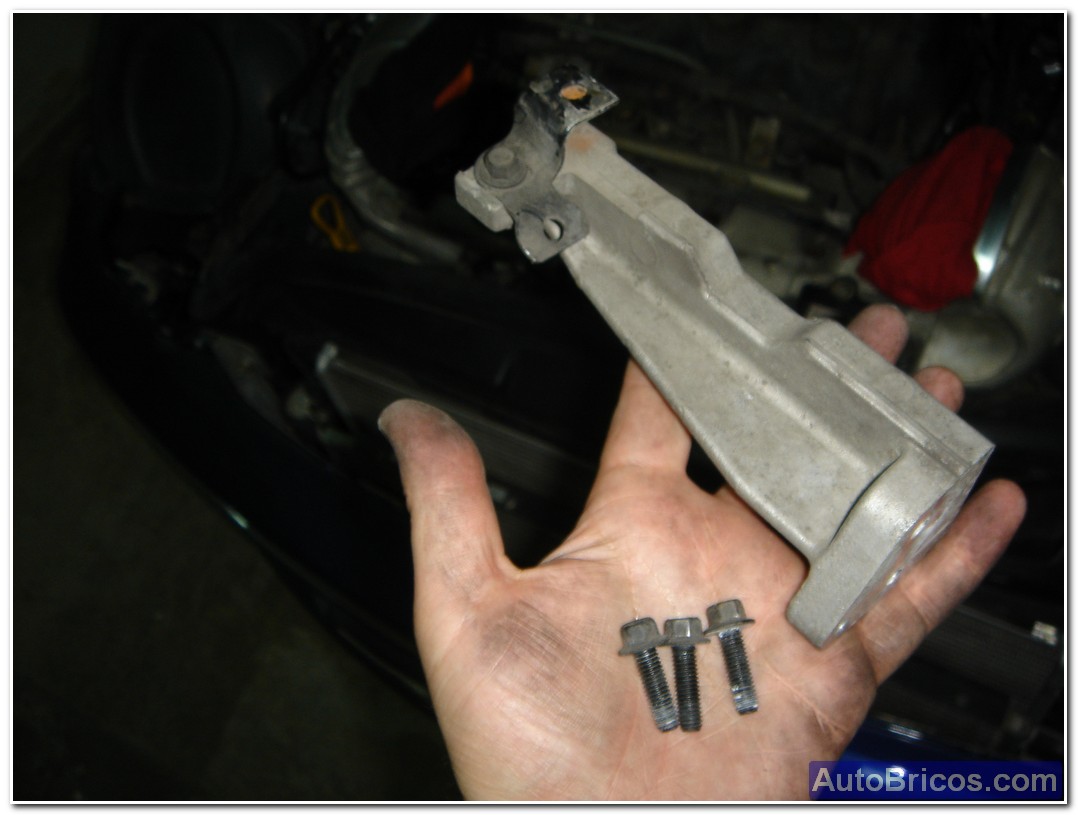
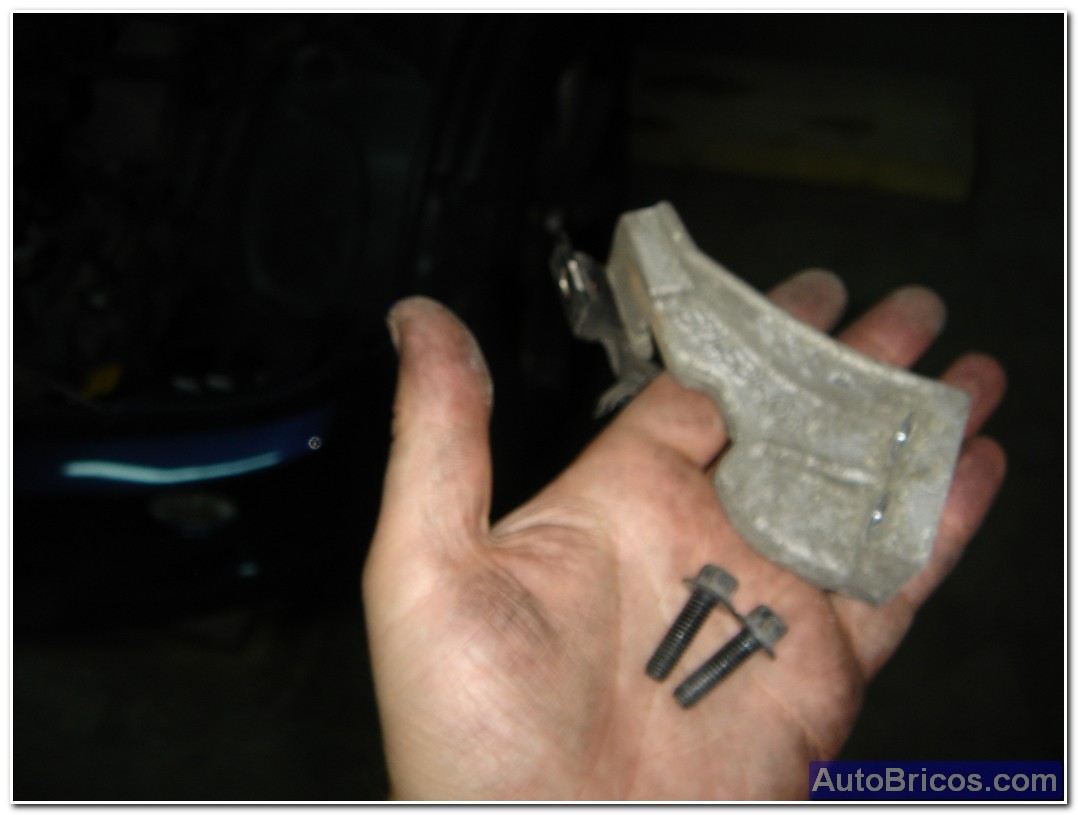
In the first picture we see the right support and extracted with three screws, and the second photo shows the left support intercoler also extracted and with its 2 screws.
 |
|
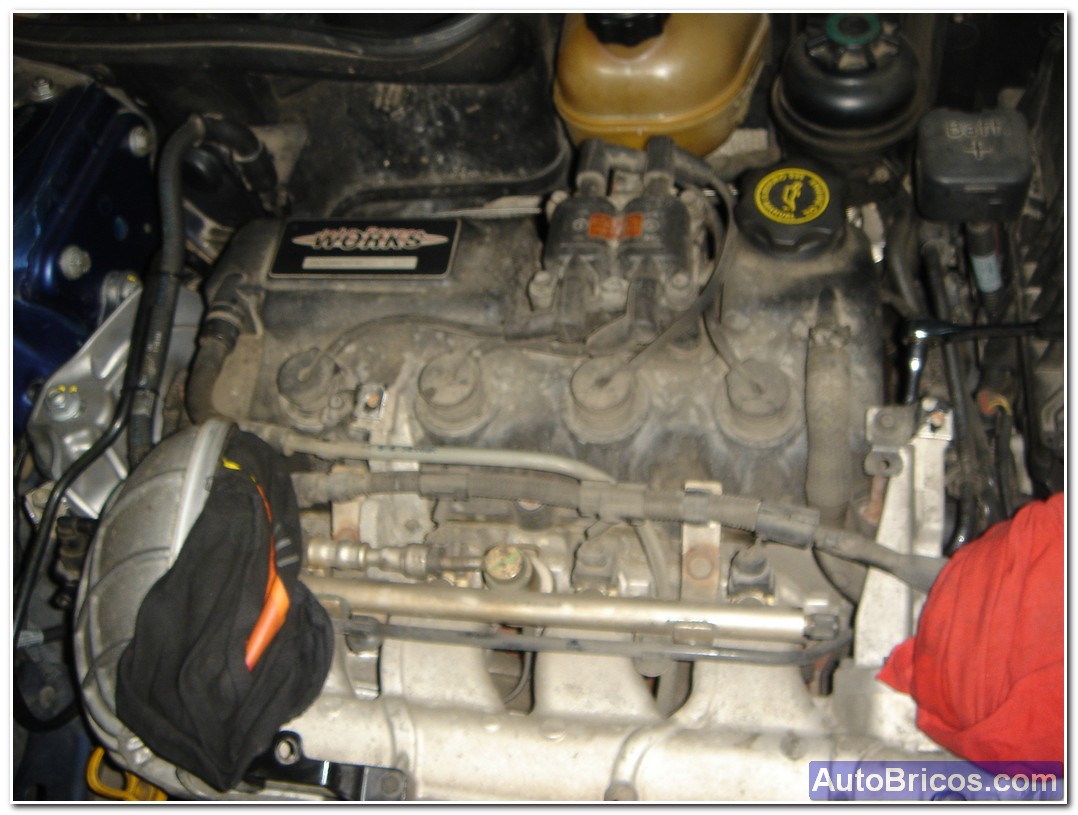
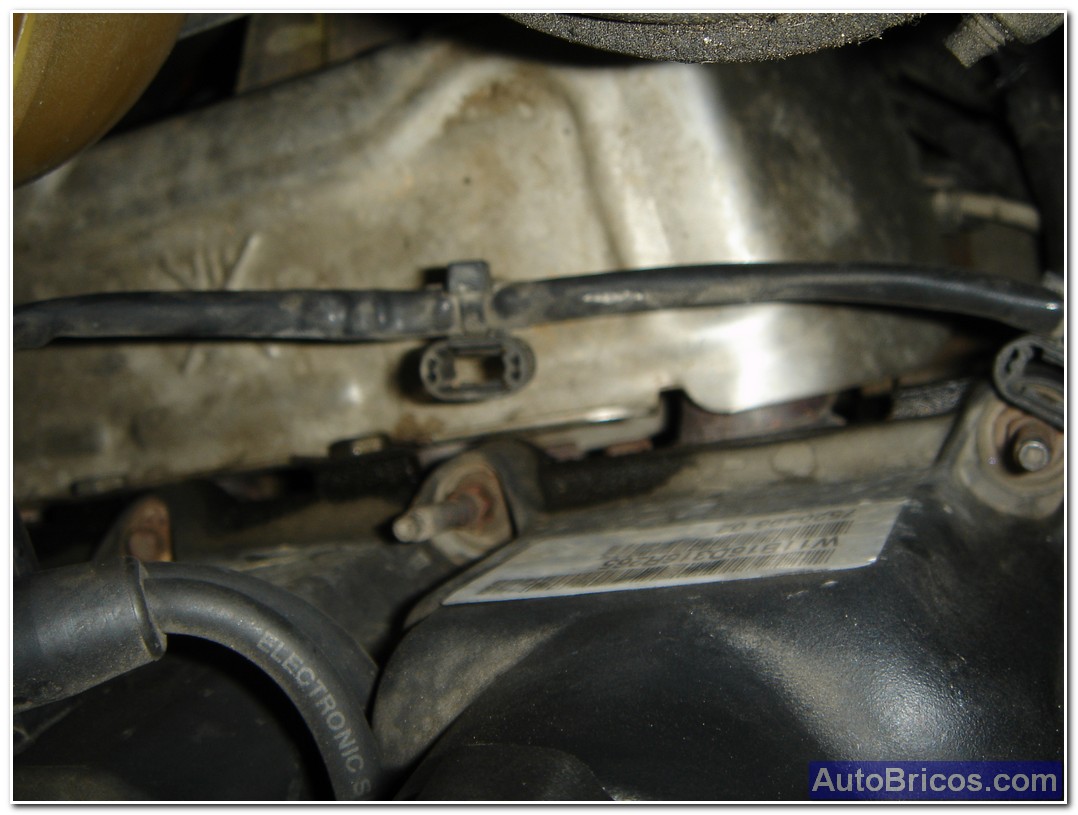
Will also have to remove the cables are secured with clips on some of the screws holding the valve cover, on the photo you can see the clips already out of the studs with hexagonal nut securing the cylinder head cover. You will find that there are two types of screws, those with the stud to slide the clips on them, and those that are simple hexagonal screws (without stud). That if they all have a special board rubber to improve Tightness in the anchors.
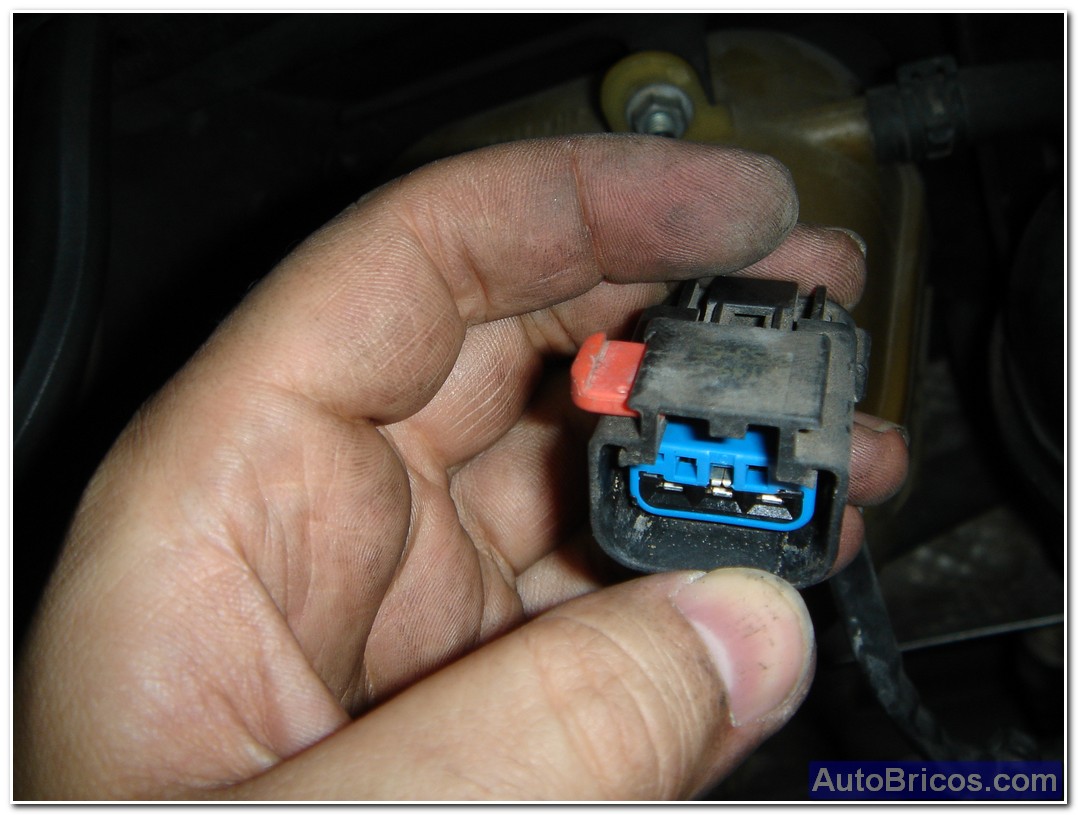
In the second picture shows the connector to the block of coils in the stock is subject, the block is not necessary to remove it, but if it disconnect, and for that it is necessary to slide a safety red eyelash has the connector, apart from tighten the rear tab of the connector itself (black). The red tab as seen in the image is in the unlocked position allowing us to remove the black connector by pressing the tab and pulling back out.
 |
|
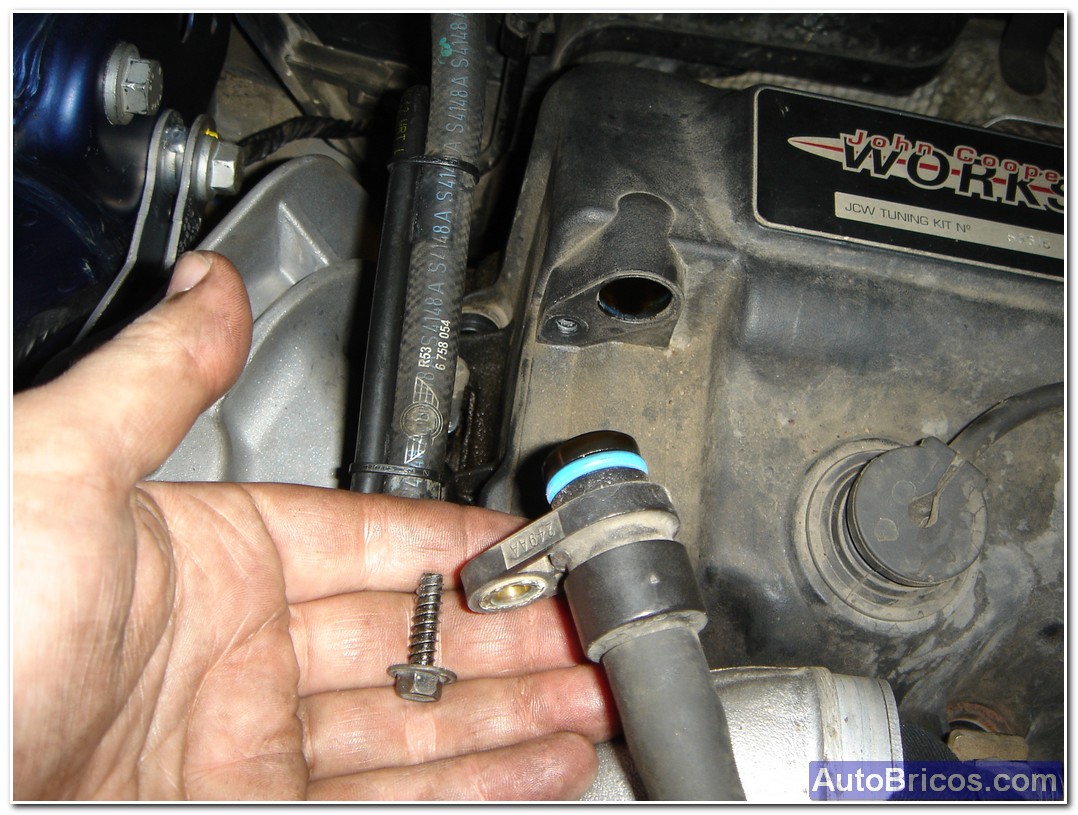
Another thing we must remove the return pipe oil vapor, which is held by a screw into plastic. Pull the tube and remove it carefully. The next and will disconnect all plugs pipettes and we can remove the head cover carefully especially with us not getting dirt into the rocker mechanism.
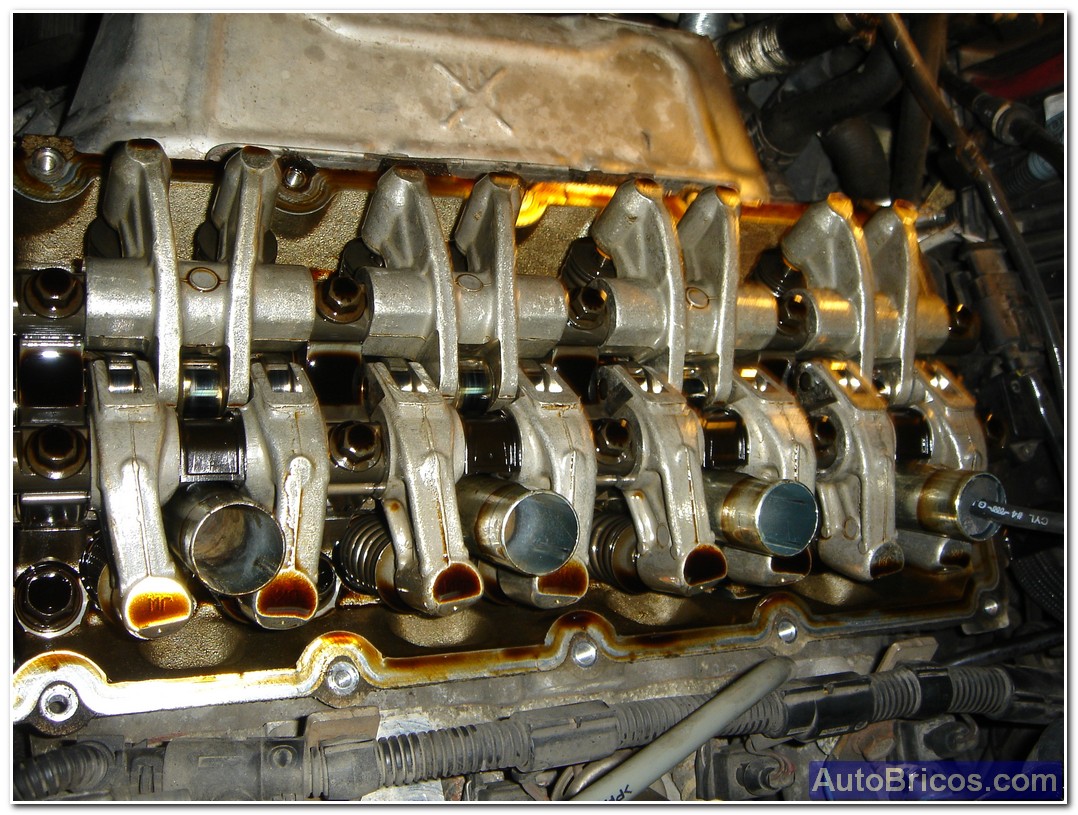
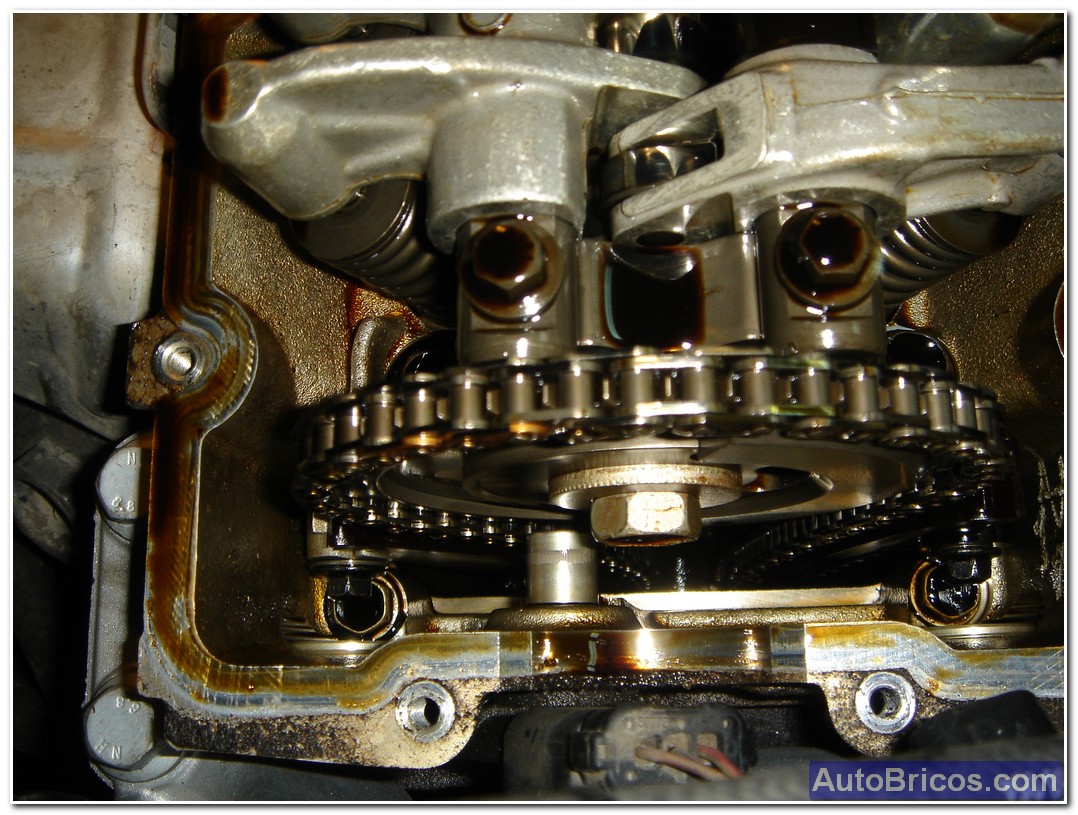
After removing the head cover, we can remove the old gasket, as you can see from the pictures, we have the rocker arms and camshaft in sight (pictured right you can see the distribution chain). Carefully clean up the outline of the aluminum cylinder head where the board will be supported by the rocker cover to prevent leaks due to dirt in the settlement of the board. Do the same at the top of the cylinder head.
 |
|
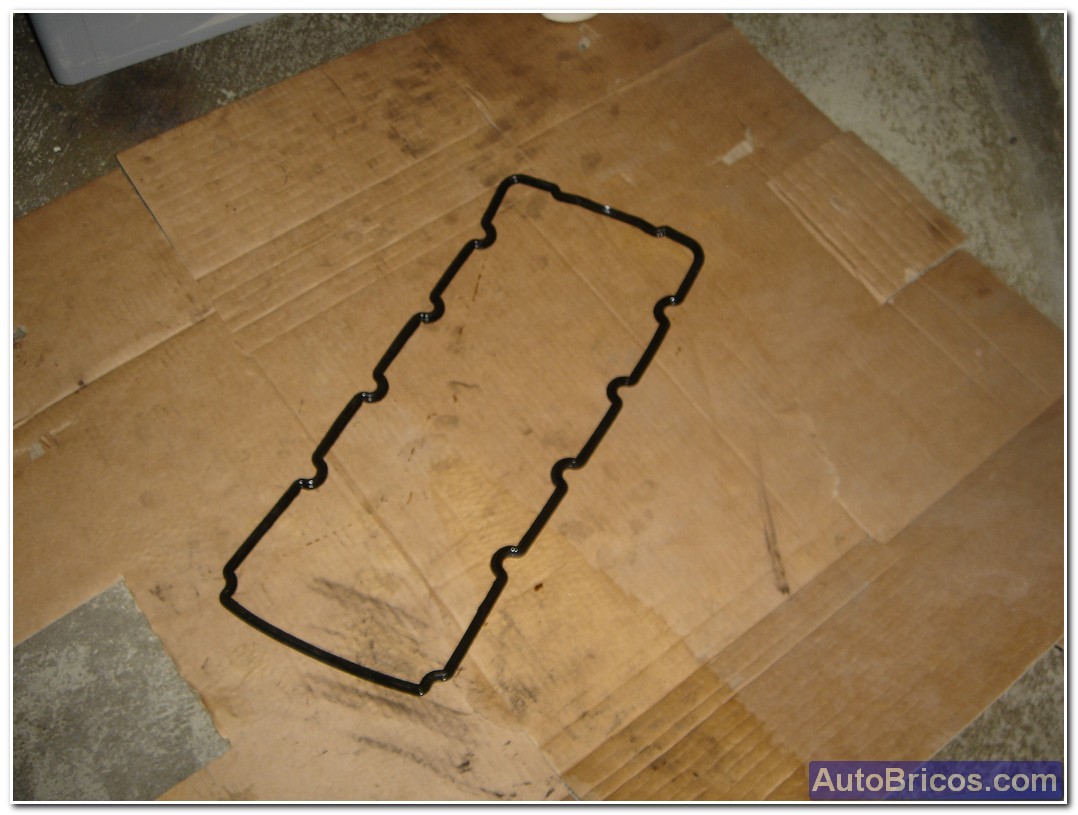
Here we have the old gasket head cover.
Once cleaned up all around which will hosted the joint (butt as both head cover), we can dispense with the new board, and continue the reverse for reassembly of all parts.
| Tweet |