

 Oil service interval reset Audi A4 B8
Removing the cylinder head
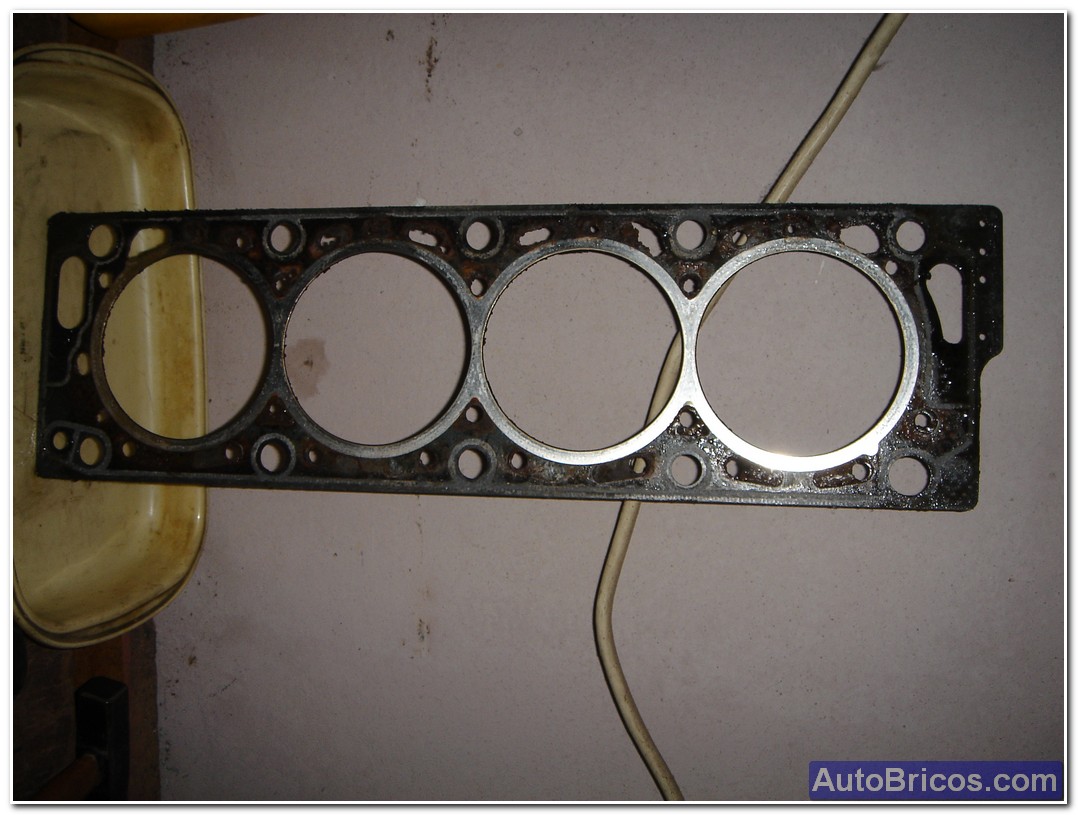
In this reporteje disassembly process I followed to the stock one (2.0i 16v 155hp) for subsequent reconditioning and polishing in order to improve the compression of the engine and therefore the engine performance XU10J4/RFY type shown. Valve stem seals, camshaft, tappet and it was not quite right was also changed.
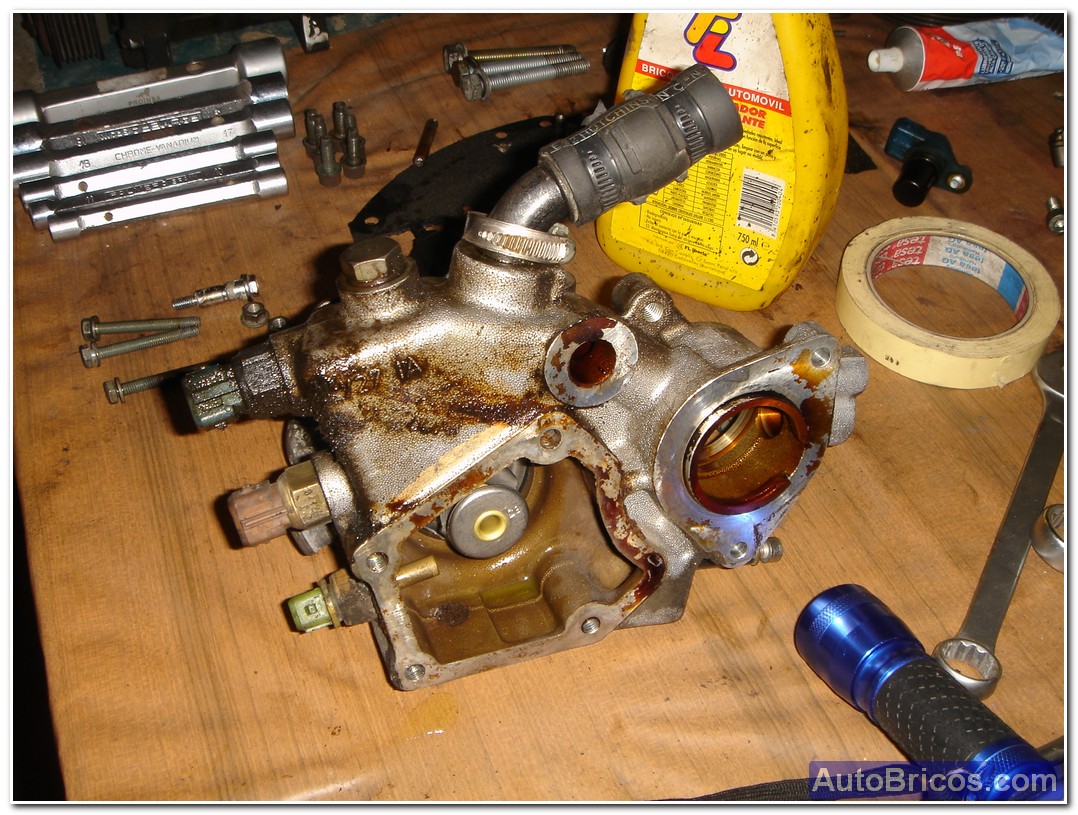
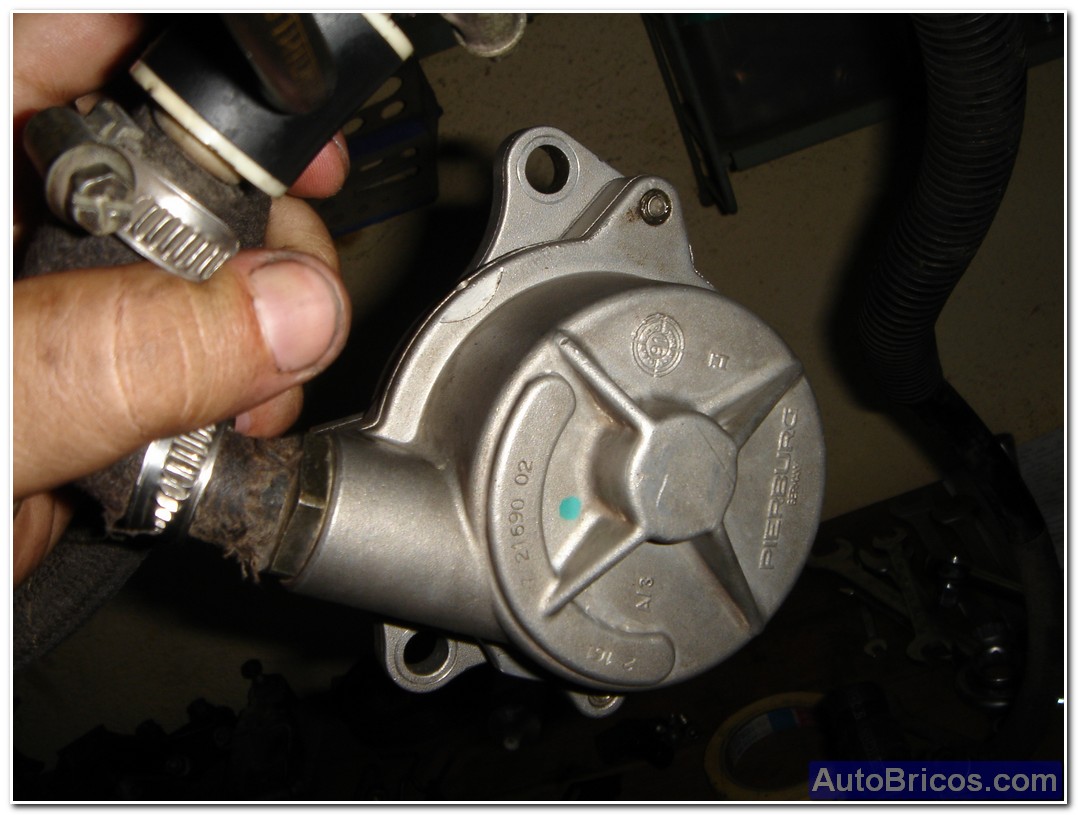
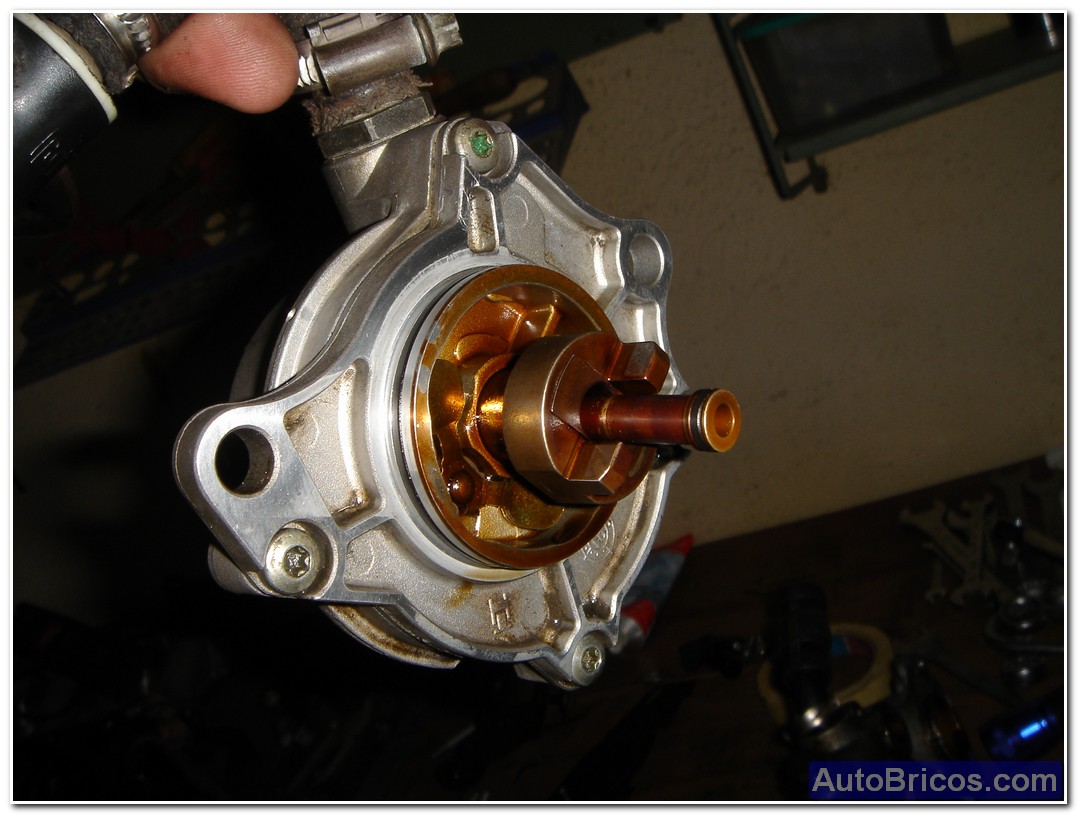
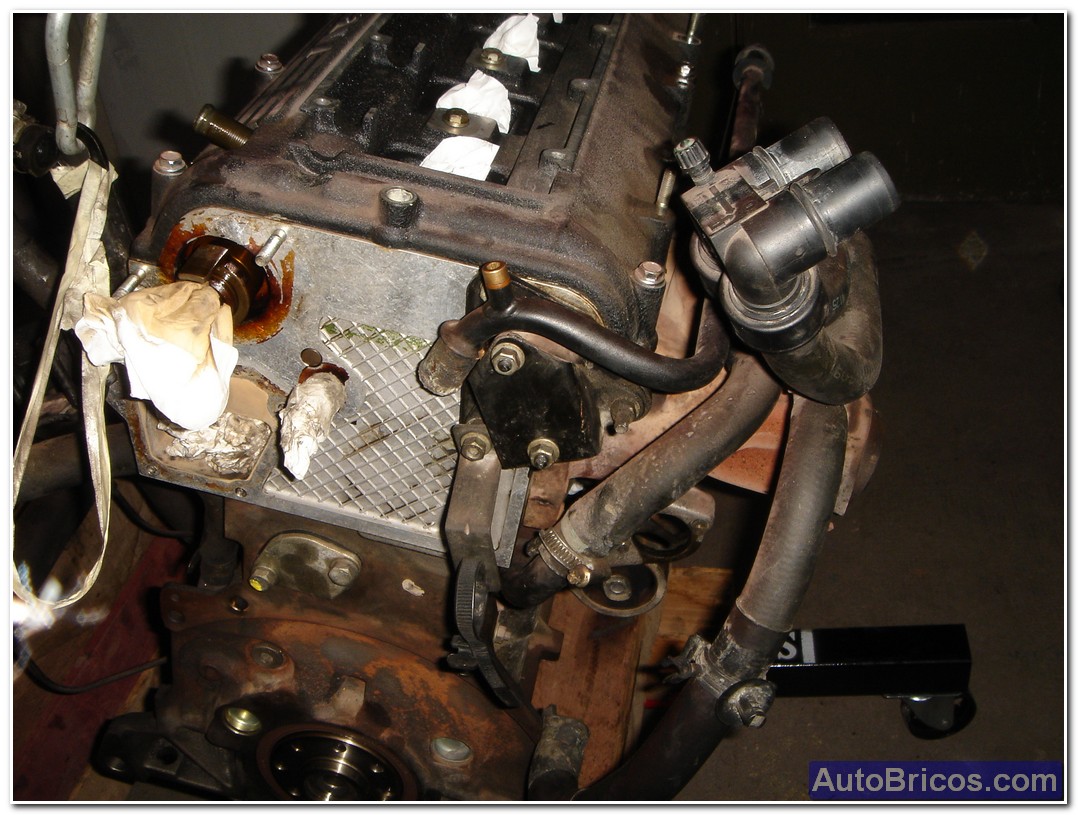
First I pulled the aluminum body makes hosting the thermostat housing, which also supports the mechanism of the vacuum generator. The right thing would be to change the rings when the vacuum generator is reset back into place. We can see that the aluminum body that supports the thermostat housing and the vacuum has also threaded 3 sensors for engine coolant temperature (each in a specific area of the cooling circuit).
 |
 |
 |
 |
 |
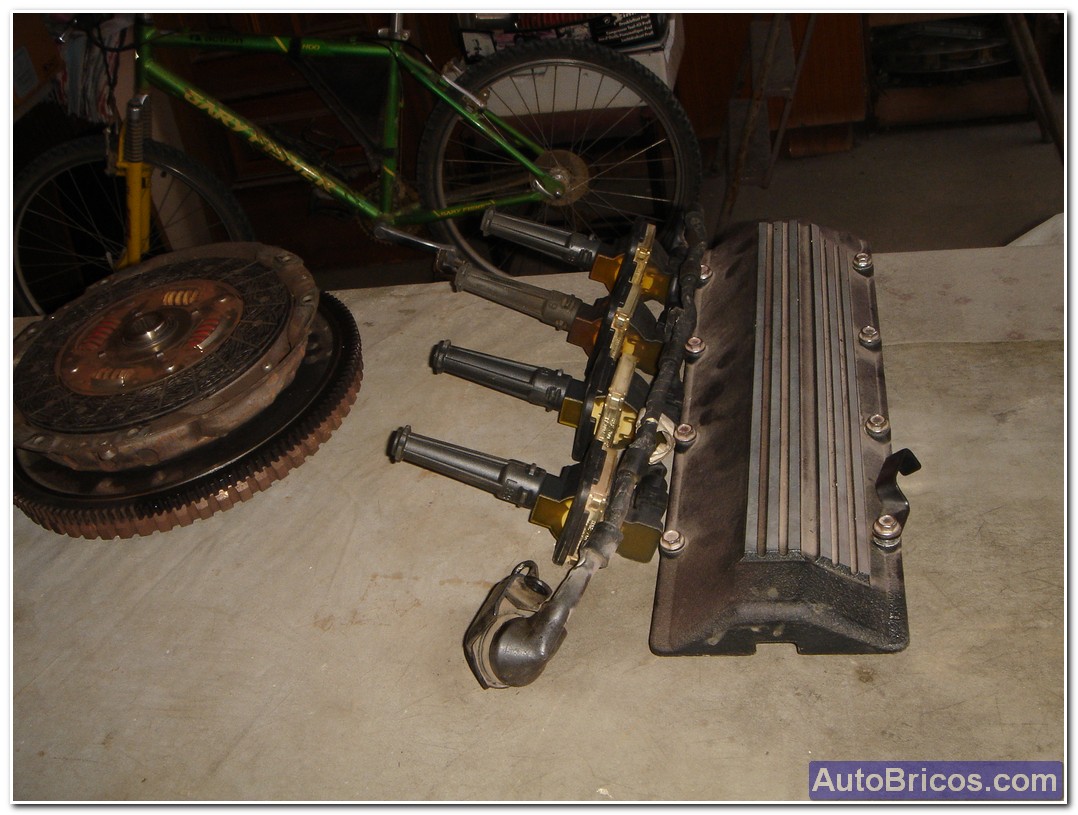
The next thing I did was clear the top of the head cover to remove the cylinder head cover itself; First had to remove the upper register of aluminum that holds the individual coils Magneti Marelli type of BAE01. Once removed this tapita upper aluminum, and could be extracted easily 4 coils. Next was removing the spark plugs, building to see the state in which they were. Interestingly in very poor condition. It can be seen in the photo that 2 of them are quite greyish from the part of the thread (were loose and compression thread they was losing), and certainly by the fact of being improperly tightened one of fatigued too much and broke the ground electrode (which is looks gray in the picture).
 |
 |
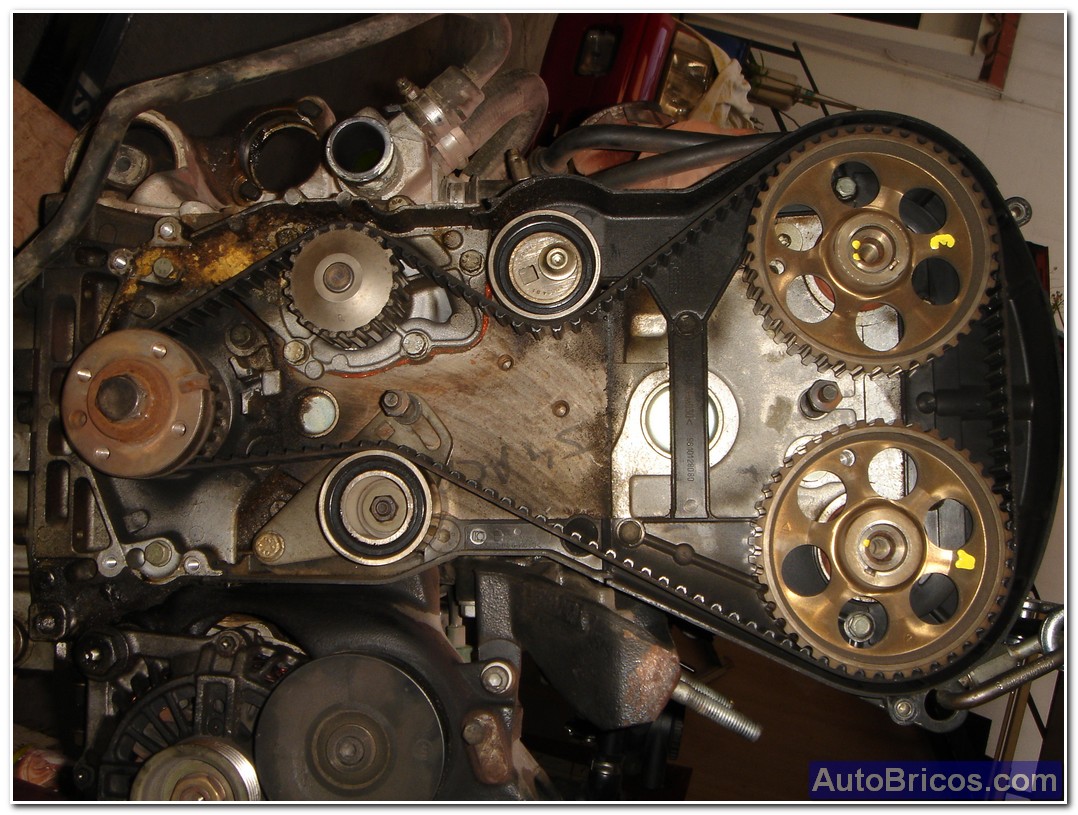 |
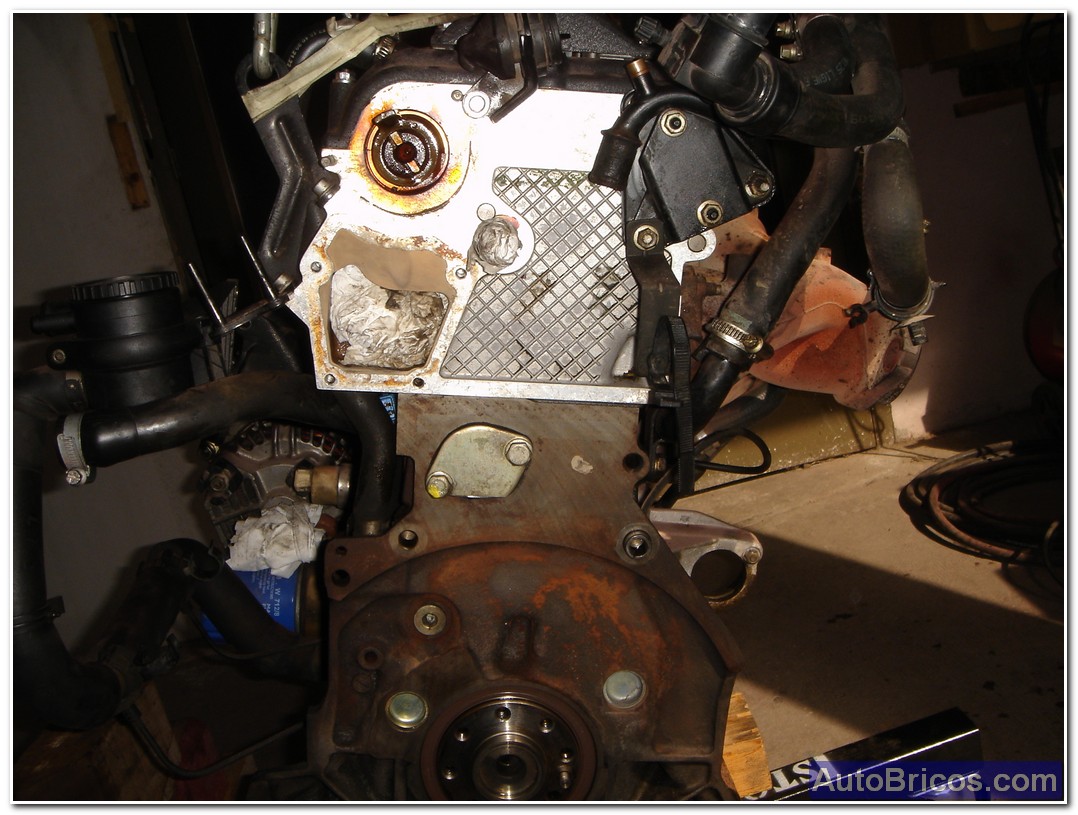
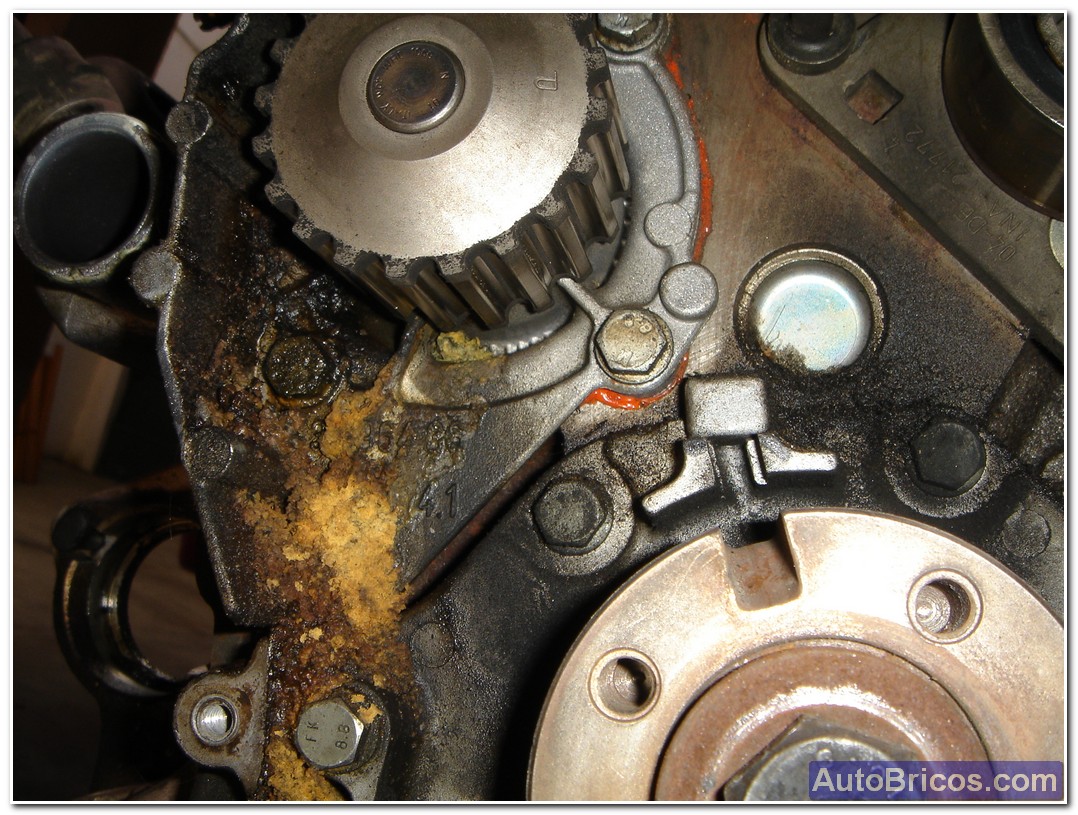
In the area of distribution also had to remove the plastic cover that protects the entire distribution, we must be very careful to see that both the camshafts and the crankshaft pulley will synchronized with the marks machined that is in the engine block . In the pulleys of camshafts are some holes that have to match the engine block, and the crankshaft is a slot as you can see in the photo. When replacing the timing belt have to be aware of these brands, setting the pulleys and also have a lot of healing in the tension of the timing belt.
To remove the old belt distribution, the first thing is destensarla 2 idler pulleys loosening the middle of the engine, It should go smoothly, as we want to change seals camshaft, we remove the pulleys, and for that we block them central mechanically loosen the hex screws fastened to the axes of the camshafts. I dialed the pulleys intake and exhaust if they had differences machining (although I think they are identical).
 |
 |
 |
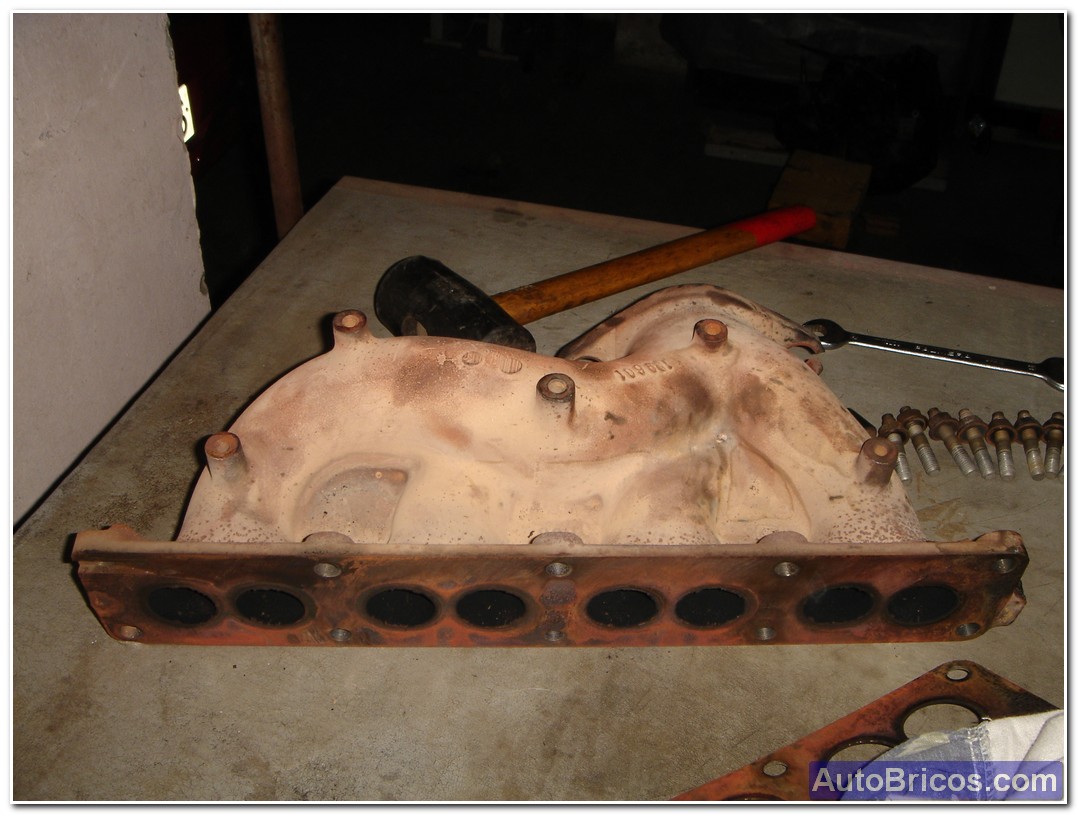
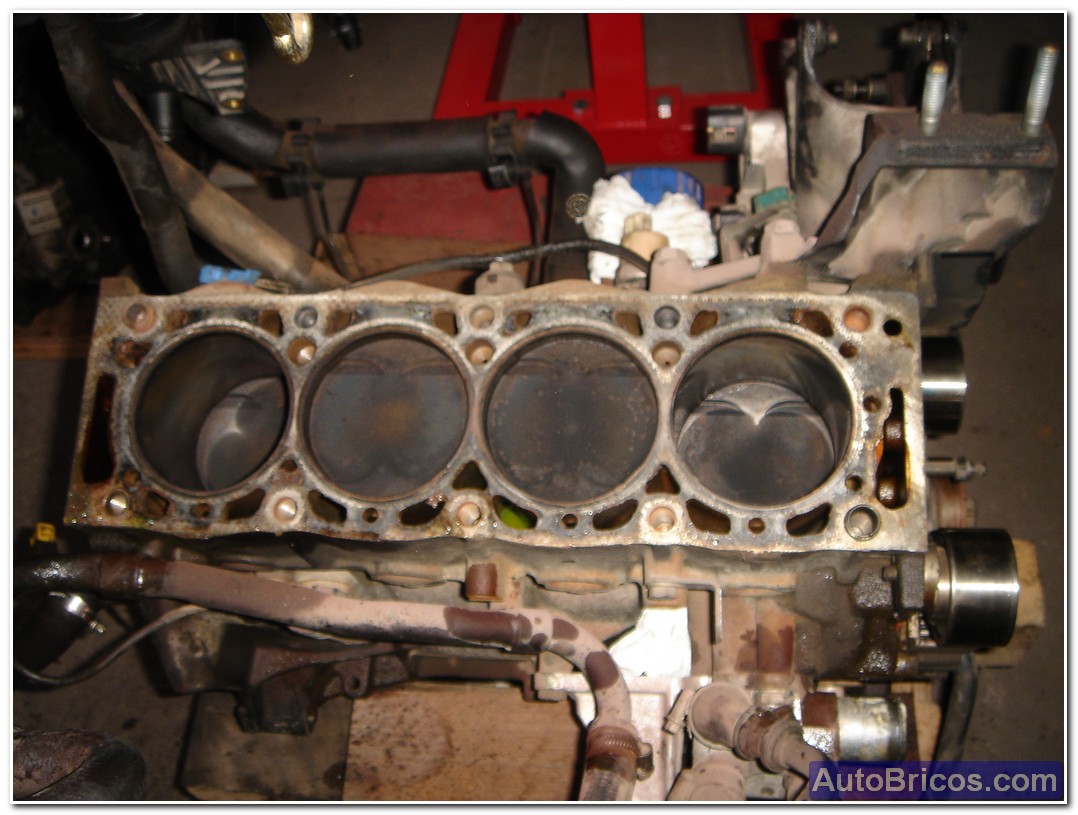
Finally, remove the left exhaust manifold cast iron and board, in the picture you can see a flaw that almost everyone had at the collector (the happy slit is formed in the central region of the collector where the ducts converge) . I have seen several collectors with fair crack in the same place and with the same inclination and start. Surely design flaw.
 |
 |
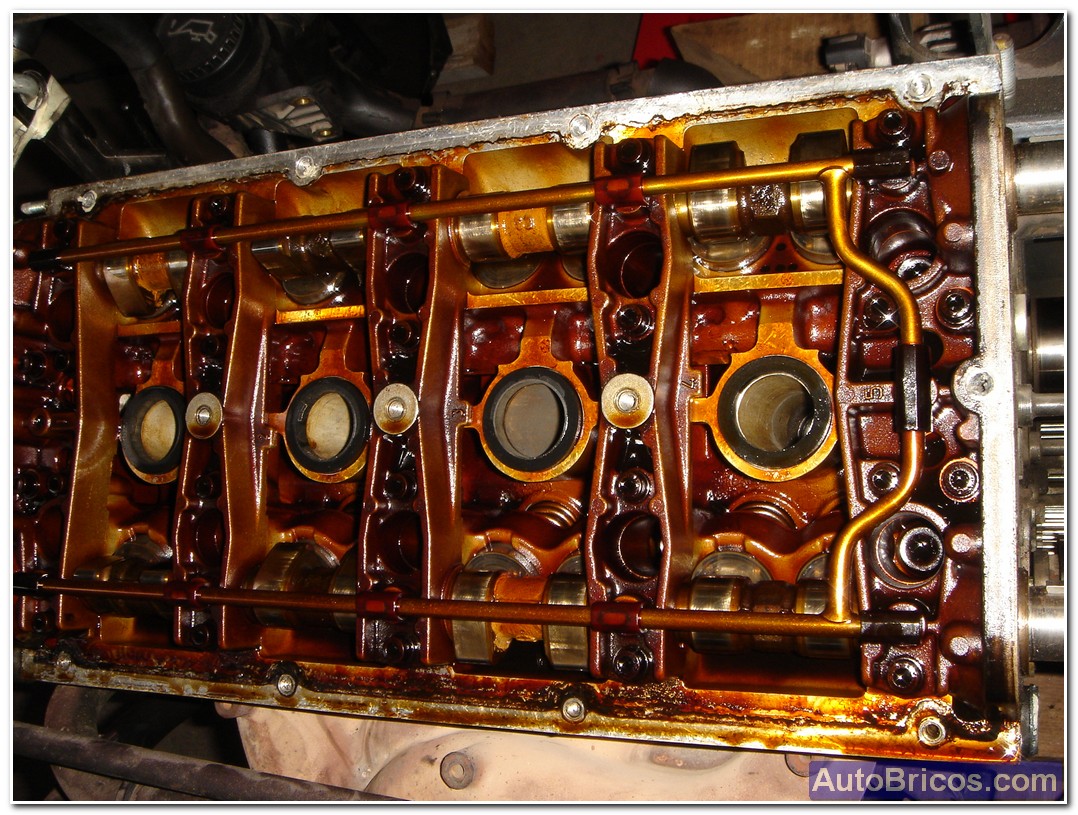
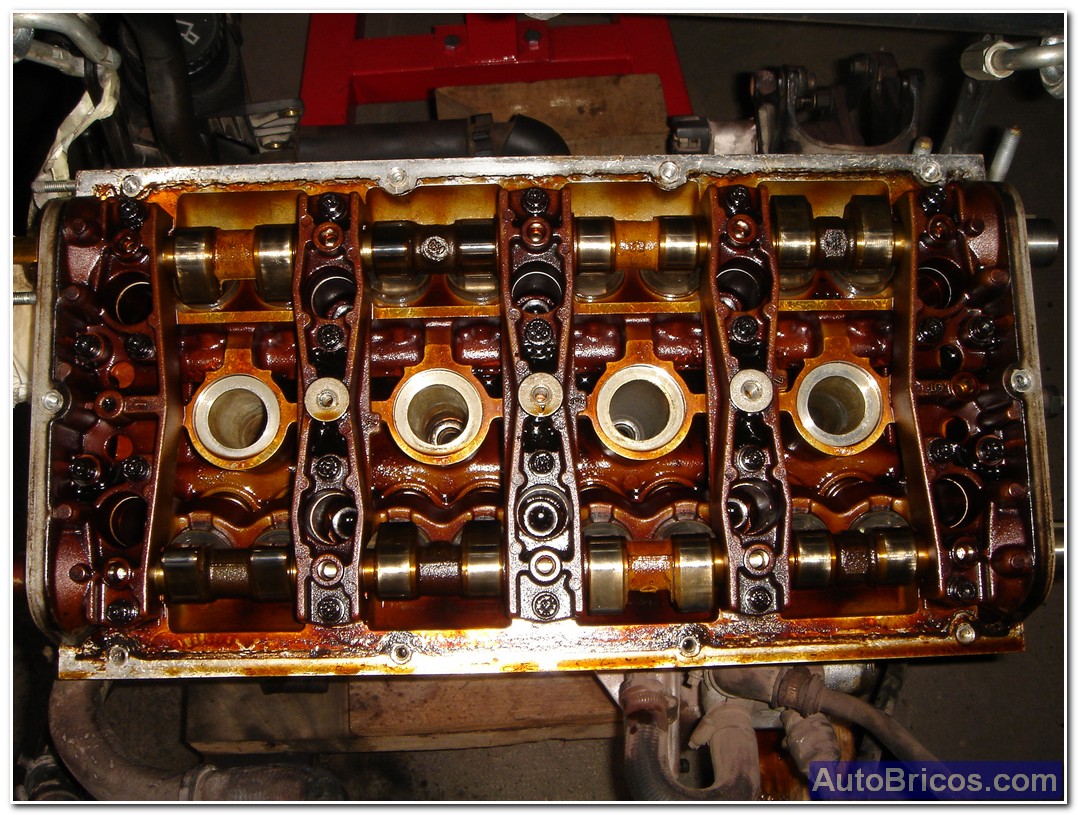
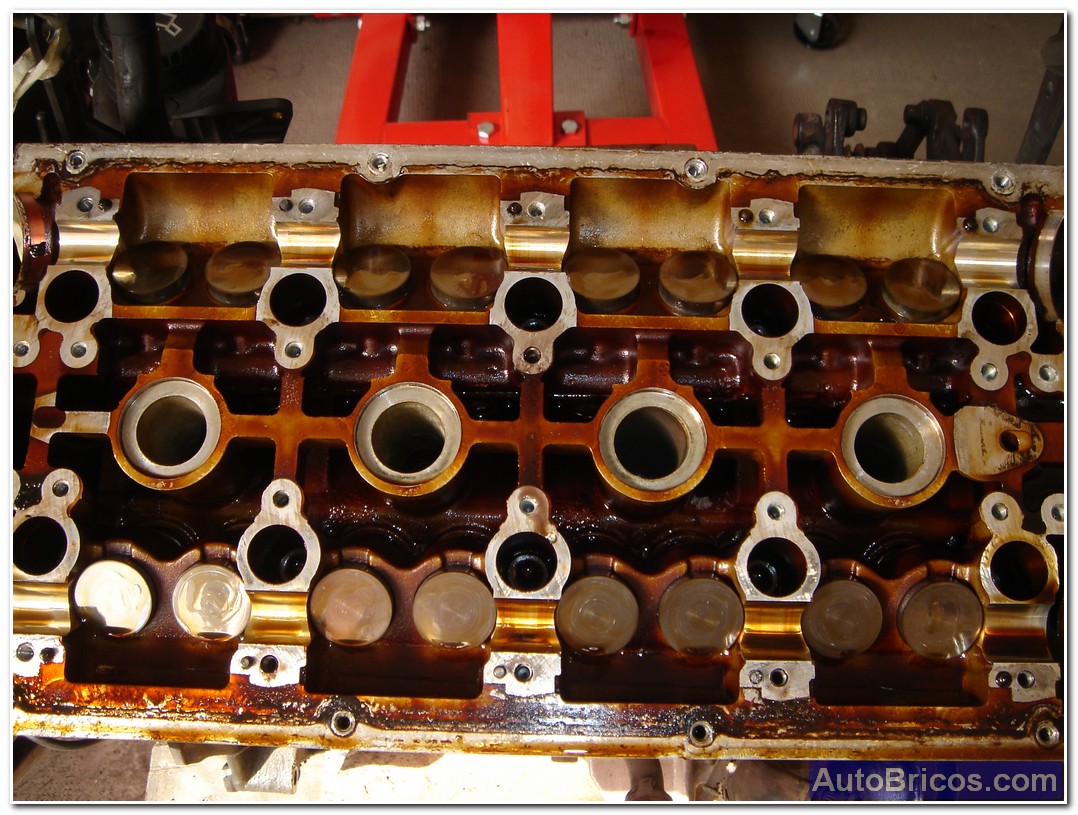
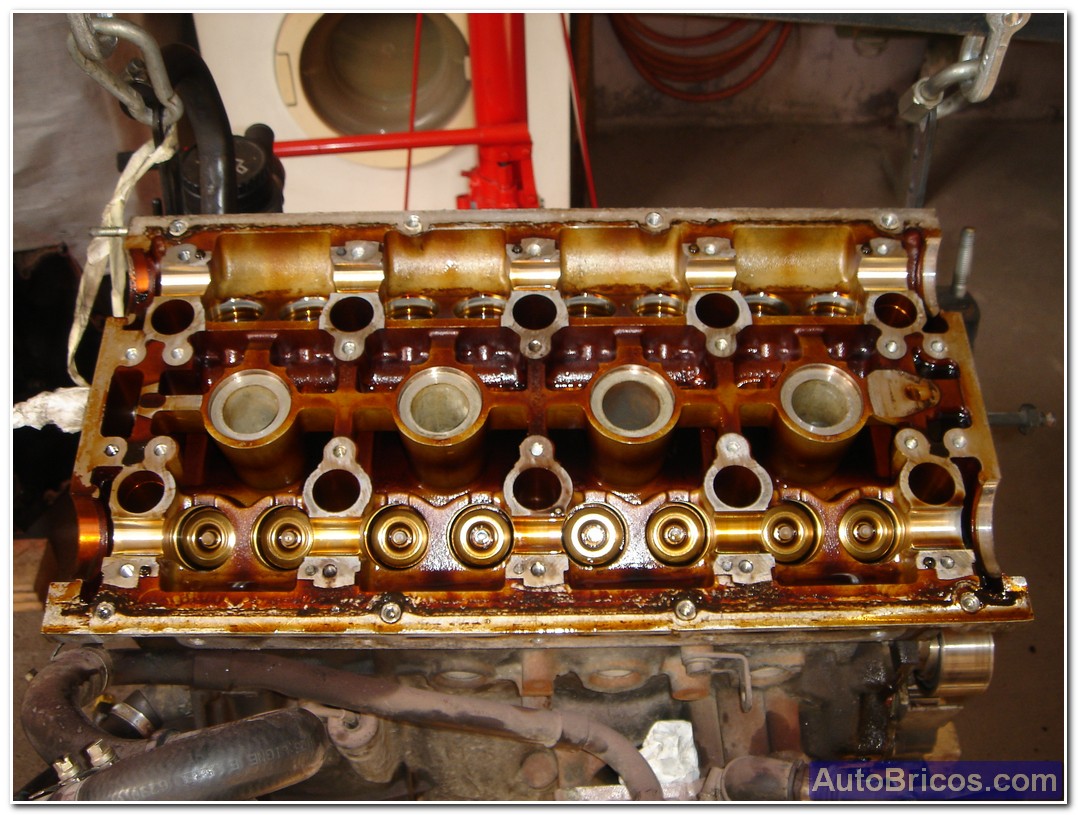
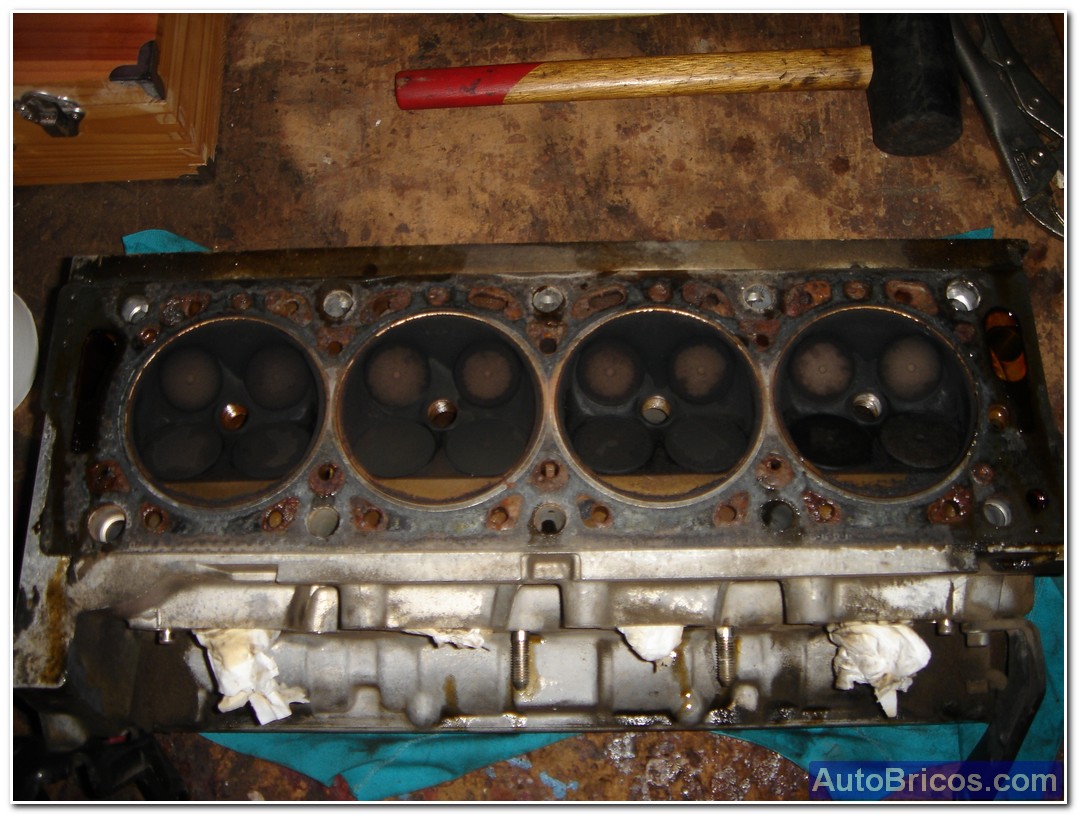
At this point I started to disassemble the upper parts coulata, first I removed the feed chute oil pressed out, each lubrication point of the ramp has an O-ring for the oil to lubricate pressure at the points provided. After removing nozzles greasing dismounted supports the camshafts (must be done in order to avoid bending or breaking the camshafts. Advise to read a technical manual to know the order of loosening / tightening. Once removed supports the camshafts, and could be extracted, and then checked the compression of the hydraulic tappets and then took to access all the valve springs. To remove the valve springs did me a machined part that I have permetía tight top plate (by a long sergeant), and with tweezers, got 2 half-shells that anchor the conical valve. Once you remove all the valve springs and could prepare to polish the valves, valve seats, plan the cylinder head, and change seals.
 |
 |
 |
 |
 |
 |
| Tweet |