

 Oil service interval reset Audi A4 B8
Remove front seat squeaks:
This Brico is performed to eliminate the annoying squeaks that produce seating force exerted on them (to sit, settle, when cornering to left or right, etc ...). It seems that this symptom is typical inR50 and R53 Mini's type, so I leave this contribution in case that someone decides to fix this problem by himself. The solution is to lubricate certain areas towards removing the "old bed" noises. The idea is to get out the seats for better access to the internal points to be lubricated properly to solve the problem of squeaks.
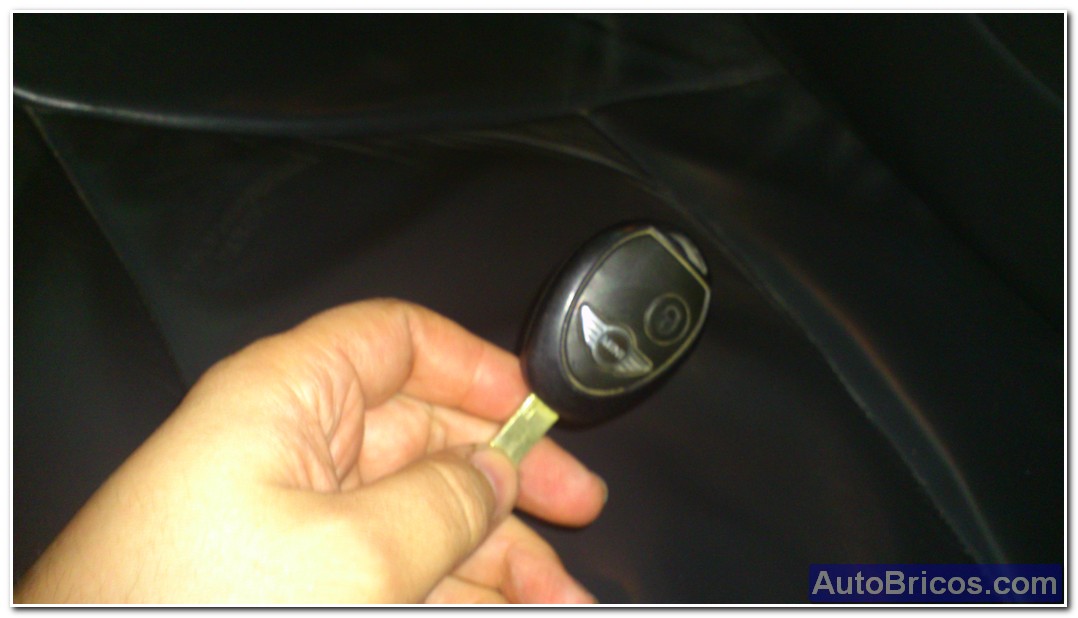
First of all advise disconnecting the contact and remove the key. Another option is to directly disconnect the battery power wire. Either of the two options in this case is valid when the lower connectors are manipulated in the seats to evite stored faults remaining in the Airbag control module.
 |
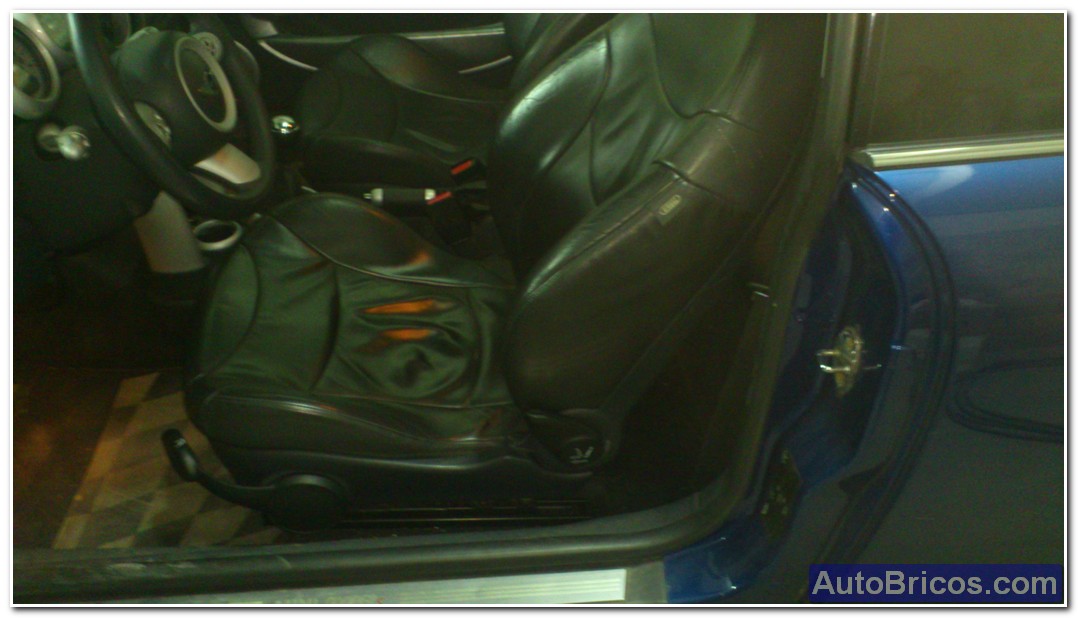 |
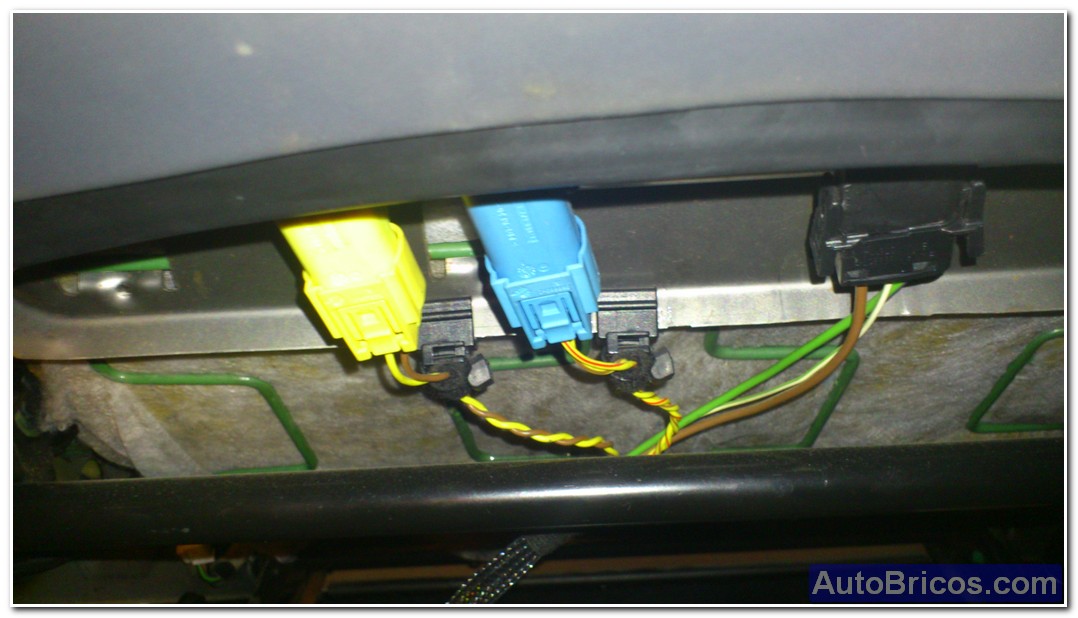
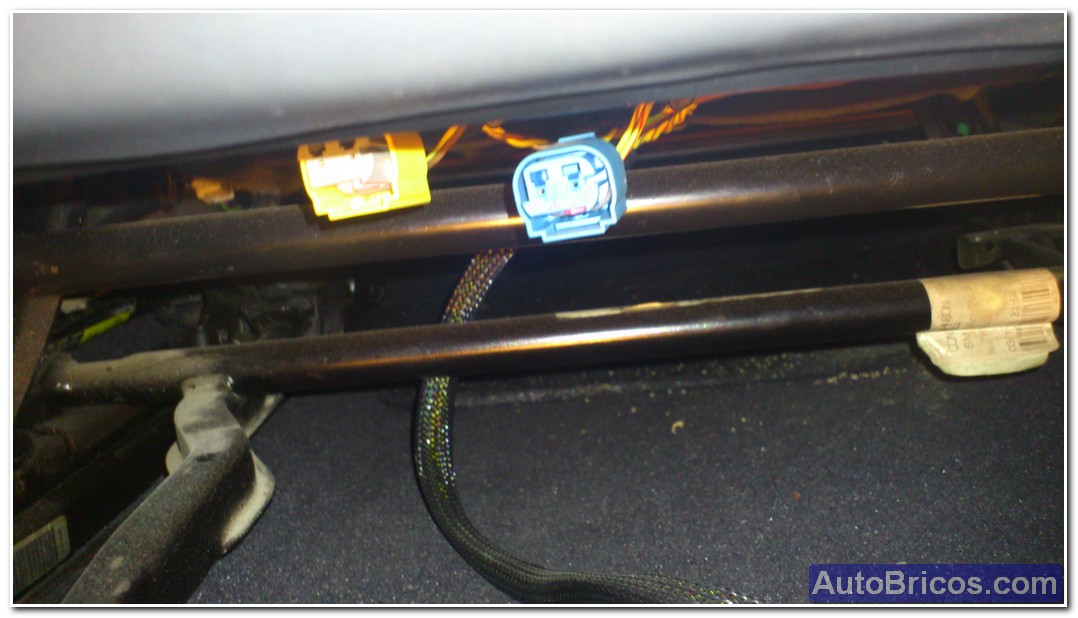
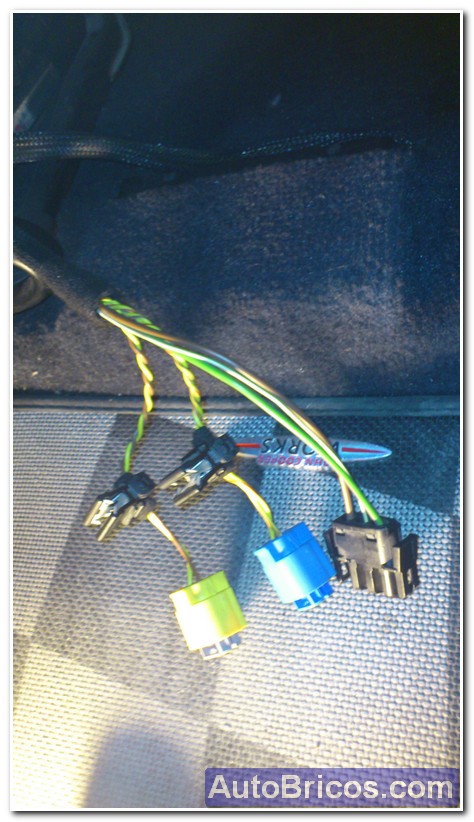
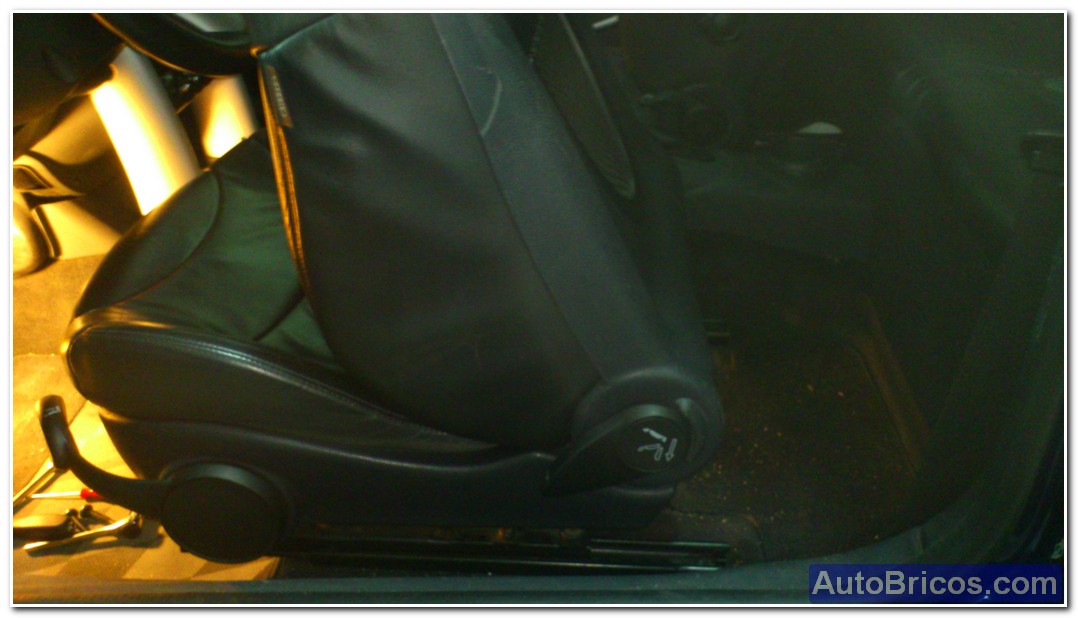
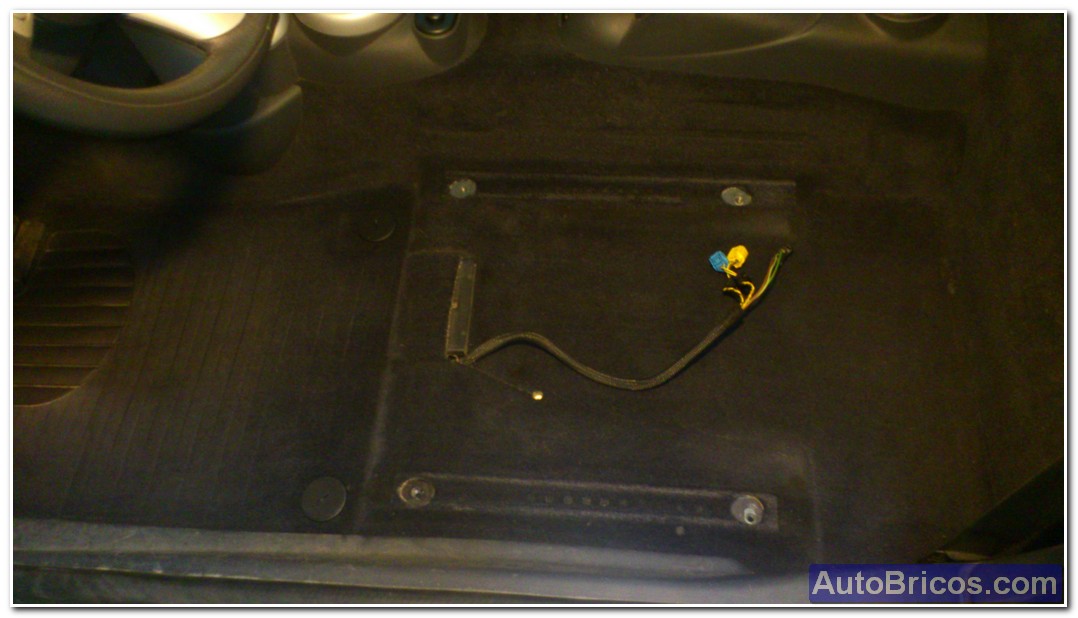
First we will take the seat back slightly for better access to the lower connectors that have to disconnect. You have to look through which the wiring harness for it back then go through the same site, this is very important to not crimped wires to move the seat. As can be seen, there are three connectors on the bottom of the seat, conclude that one of the connectors is to back and base heating, another would be to the side airbag, and the other is for surely pyrotechnic seat belt.Will disconnect the three connectors and harness desanclaremos seat frame; flanges can be cut or remove the retaining clips, in my case I slipped the retaining clips until they are unpinned.
 |
 |
 |
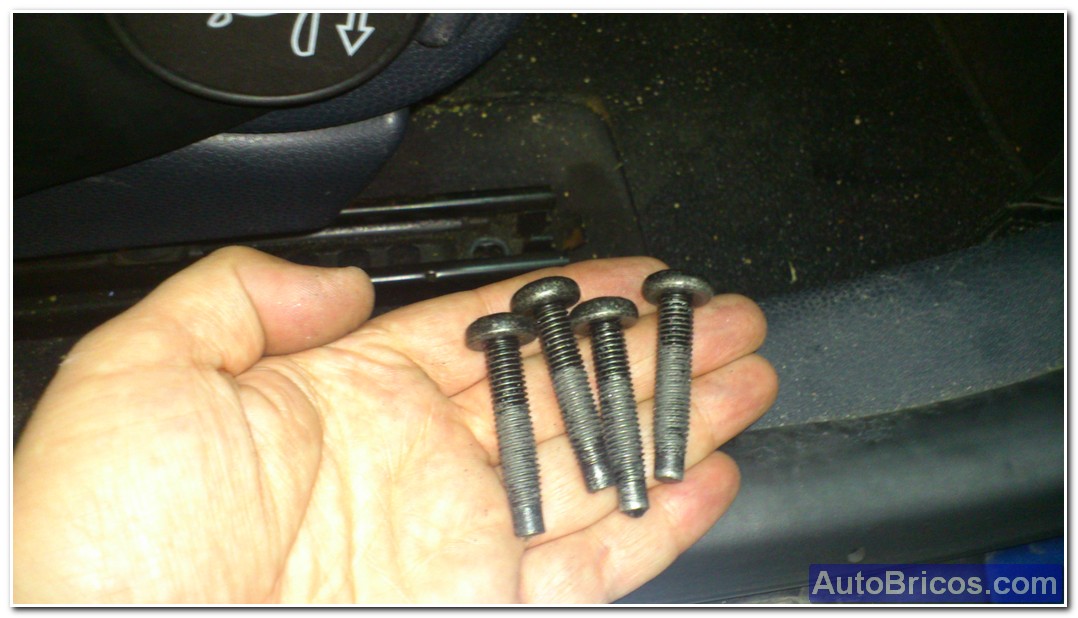
After disconnecting the power, we can remove the 4 bolts holding down the Mini guides. They are in the 4 corners of the guides, to remove the 2 front, throw the seat back, and remove the 2 rear, threw the seat forward and better it folded down; After removing the 4 Torx screws, and can be remove the seat of the carrier.
 |
 |
 |
 |
 |
 |
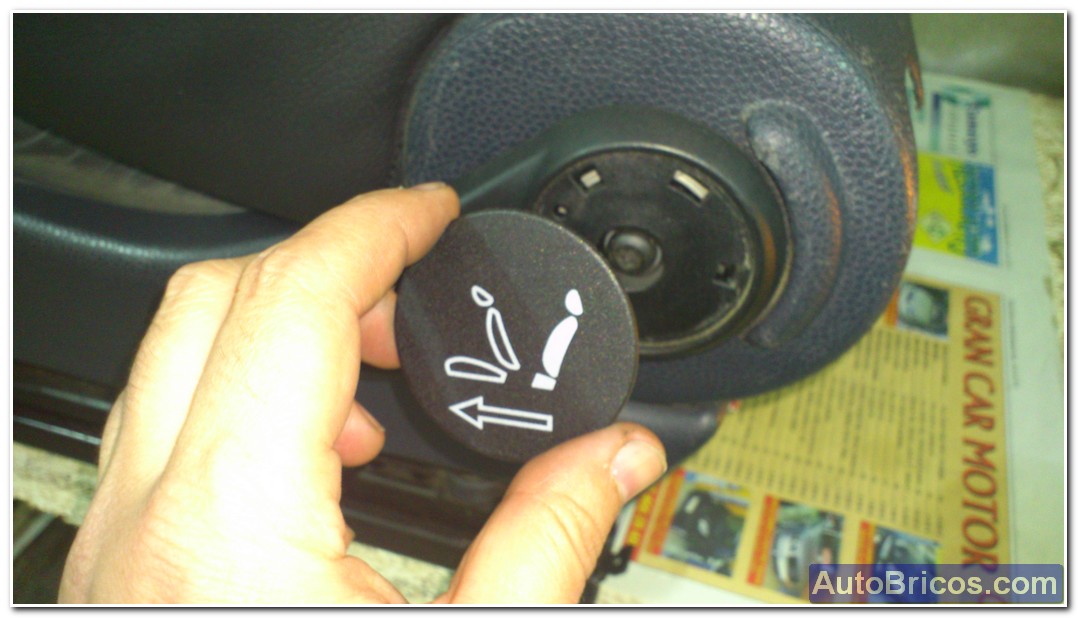
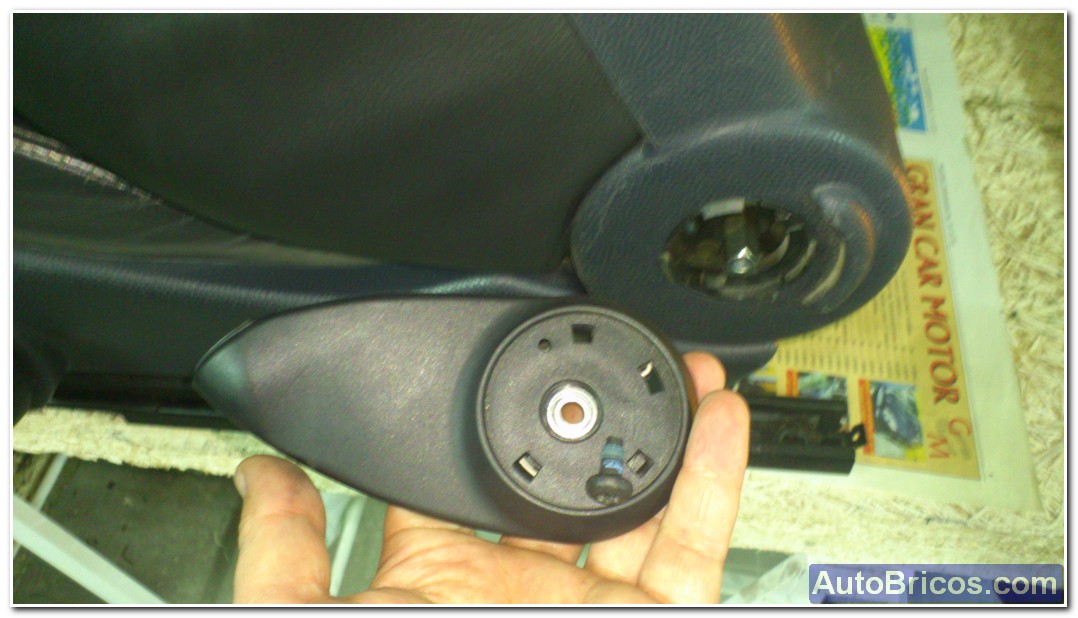
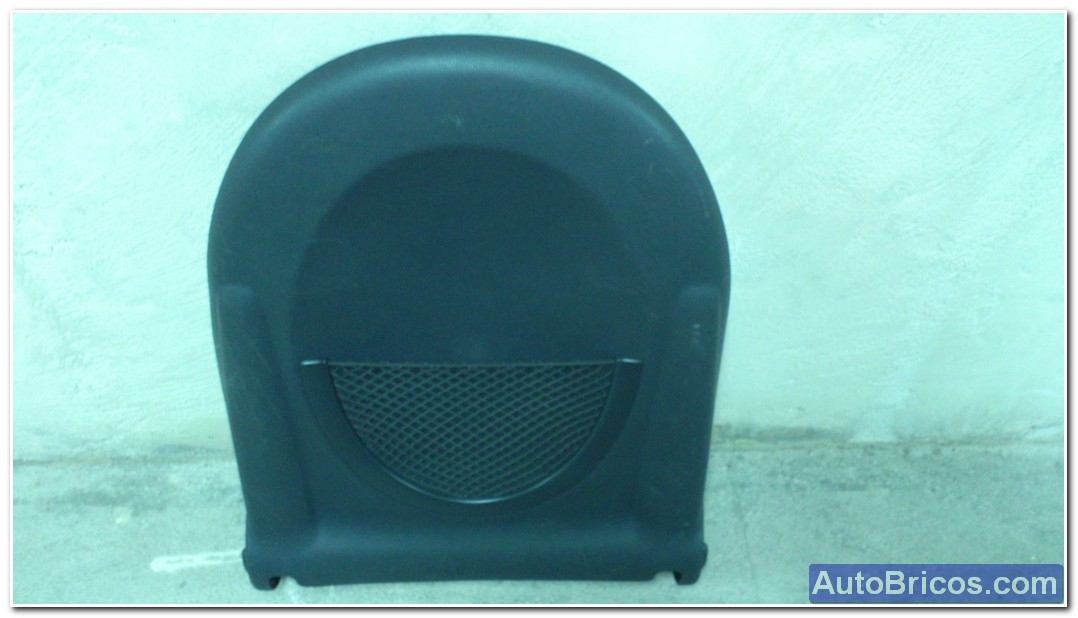
Already with the seat off the carrier, to provide better access to all the joints, we have to remove the back of the backrest (which is plastic). For this we draw the recline levers, and that will allow us to take the whole piece without damaging it. First we took the covers embellecedorar and then we get the set screws of each lever, finally we get the 2 levers to recline the seat.
 |
 |
 |
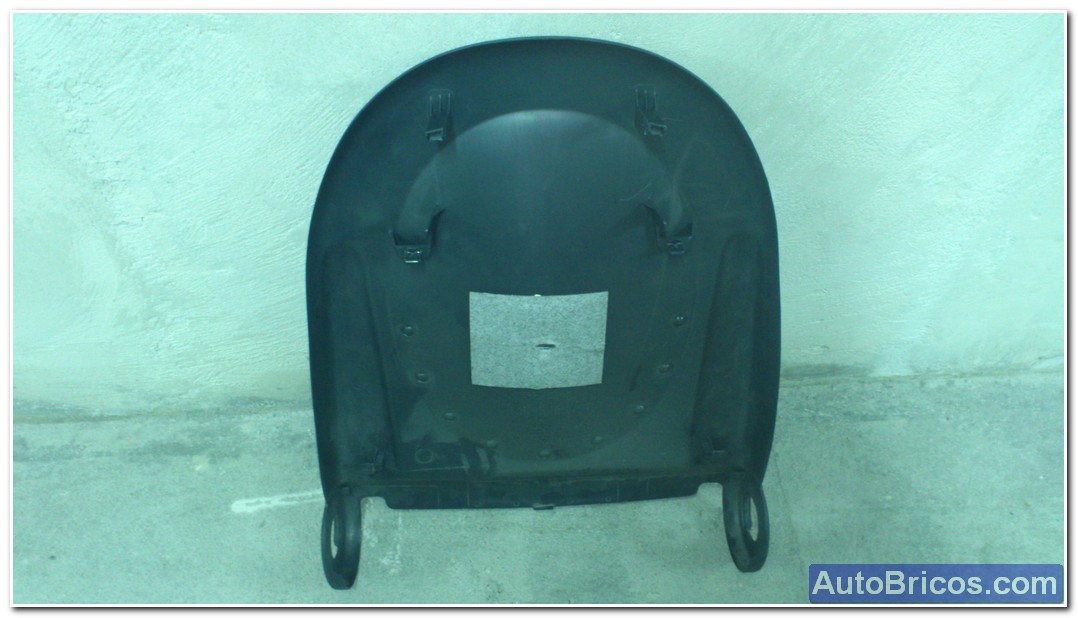
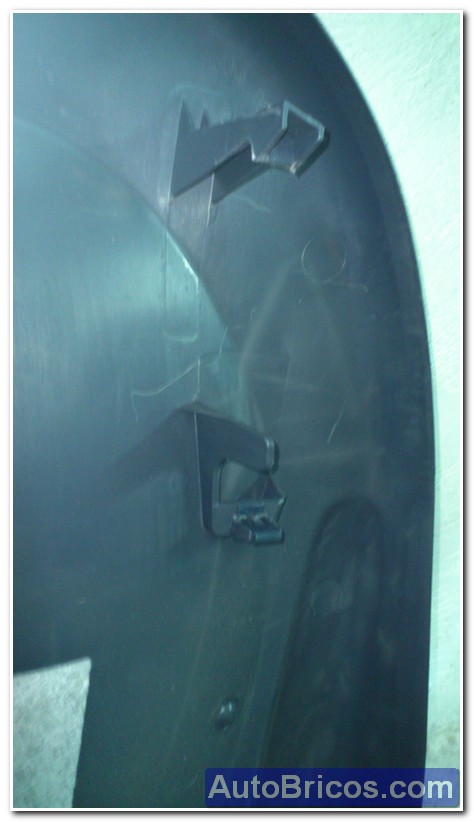
Once removed the 2 levers, we are two "ears", one for each band, we must unpin (you have to beat some tabs that you see in the center photo above for taking them apart a bit). We pulled out the two "ears" and we can begin to release the plastic, first release it by the top (near the headrest) and pulling back to unpin support two upper lashes, then keep doing even strength back and dessnclavamos 2 staples that are a little below the upper lashes, and at this point, with the top and the back slightly off, we pull the plastic down a bit (having 2 separate ears that allow lower) for two anchors are released which is at the bottom.
 |
 |
 |
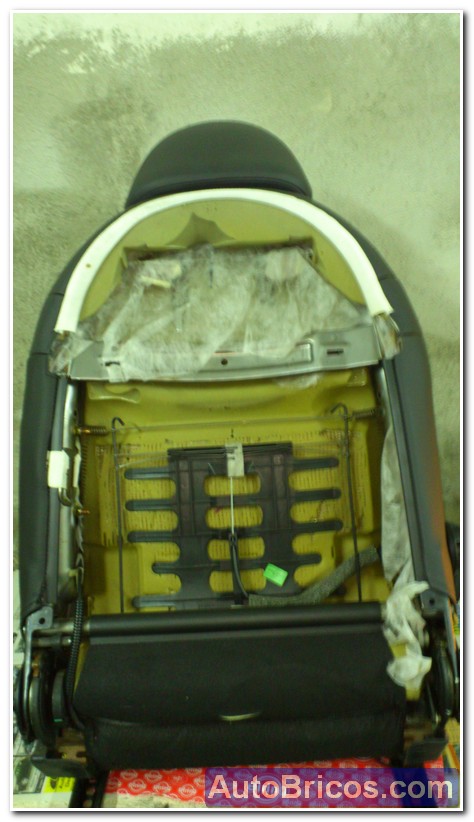
After removing the plastic coating, we can get better access to the most critical areas to lubricate.
 |
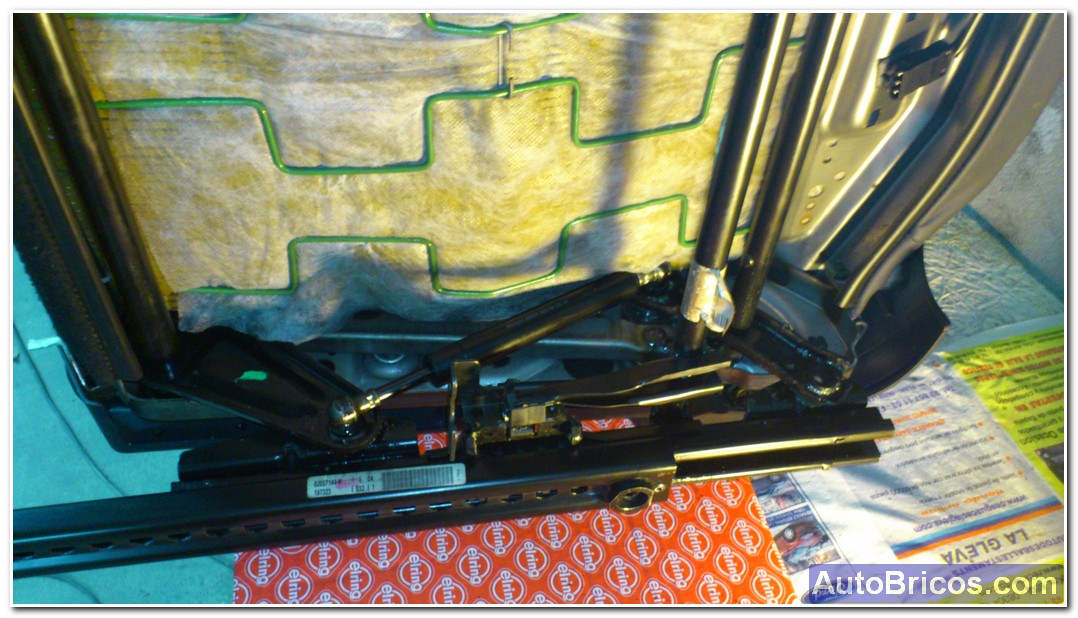 |
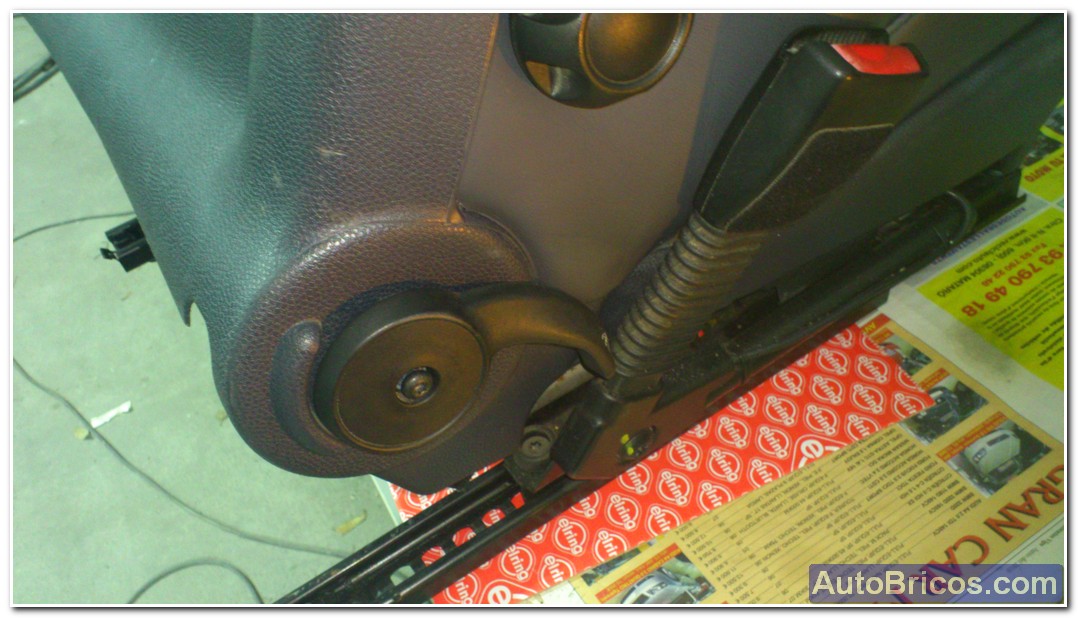
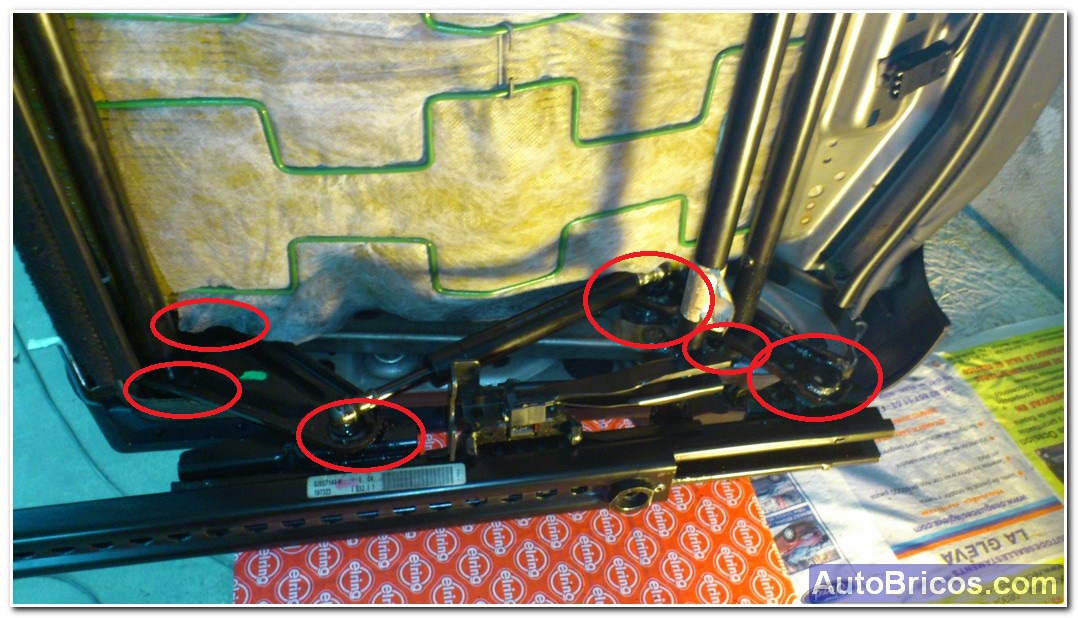
In the areas marked in red is where you have to grease to remove the annoying squeaky seats, you have to grease the 2 sides of the joint forever (inside and outside) and the 2 guides to ensure that support is greased properly. The marked areas are basically the seat joint (articulated axles and rivets) mechanisms in the lateral levers fat also put through the slots. In my case I used a fat no-drip spray not to stain the carpet when he returned to place the seat in place. The guides were already sufficiently angrasadas seat, so I did not add more fat, but otherwise should also grease.
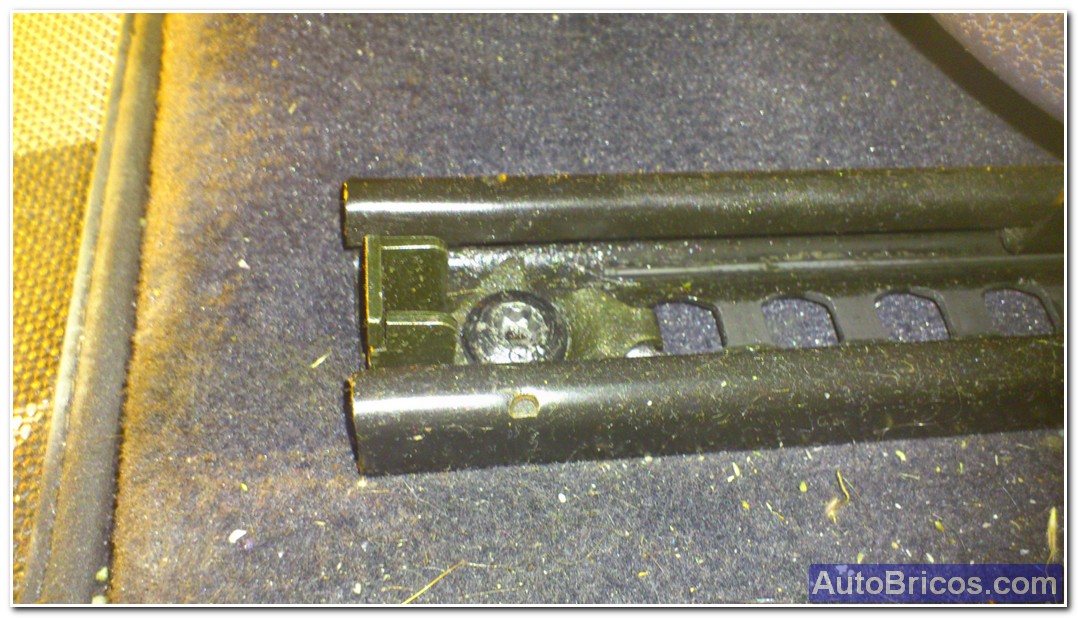
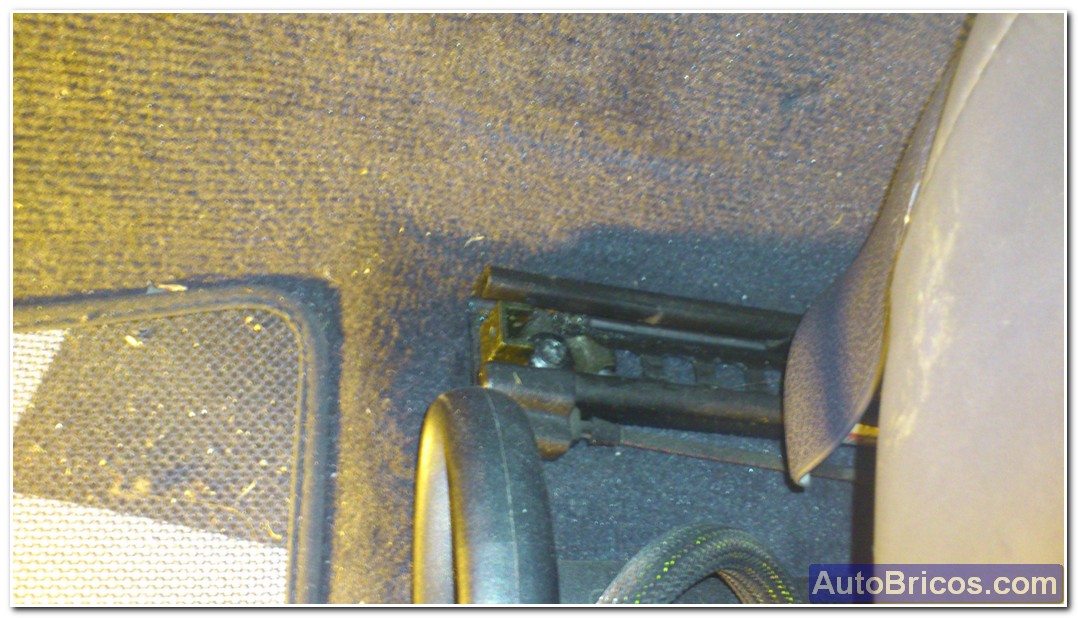
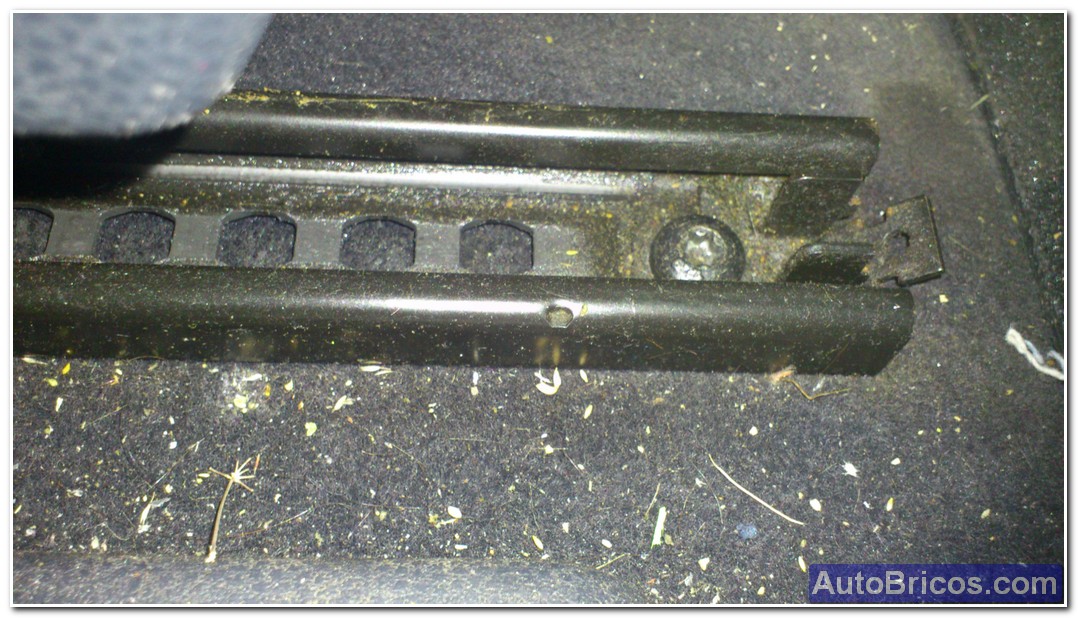
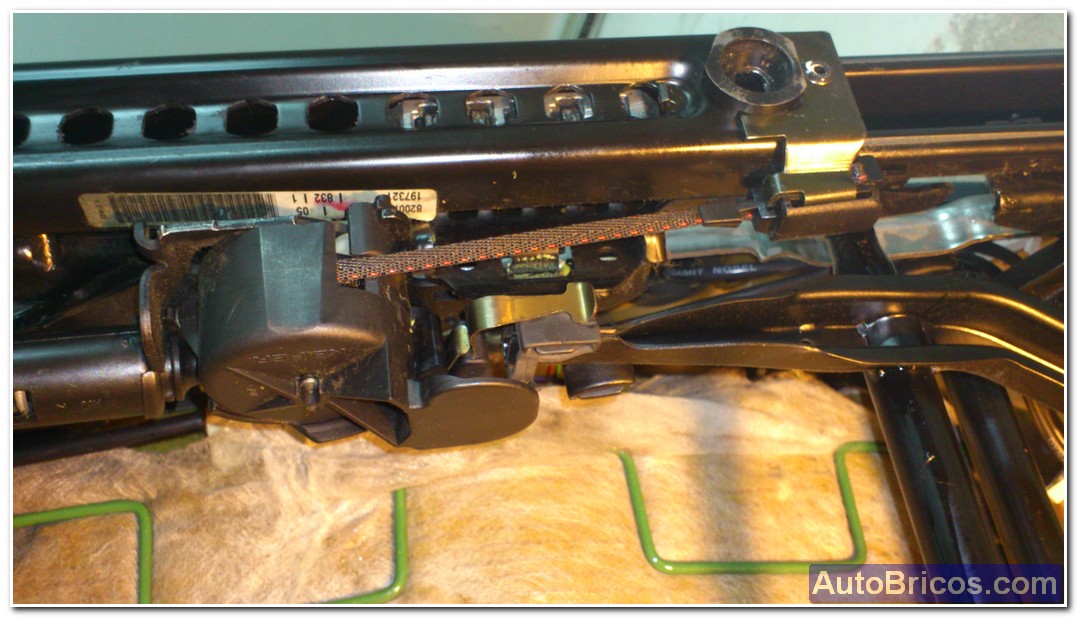
Only oiling the mechanism of the seat base in the areas shown has been sufficient to fully remove all seat squeaks; Currently there have reappeared noise. In the following photos we see the two main guides, if you look at the second guide we can see the mechanism with a small strap that allows the seat to slide forward when folded down to provide access to the rear seats. By the way, with the seat out is an ideal time to make a good carpet sucked ..... is appreciated not having barriers by .....
 |
 |
 |
Finally, once greased the seat, follow the process in reverse order to reassemble the seat, must also tighten the seat clamp screws to the chassis, it is important firm. I hope this helps Brico serve for those who have symptoms similar to those I had my car.
| Tweet |