

 Oil service interval reset Audi A4 B8
Upgrade Cooper S (R53) brakes to JCW (Cooper S R56)
This Brico shown how to transform the braking system standard Cooper S (R53) system using Cooper S (R53) JCW (the first version, not Brembo), which is exactly the same model using the clamp Mini Cooper S (R56) standard. The only difference is that the JCW (R53) is red and has the emblem WORKS in the clip, and instead, series brakes Cooper S (R56) with silver clip.
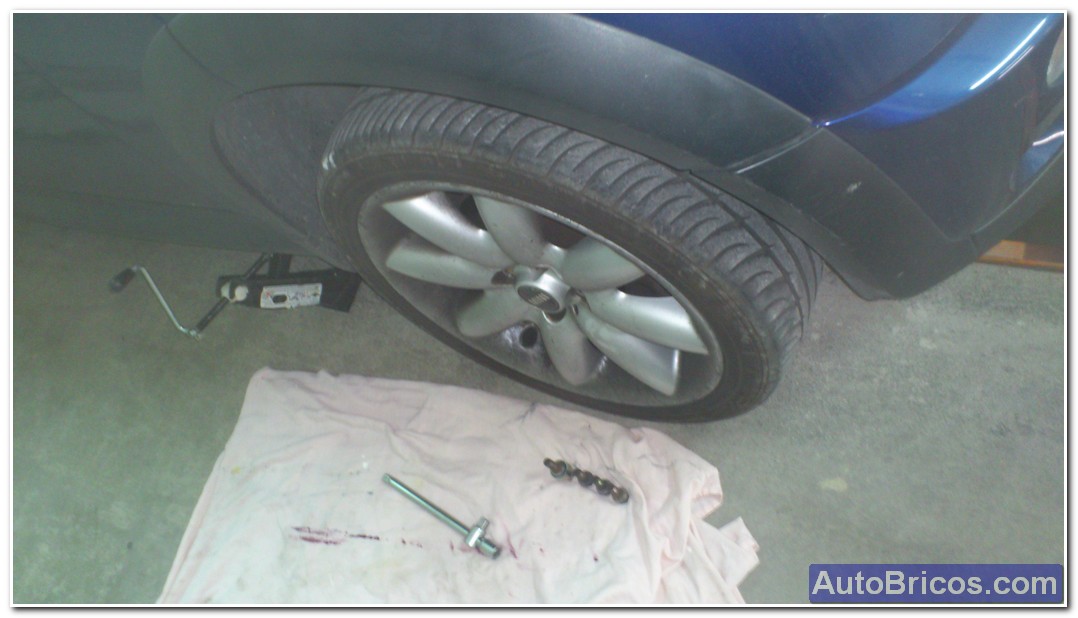
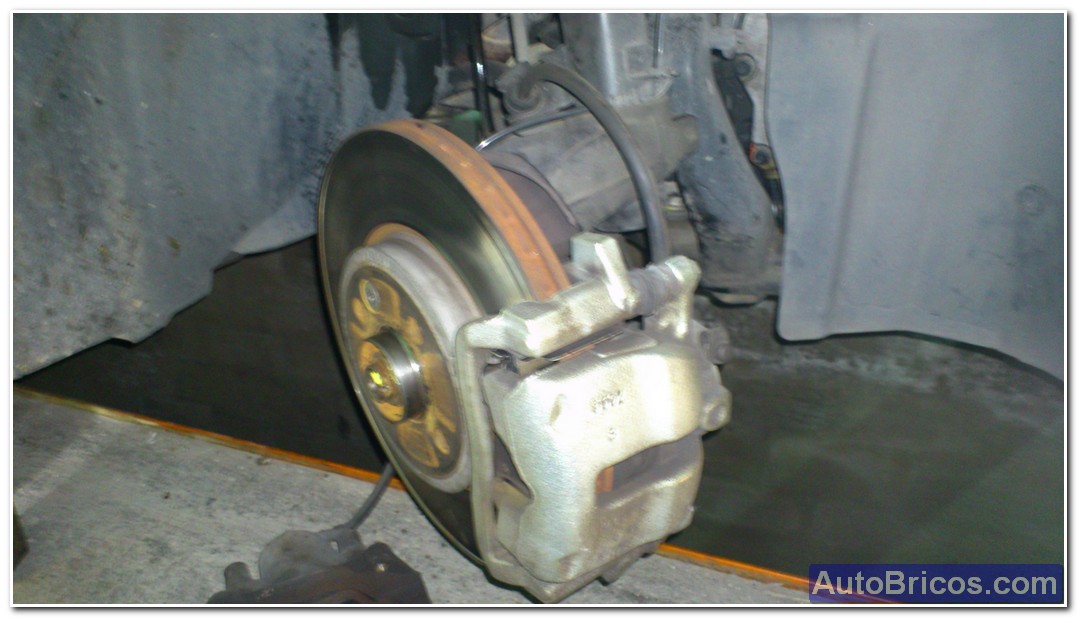
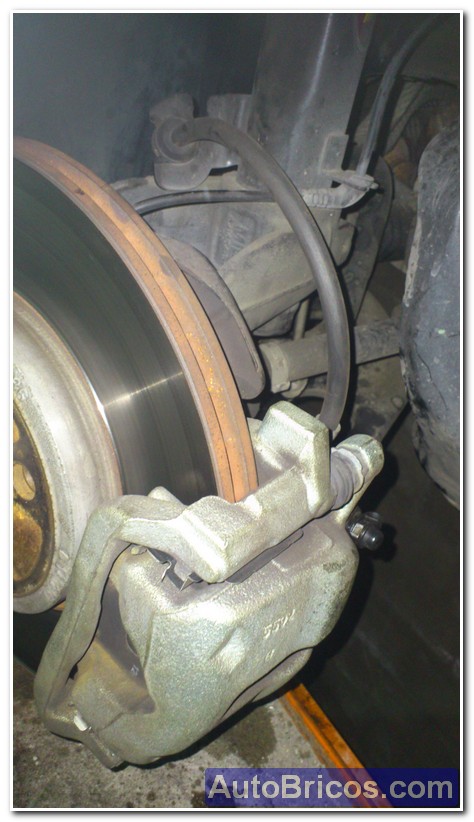
The first is to raise the car, if possible, raise the 2 front wheels at once, but one by one. We removed the front wheels having cosmetic car very well. With a socket wrench 16 remove the 2 hex screws holding the bracket caliper (advise be done with a good handle and a glass, as they are quite strong). Also good sprinkling antiagarrotante (type WD40 or similar) a few minutes before, to facilitate removal of the screws.
 |
 |
 |
 |
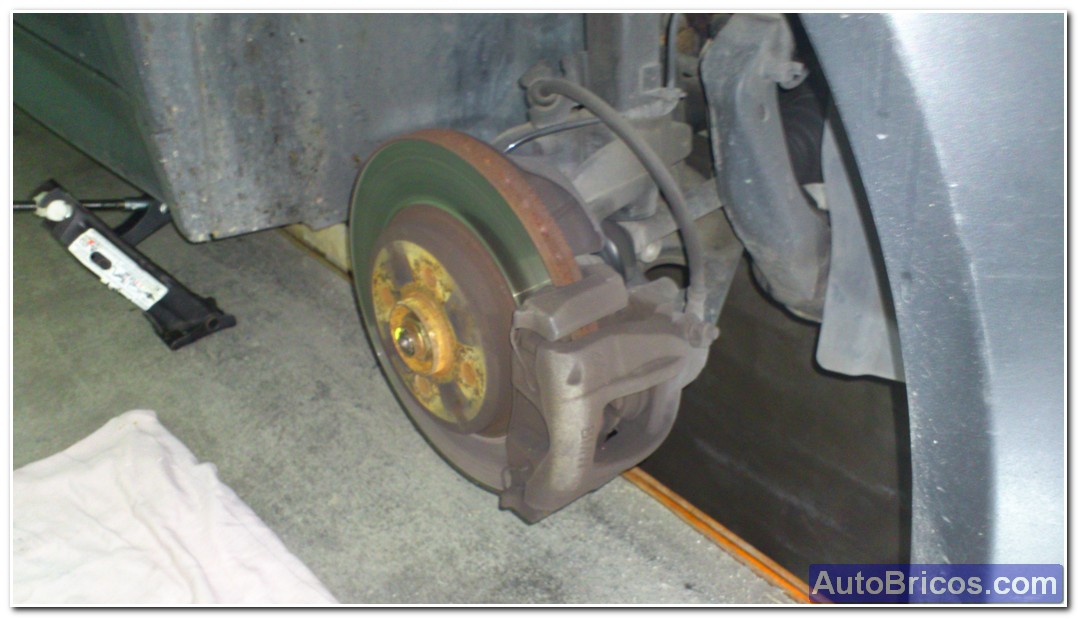
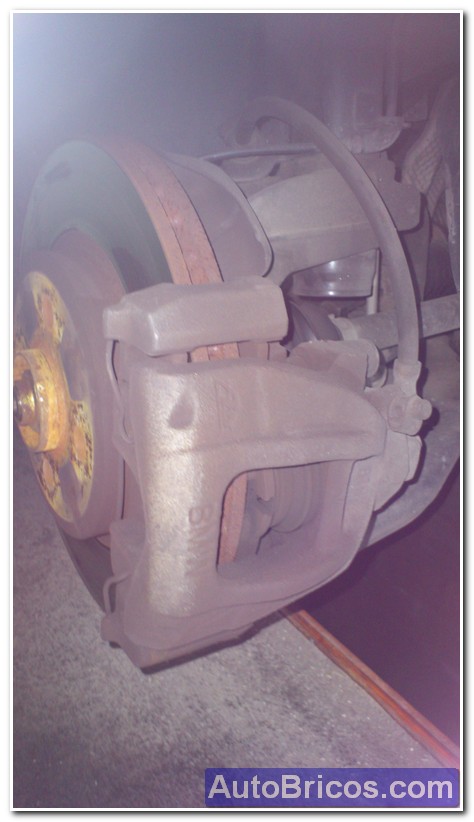
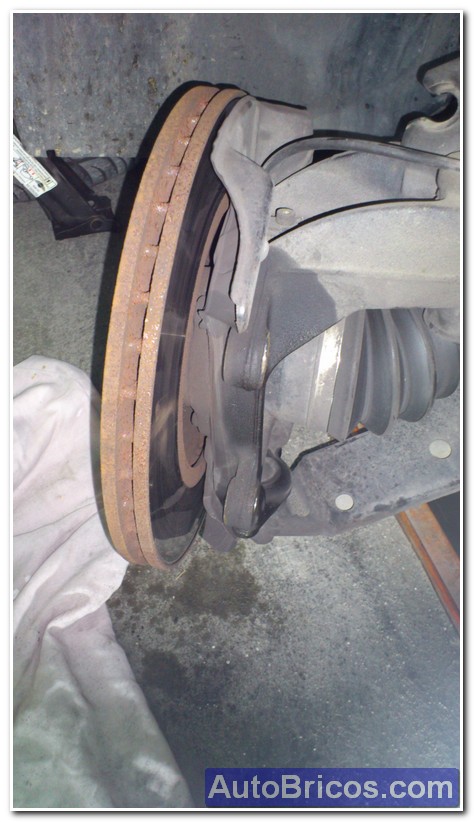
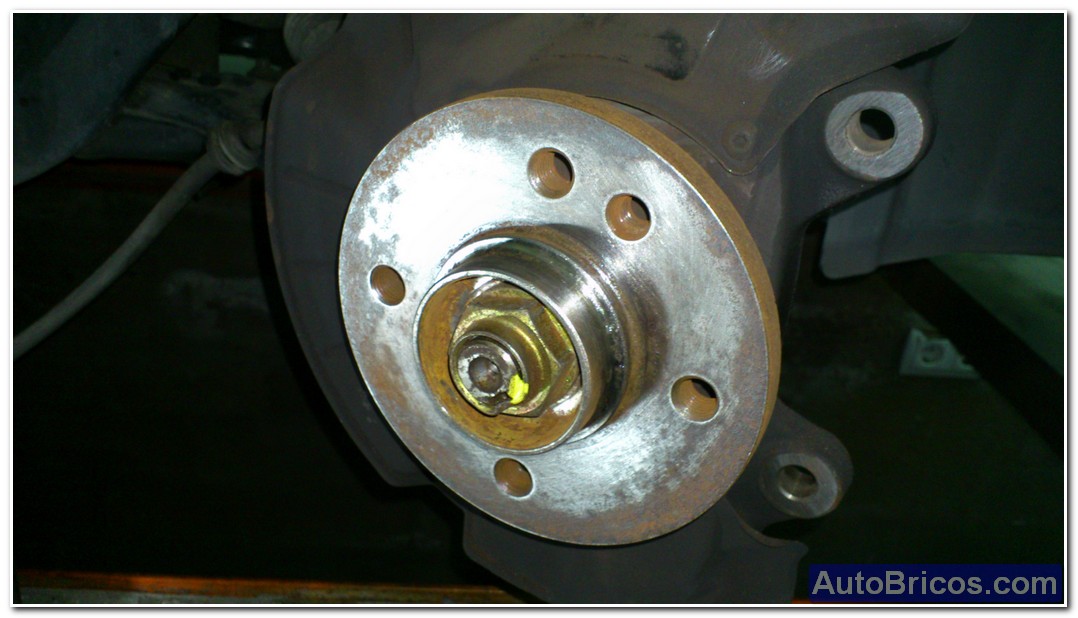
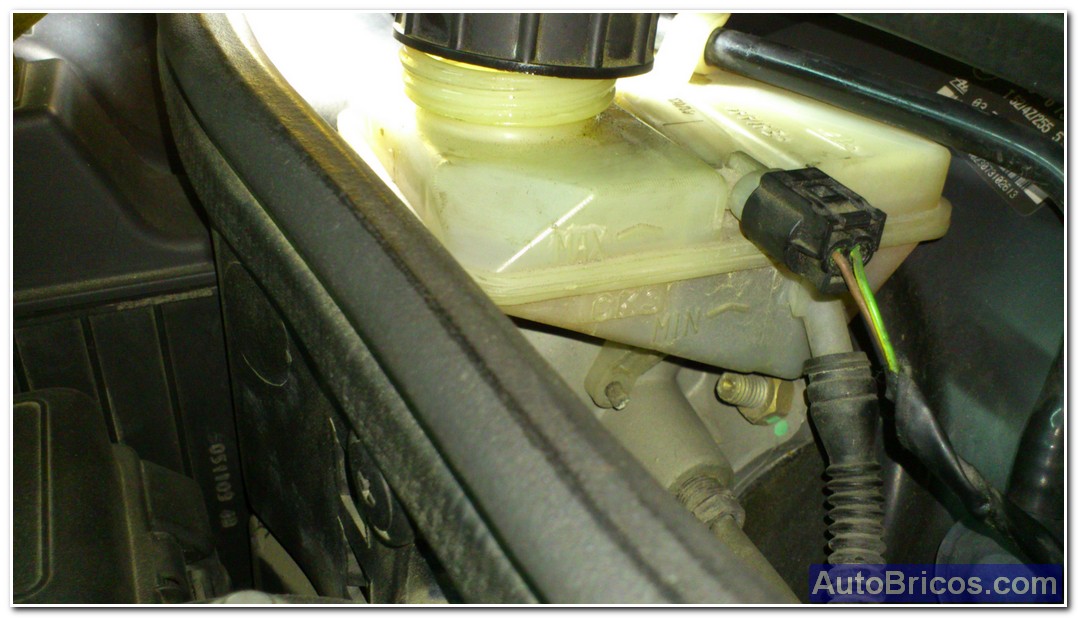
After removing the 2 hex screws, we can remove the clip. Better if we uncover the brake fluid reservoir slightly if the plate is very worn and has burrs outside, we have to push a little hydraulic piston to return enough to overcome this flash and can leave. In principle not require much effort, but depends on the state of the clamp. In my case I did not need any tools, pressuring Mobil part of the clip I could make back a bit and smooth out the whole clip + soporte.Una After removing the clip, you can remove the disc brake must remove a Torx screw holding the disc to the hub bearing. Goes smoothly, but if complicated, you have to use an impact tornavís proper Torx tip.
 |
 |
 |
 |
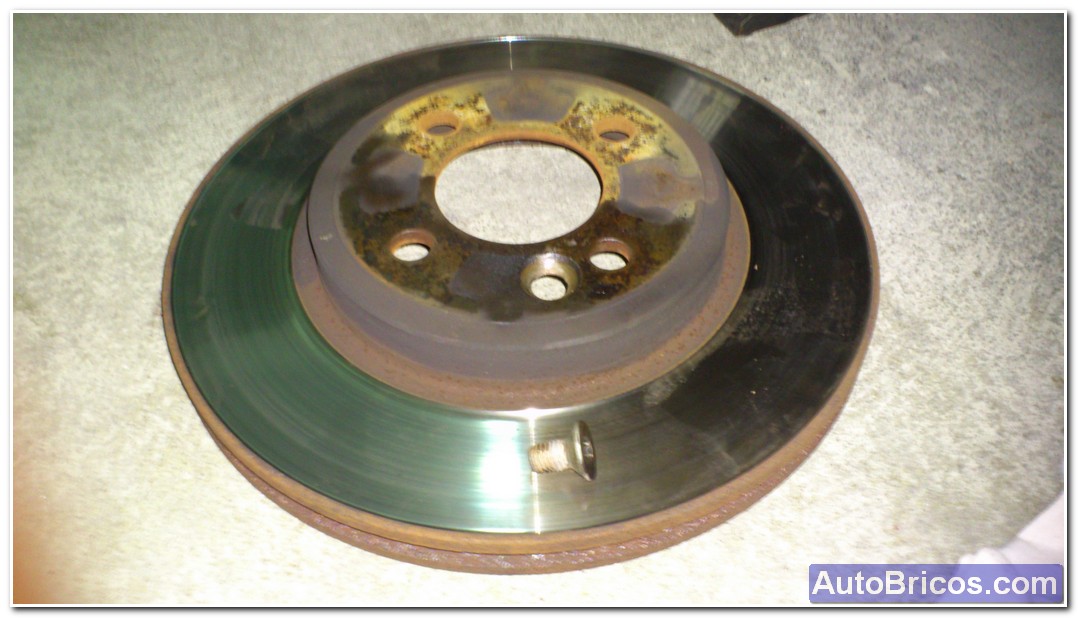
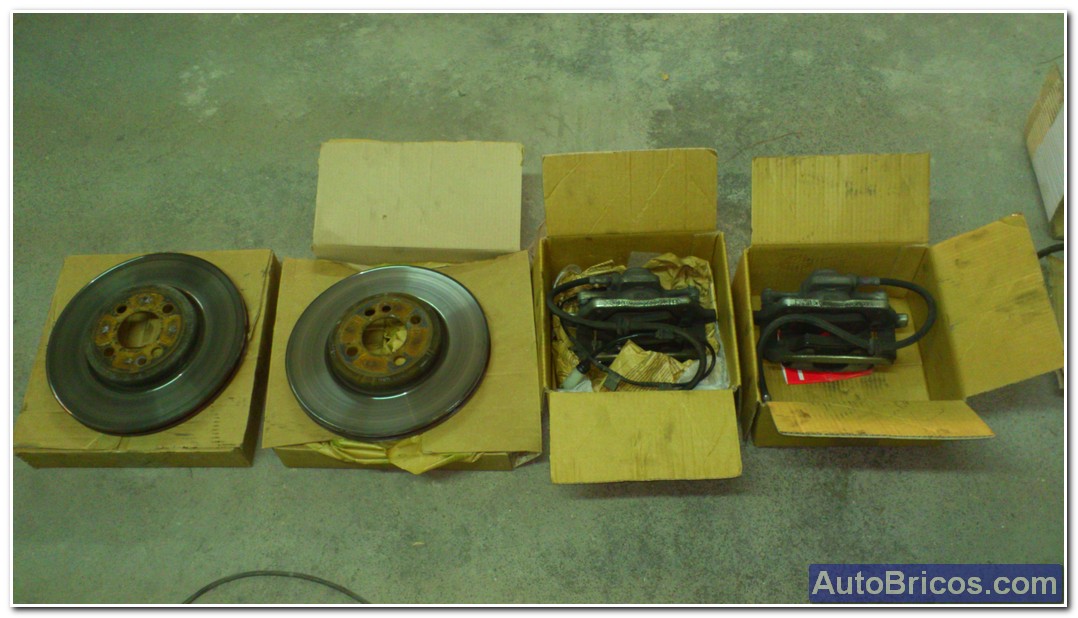
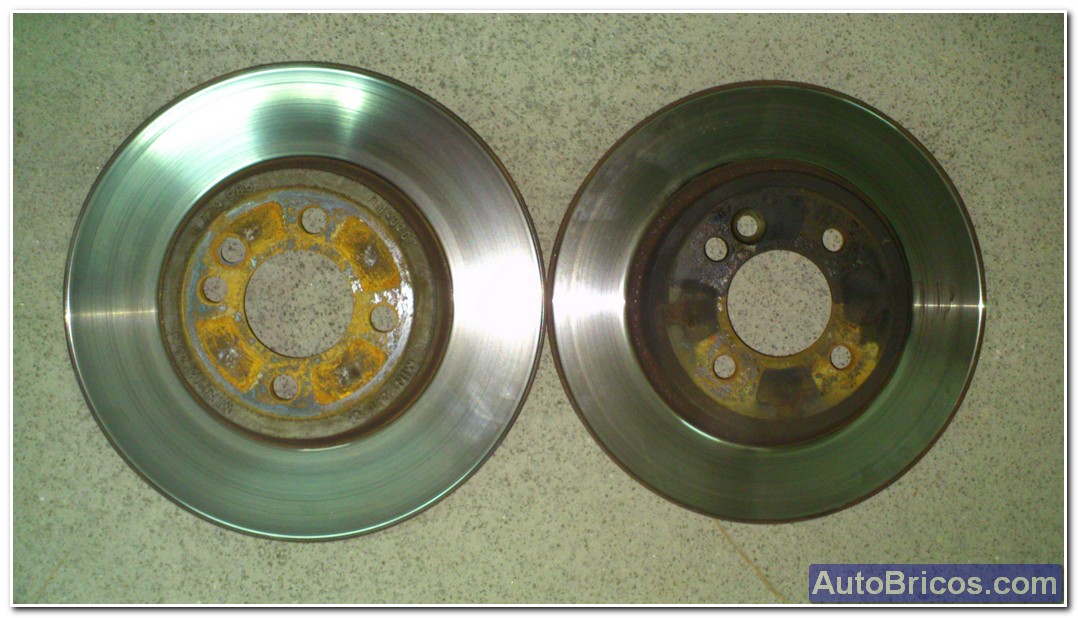
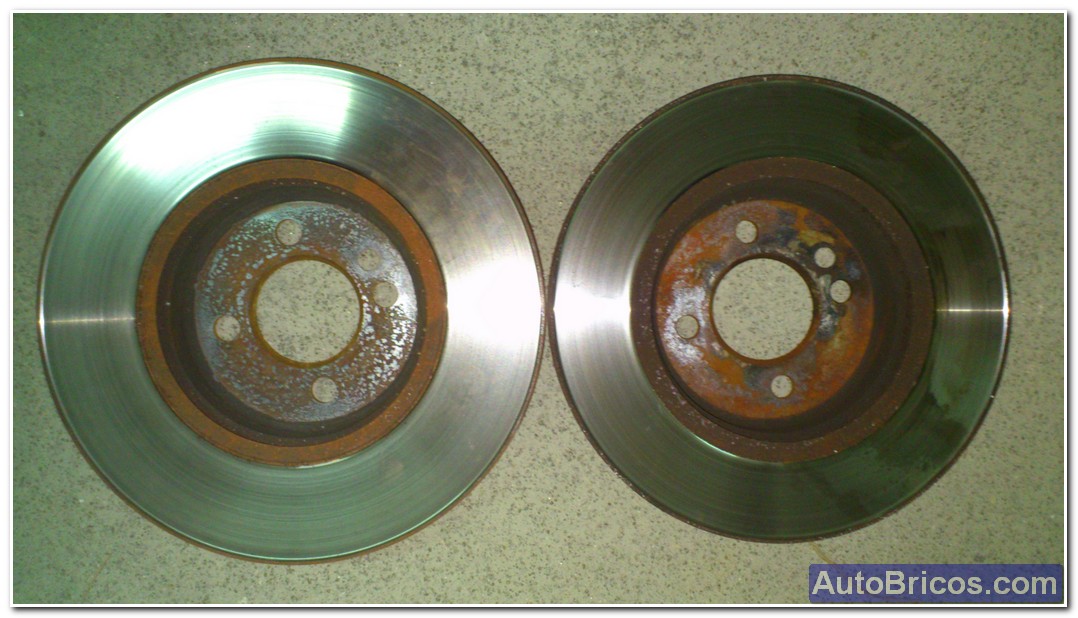
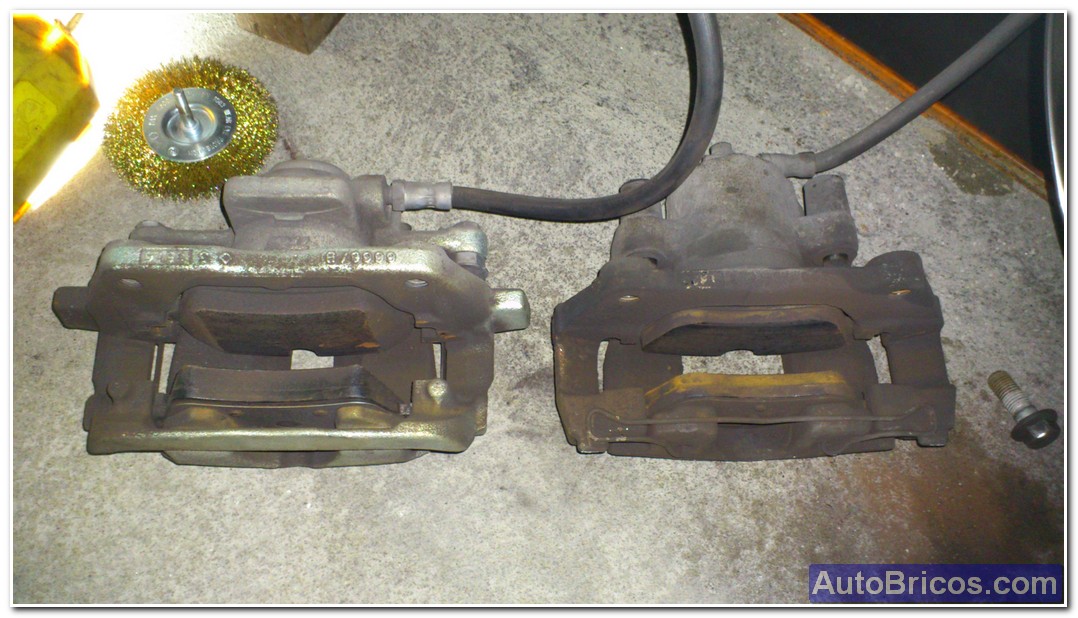
This is the brake kit I got second hand, as I said before, are the brakes using a standard Mini Cooper S (R56), and are exactly the same as the JCW (version 1), but not painted red , without the emblem WORKS. Also put some comparisons for you can see the difference in diameter between the discs that have the Cooper S standard, and discs using the JCW (left side in photos) photos.
 |
 |
 |
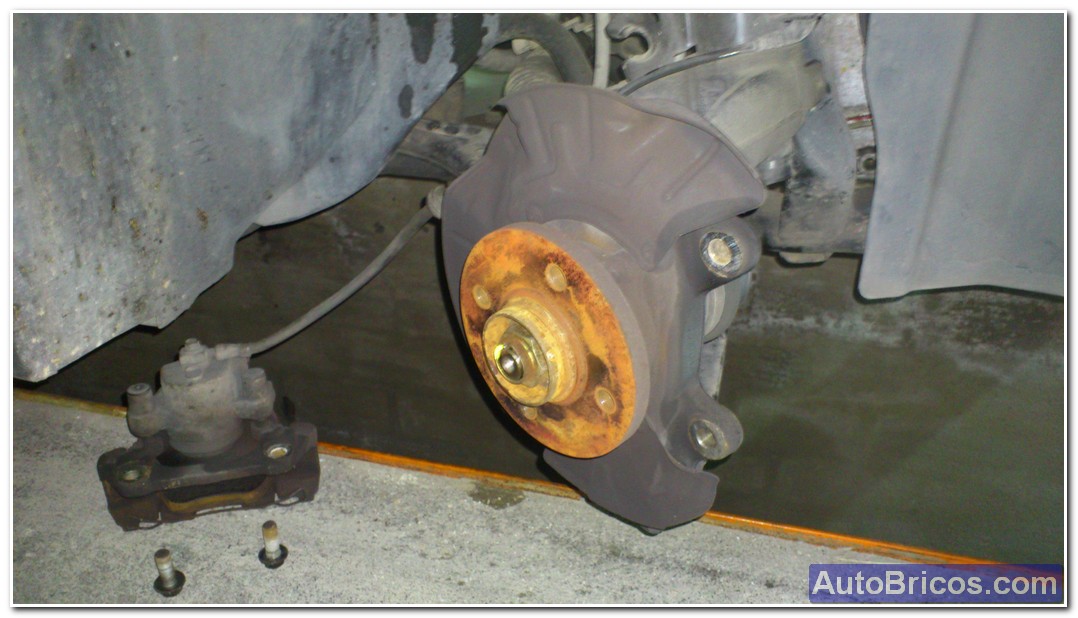
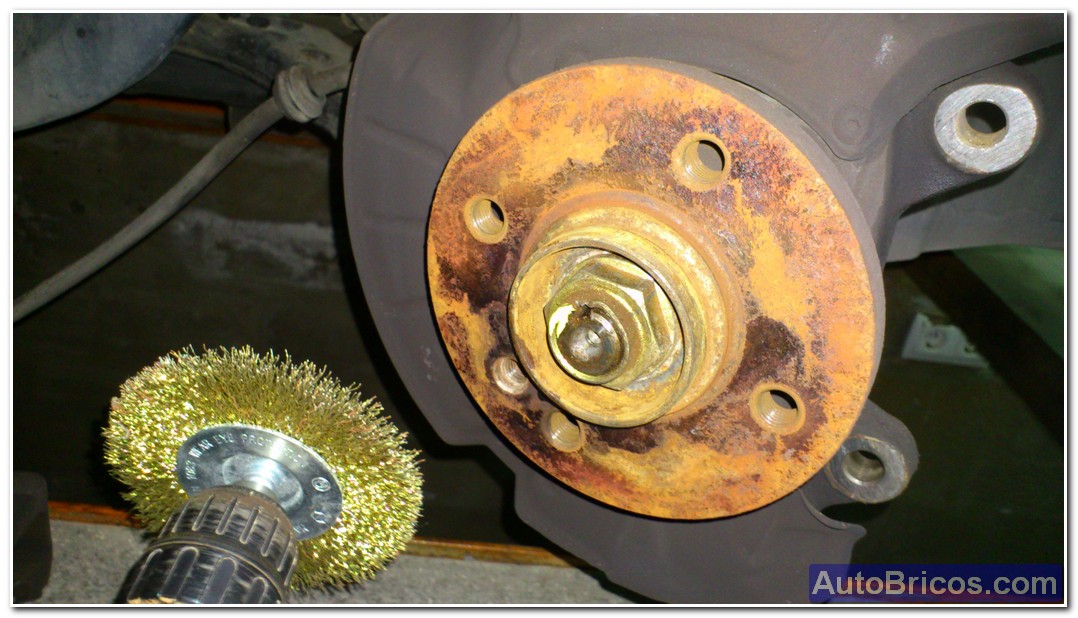
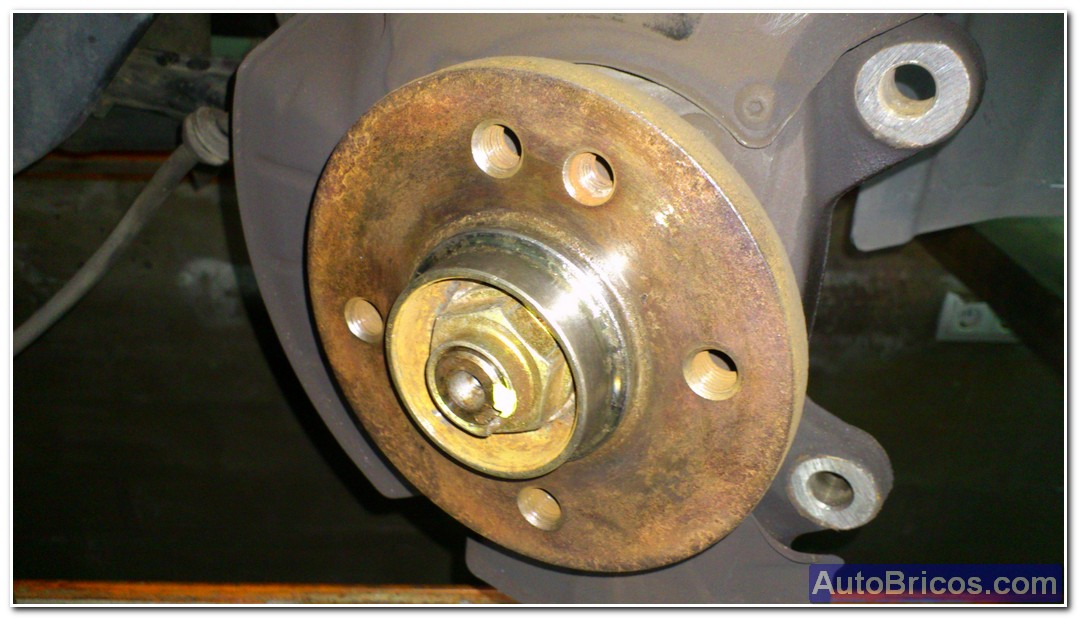
Before placing the discs again, it is essential to clean the accumulated as both the hub and inside the disc can rust to prevent lumps that we can make a disk alaveo and reduce benefits. To clean rusty we can use brass brushes or abrasive cloth areas.
 |
 |
 |
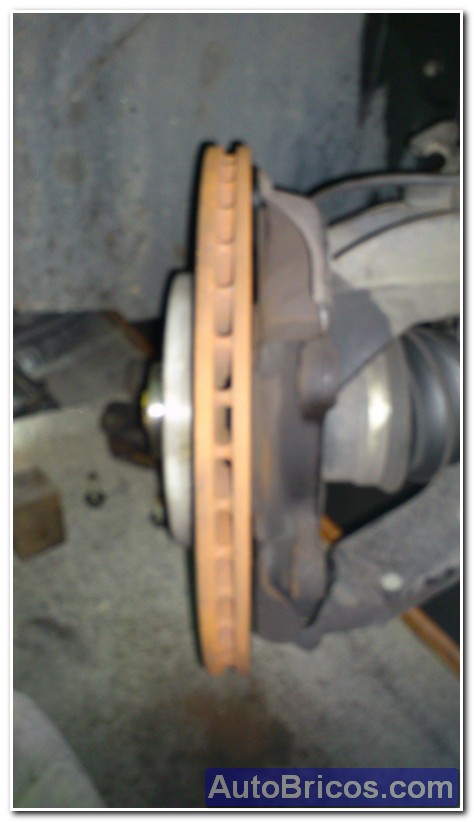
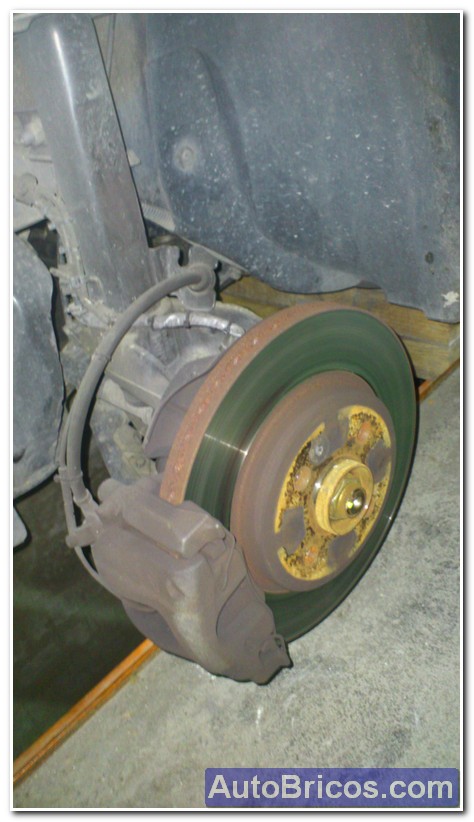
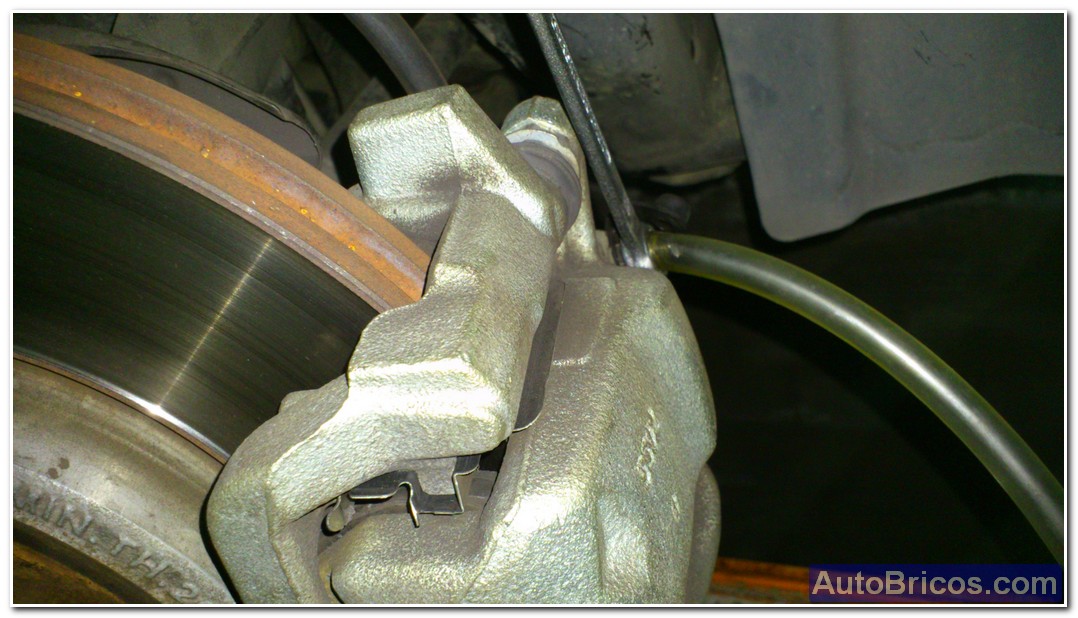
Once cleaned areas, you can place the brake discs, we have to put the conical screw holding the drive (usually Torx). Later as we can position and hold the clamps in place. One can see that this new disc protrudes over the heat shield that was standard. You also see a comparison between the jaws (pincers).
 |
 |
 |
 |
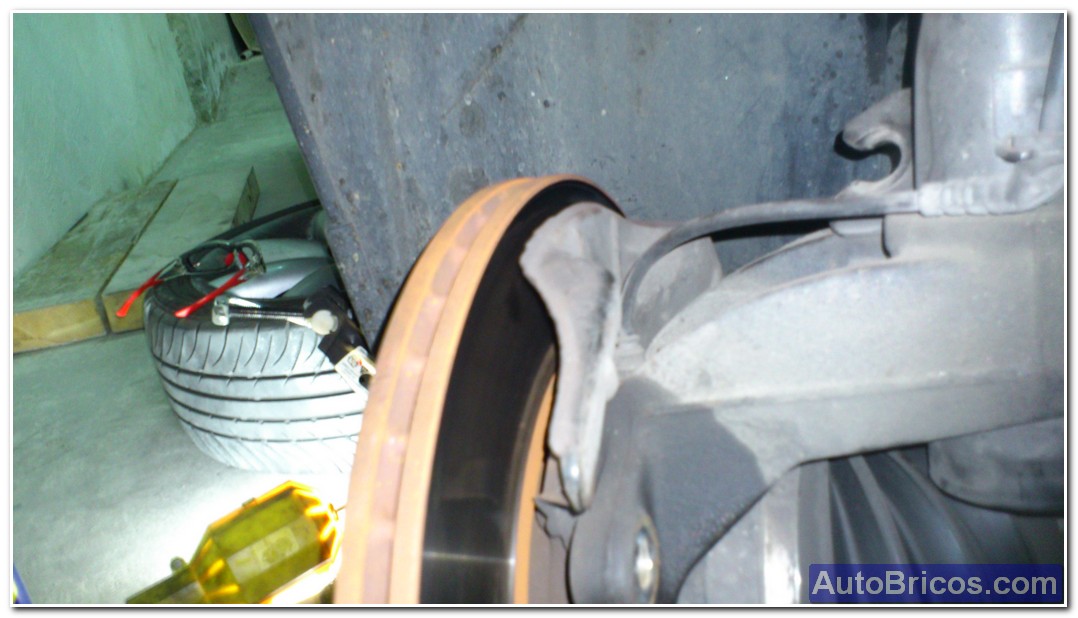
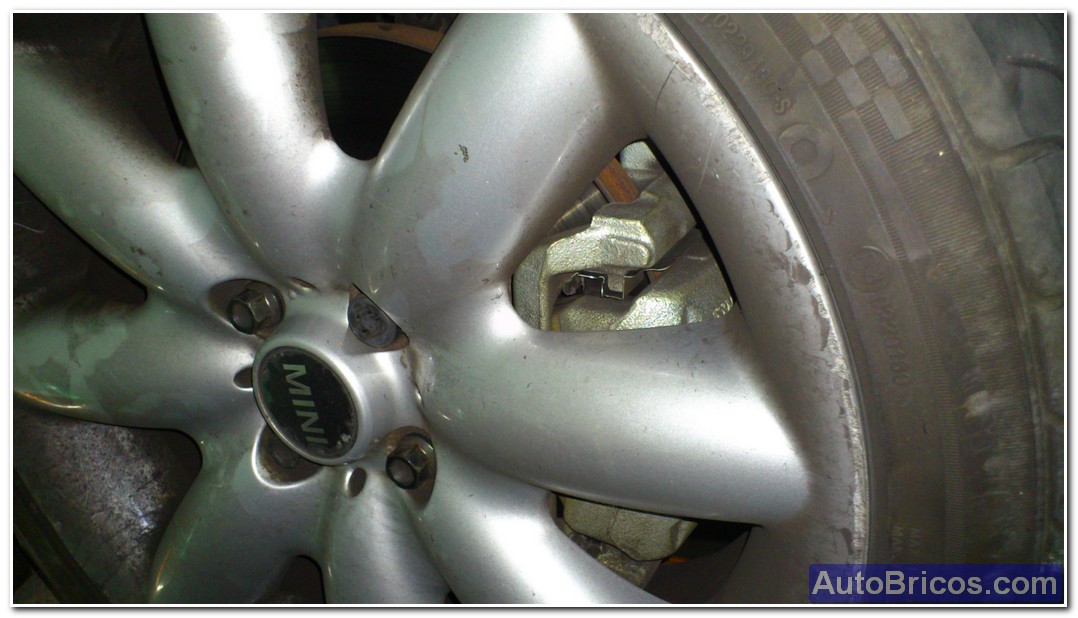
I at this point, before proceeding to do an essay advise placing the wheel with the new clamp to verify that really supports this yanta plus in diameter, and it does not touch anywhere. The yanta must be prepared to halojar new clamps. My Yantas thankfully admit.
 |
 |
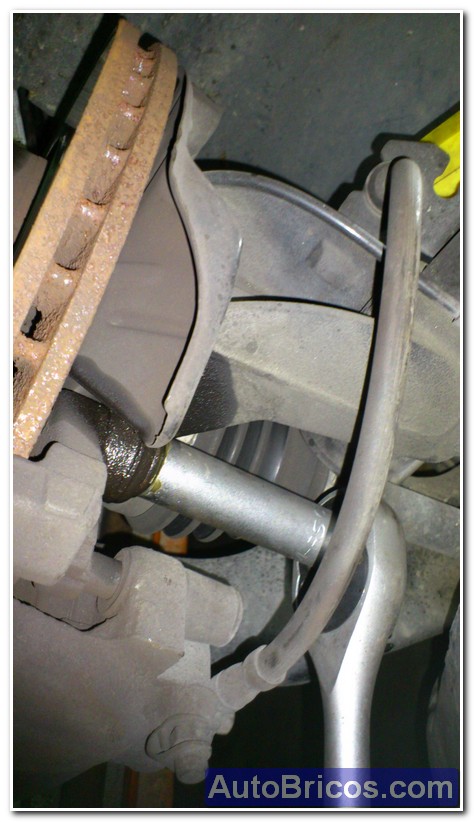
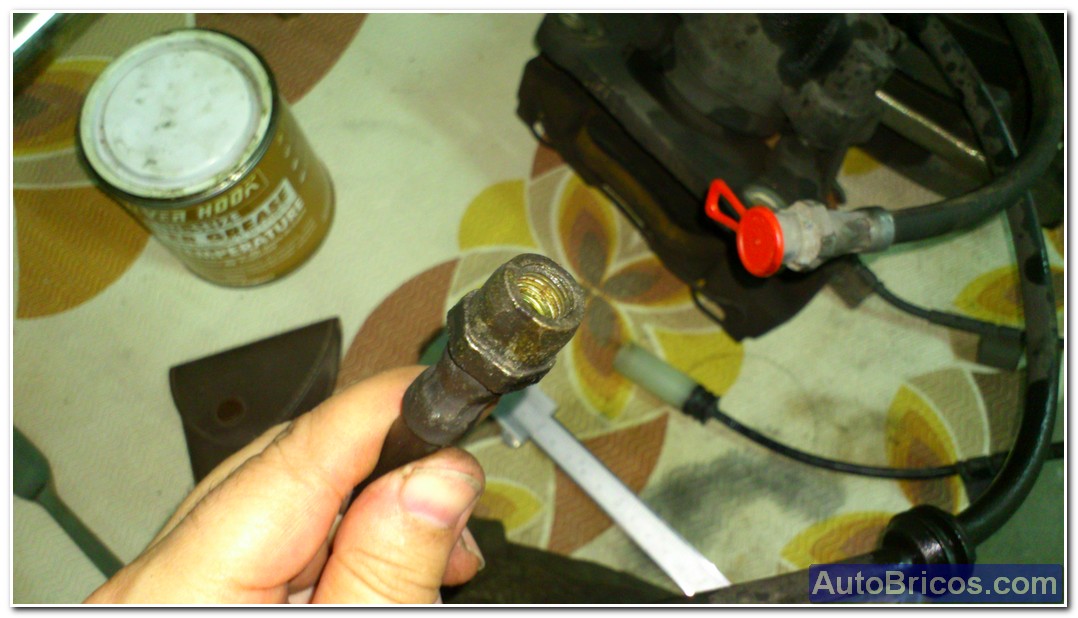
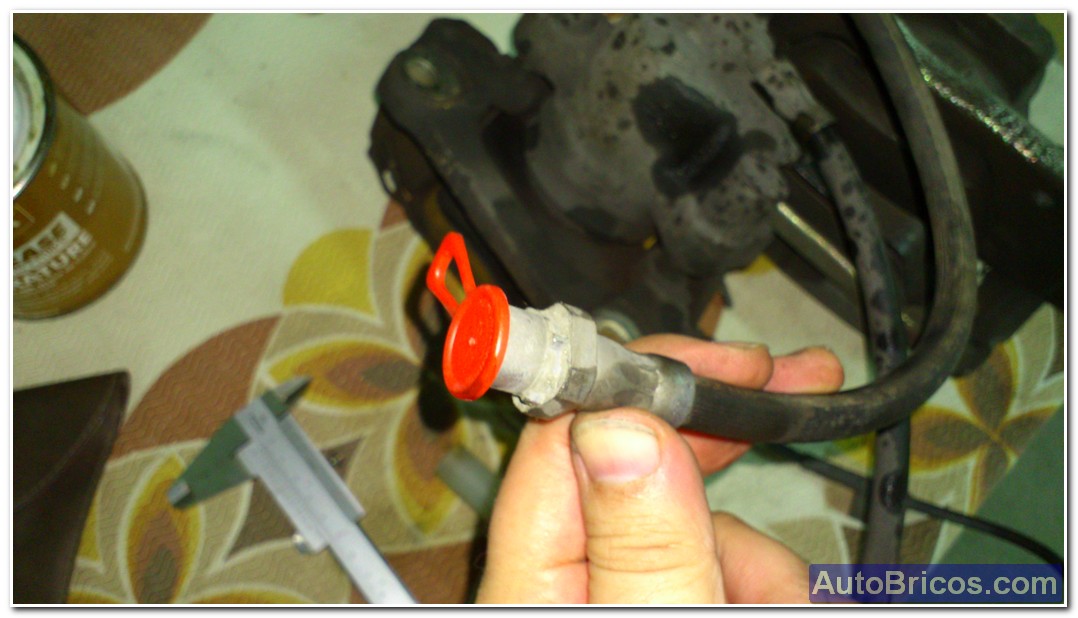
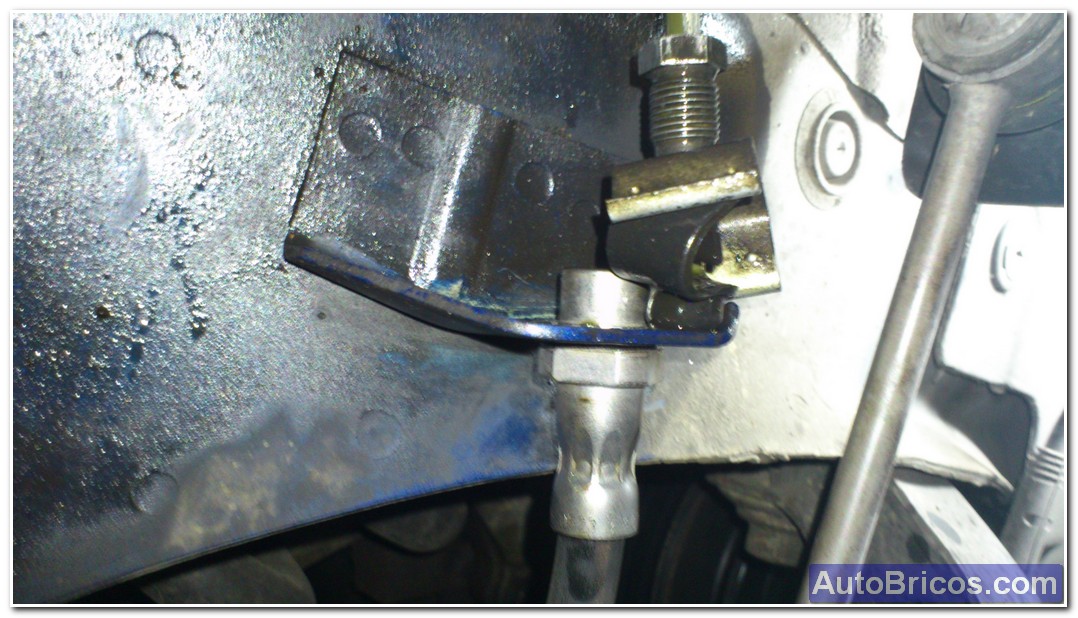
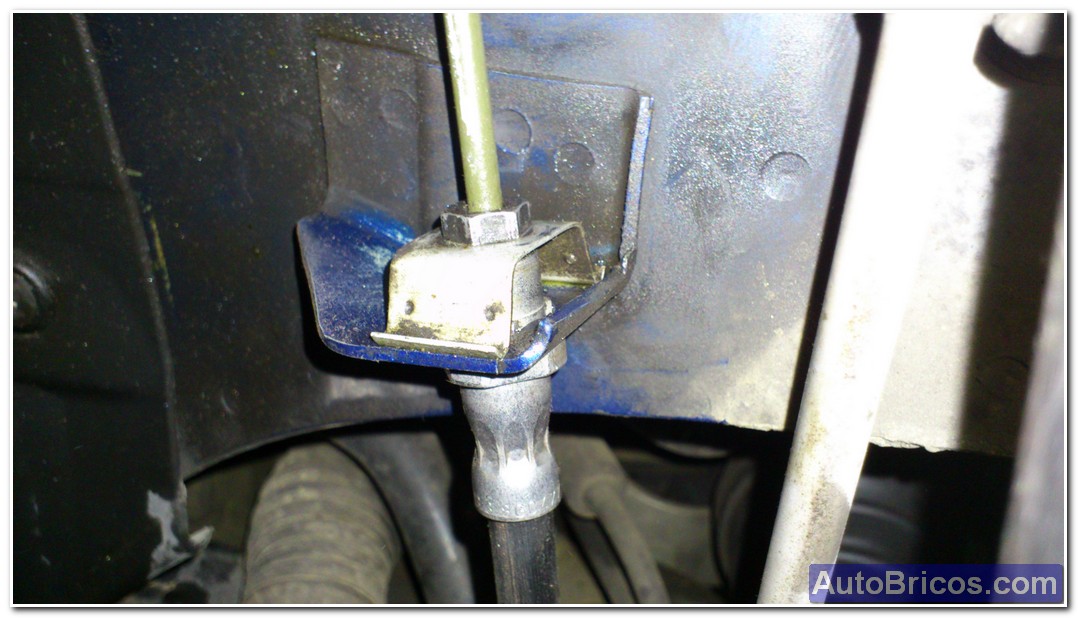
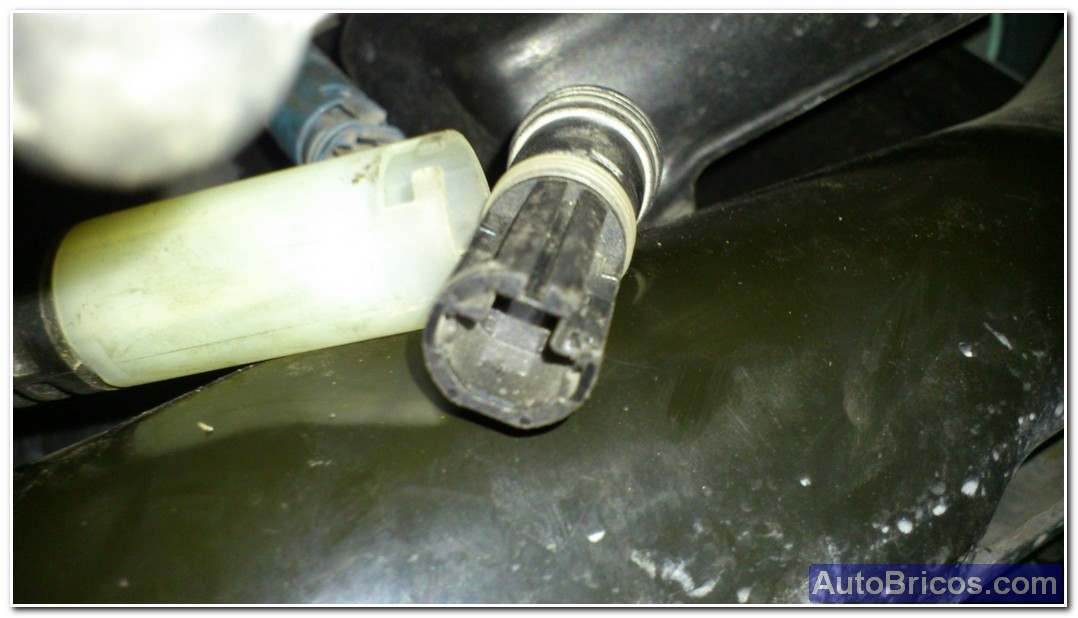
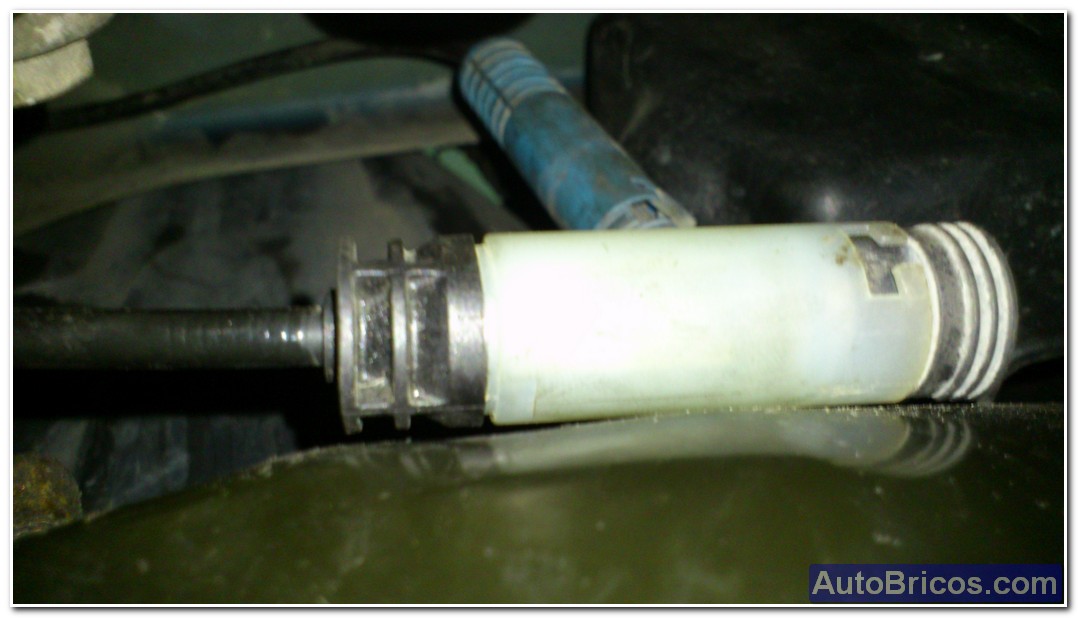
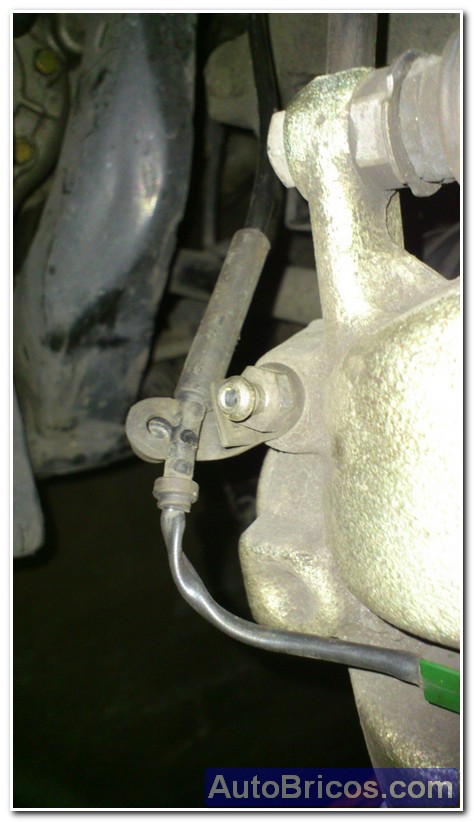
Once we made this check, we continue with the hydraulic circuit so far it has not been necessary to open the circuit, just had the old clamp to the side, but now needs to connect the new clip, I ran into a little problem that I explain that no nobody panic; hoses Tong (old and new) are different, and you have to serve the JCW caliper hoses, and we do not serve the hoses leading car series. Put some pictures for you to observe the difference. The problem that I mentioned earlier is that the JCW hose clamp acavaba not enter the cage holding the wheel arch. The solution has been round a little lugs having to enter the cage perfectly, and it does not rotate when tightening the fitting nut. Sanding much either because then I'd advise you play. It is best to unplug the original fitting and hard provar if the new connection (must angularlo certain way to fit the pins also. Lest go leaking hydraulic circuit can plug the end of the tube with the rubber cap of the traps, or something similar.'s important that the brake fluid reservoir is never empty.
 |
 |
 |
 |
 |
 |
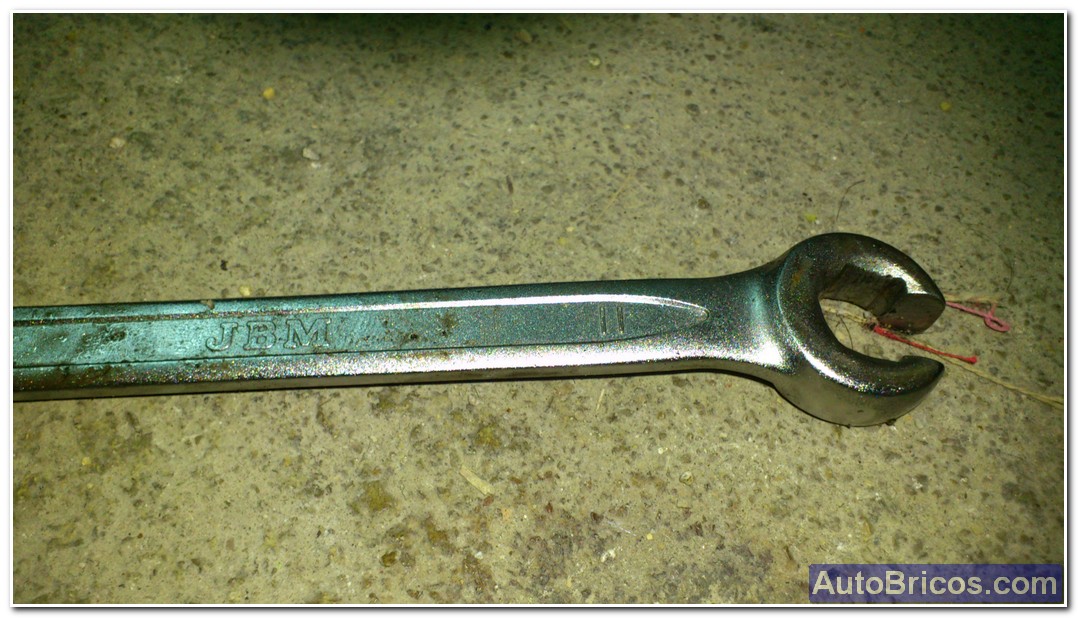
To loosen and tighten the couplings suggest a special key for fittings, you can avoid problems especially if the nuts are stiff. Do not overtighten the fittings, so there are no overly stiff in the future.
The next thing would be to proceed with the other brake caliper in principle everything is like what was done with the first clip, the only difference is that the left gripper holds witness pad wear, and should be taken properly connected to to let us know if the pills are reaching the limit.
 |
 |
 |
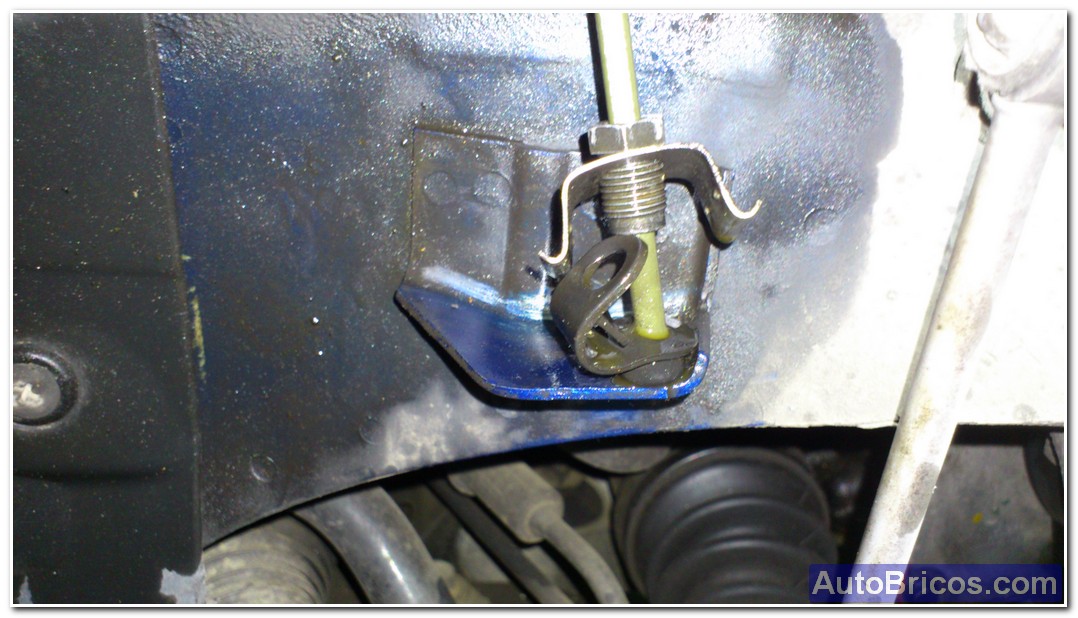
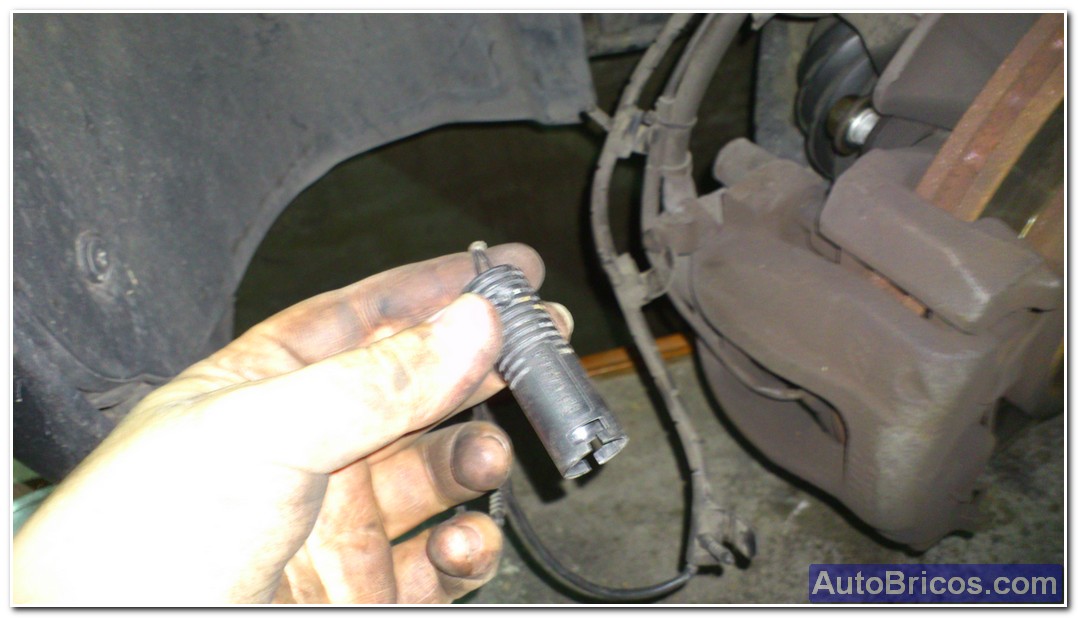
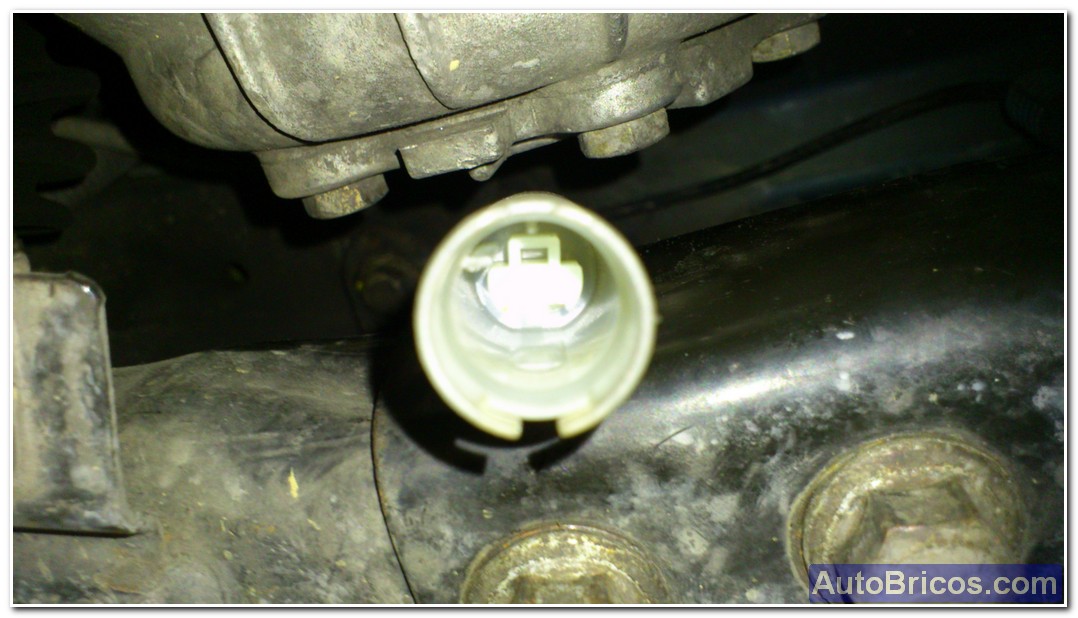
You have to disconnect the connector witness pad wear, which is on the inside of the wheel, right next to the gearbox. In my case it did not make me get the missing wheel guard and I have access under the car, but surely facilitate access to the connector if we removed the black plastic shield that goes into the wheel arch.
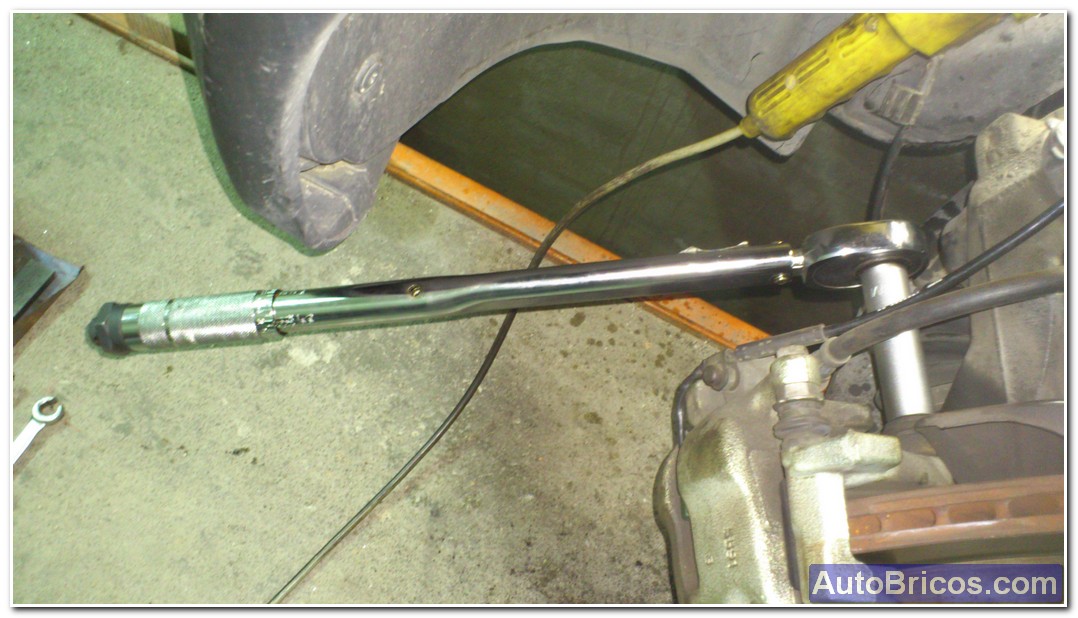
For tightening of the screws holding the body of the jaw, it is necessary to do a couple of 110Nm, which is necessary to do so to ensure that a torque tightening. The second photo shows the special wrench for fittings that I used (it is number 11). Remember not to over tighten.
 |
 |
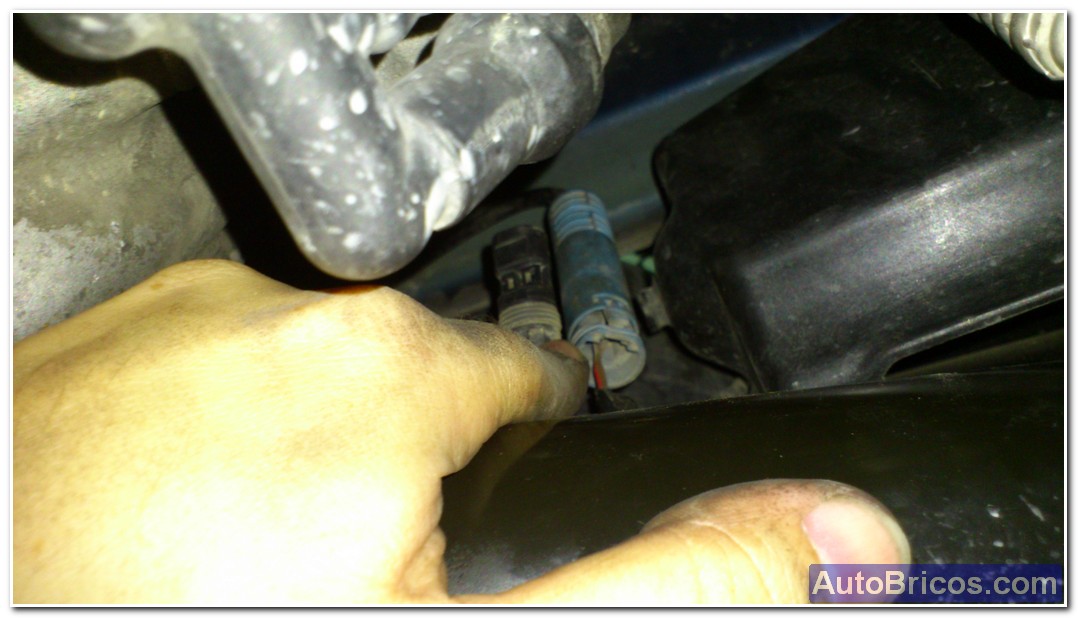
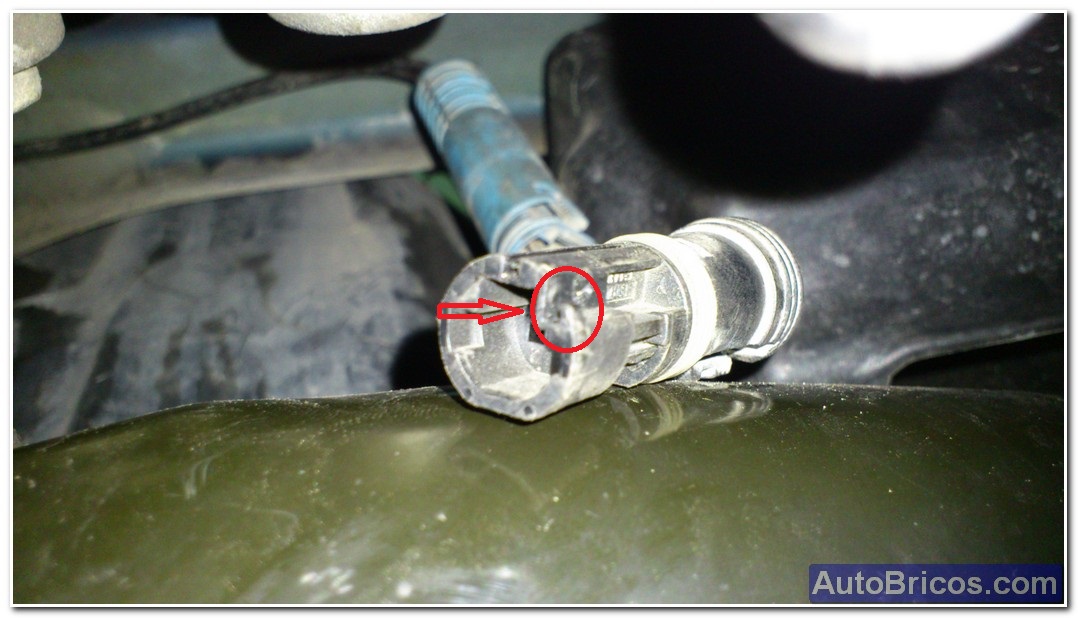
Returning connectors wear indicator to perfectly fit the new connector, you have to make a small modification, I have outlined in red on the picture, you have to trim a surplus small that keeps out correctly the connector in the air base having the car.
 |
 |
 |
 |
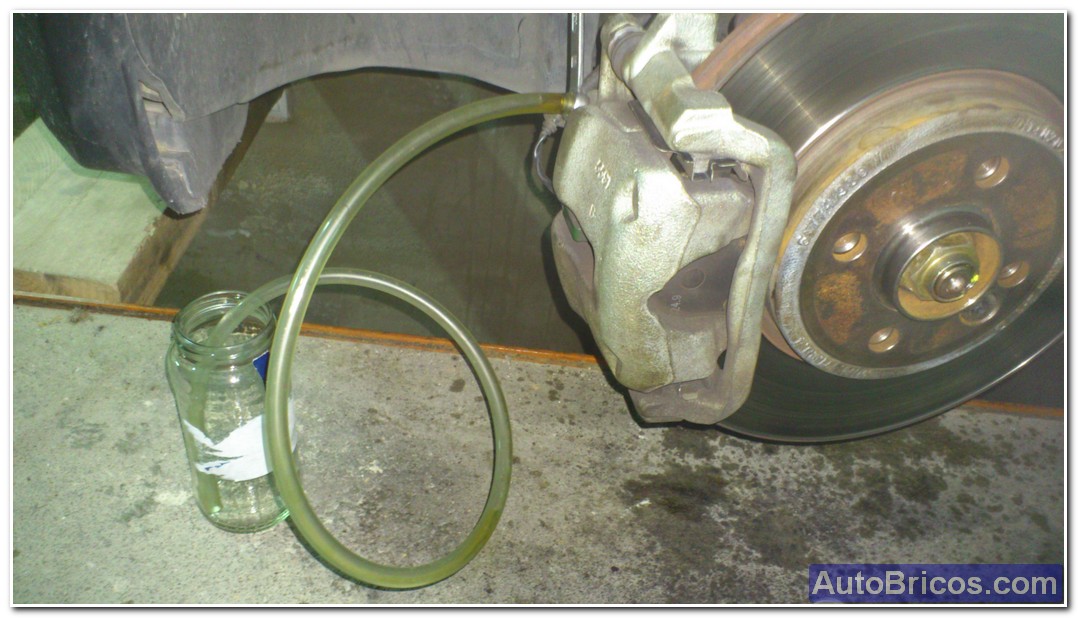
Finally, once the control cable connected and tightened all the screws and clamps in place, and can bleed the brake system using tweezers traps. We will open the reservoir cap and brake fluid filling that we will not be empty in no time.
 |
 |
 |
 |
 |
 |
To bleed the brake system, there are several methods, I have done natural discharged by gravity (the trap opens and lets out liquid while you're filling the tank).
This is best done between 2 people, one must be seated in the cockpit to firmly depress the brake pedal while the other person opens a trap (! Eye not lift the brake pedal while the bleeder is open) always before lifting the foot from the brake pedal, close the bleeder. It should be with 2 clamps alike, the idea is to leave any air that may remain in the hydraulic circuit. Once purged, I see that after hitting the brakes a few times with the engine off, the pedal becomes ríjido. At this point they could already put the wheels back to perform a test and verify that the car brakes properly.
| Tweet |