

 Oil service interval reset Audi A4 B8
Change of front wheel bearings
In this brico the two bearings of the front wheels are changed; I actually change both for safety, but so far only made noise right front rolling bearing.
The first is to raise the front of the car to remove the front wheels. It is best done in an overcoat lift when placing new bearings to give tightening the screws of the bearing body. I've done it in a pit.
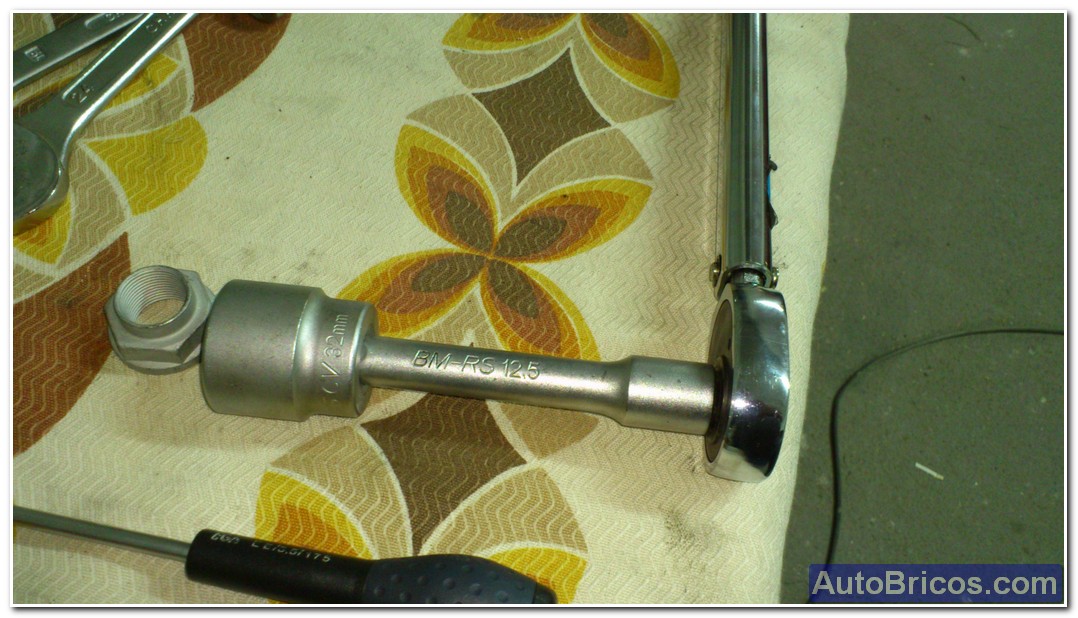
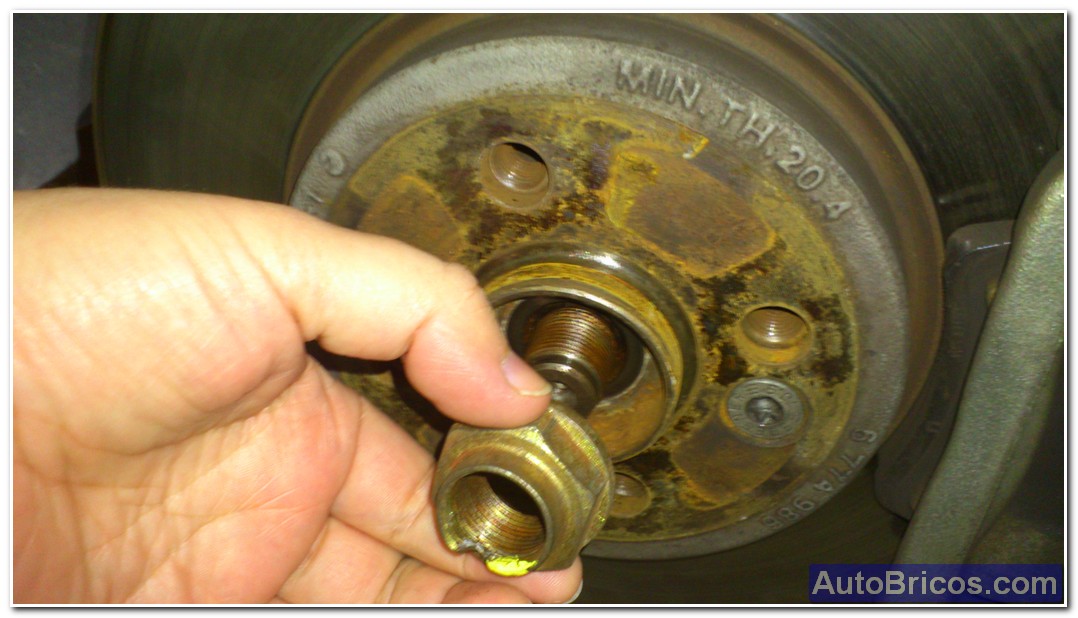
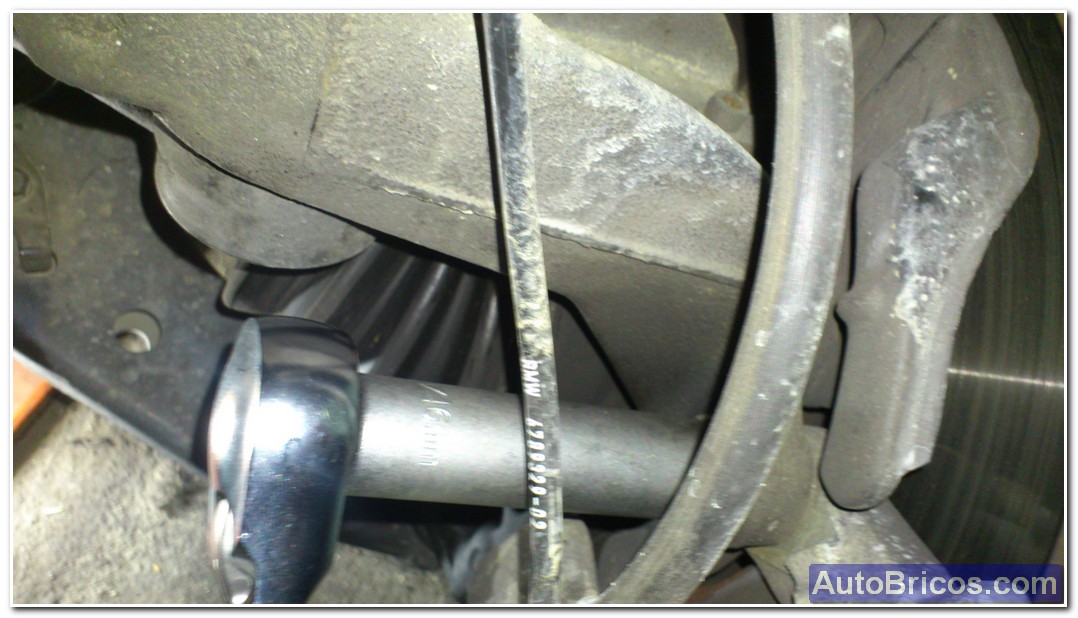
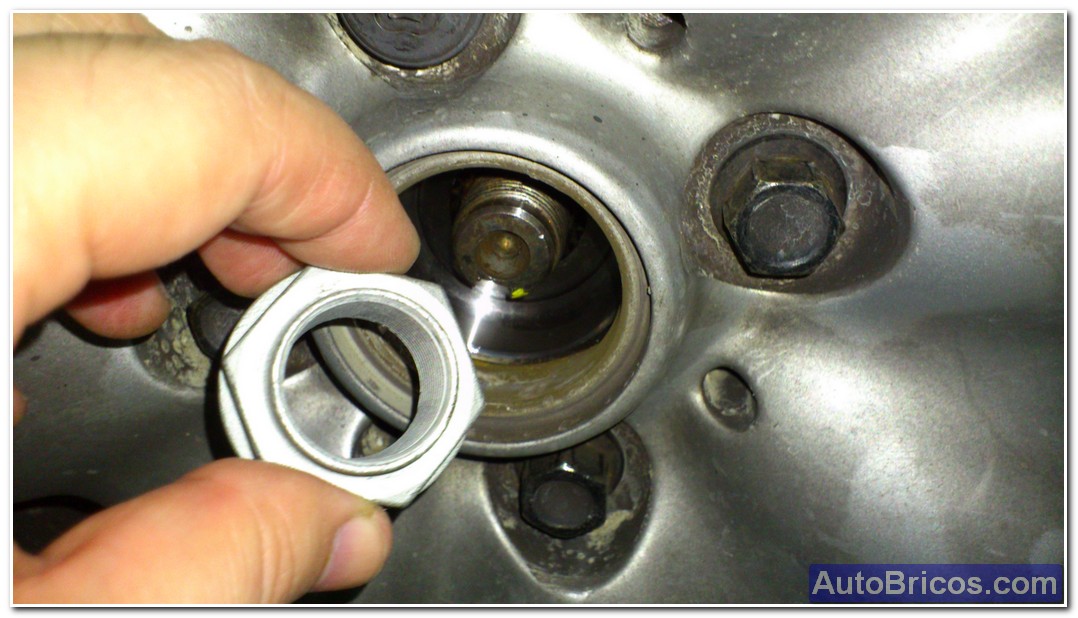
Once taken up the car and the front wheels, make sure to also loosen the threads that hold the shield, so it is best to ask someone to step on the brake pedal to lock the drive and the bearing and to unscrew nut holding the bearing shield. We will need a socket wrench number 32 and a good lever to loosen (thread with a lock so you have to beat the blockade).
 |
 |
 |
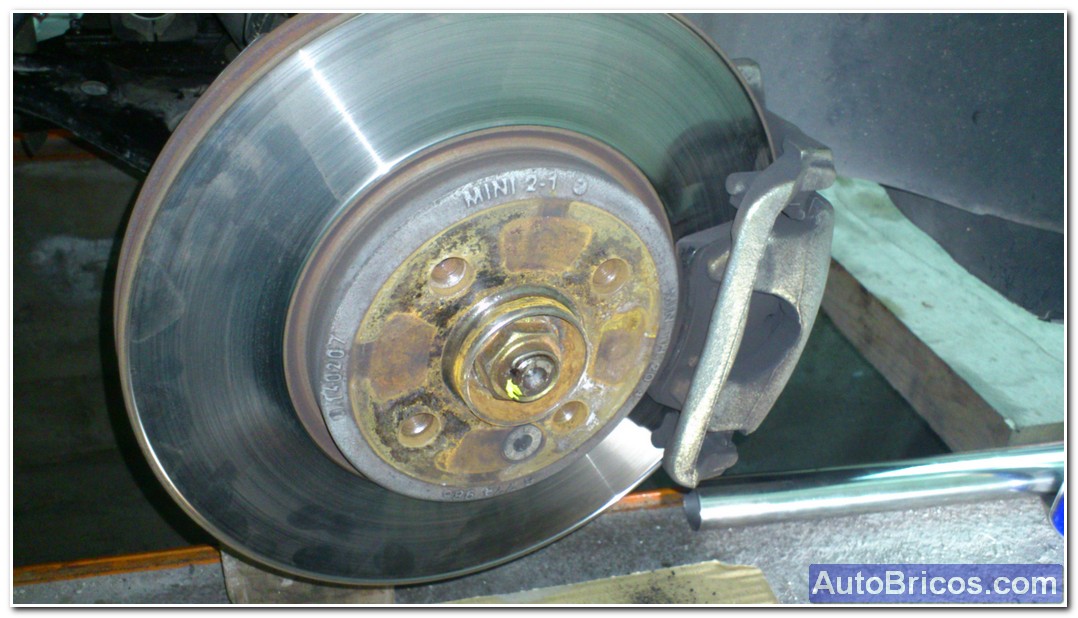
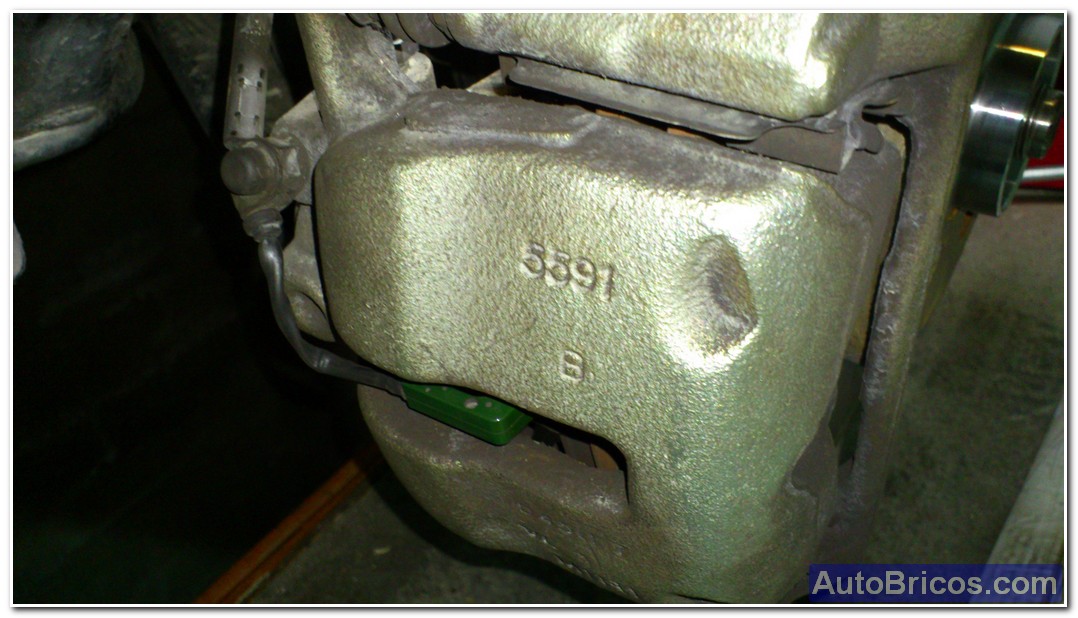
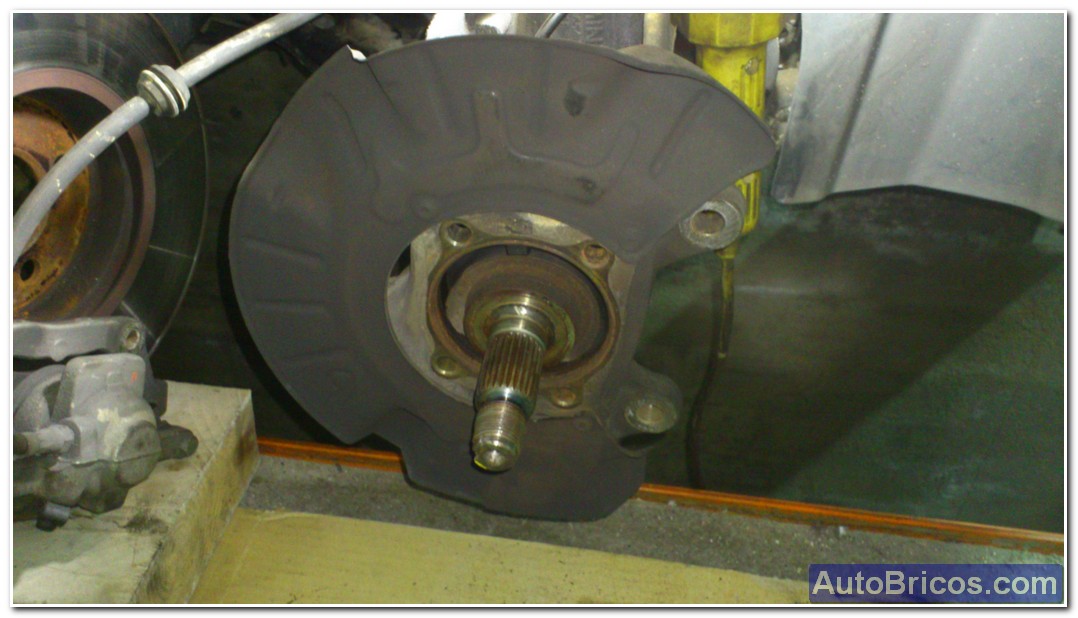
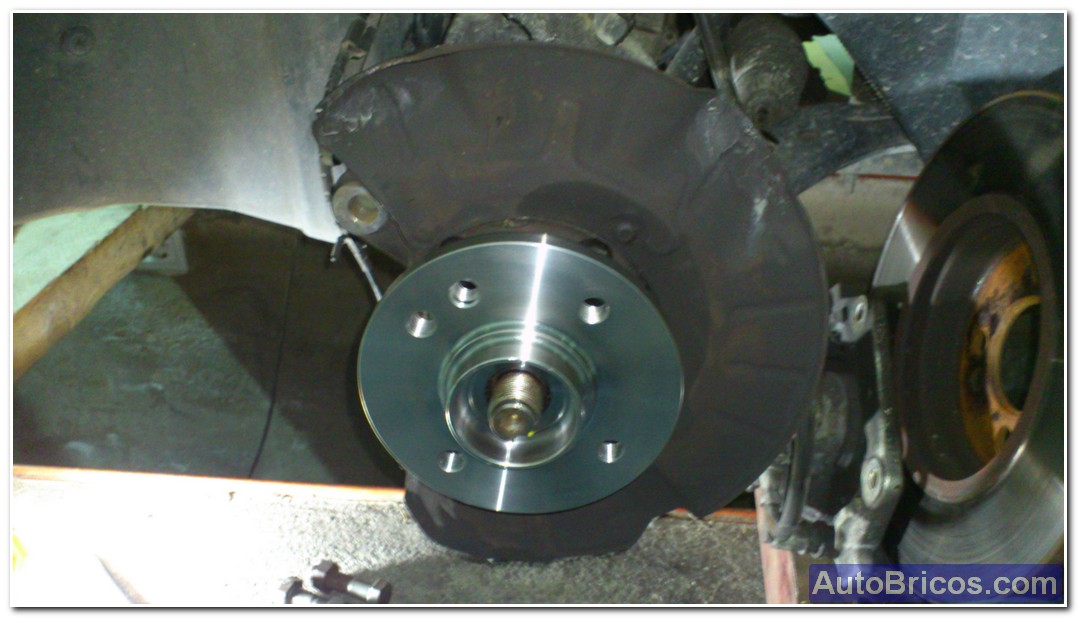
Later he would have to pull the brake caliper to make the brake disc, so I prefer and remove the brake caliper and the brake disk to free up space to better put the wrench on the inside of the spindle to pull 4 screws holding the inner bearing. Also decoupling the steering knuckle to gain some better angle to get the ratchet.
 |
 |
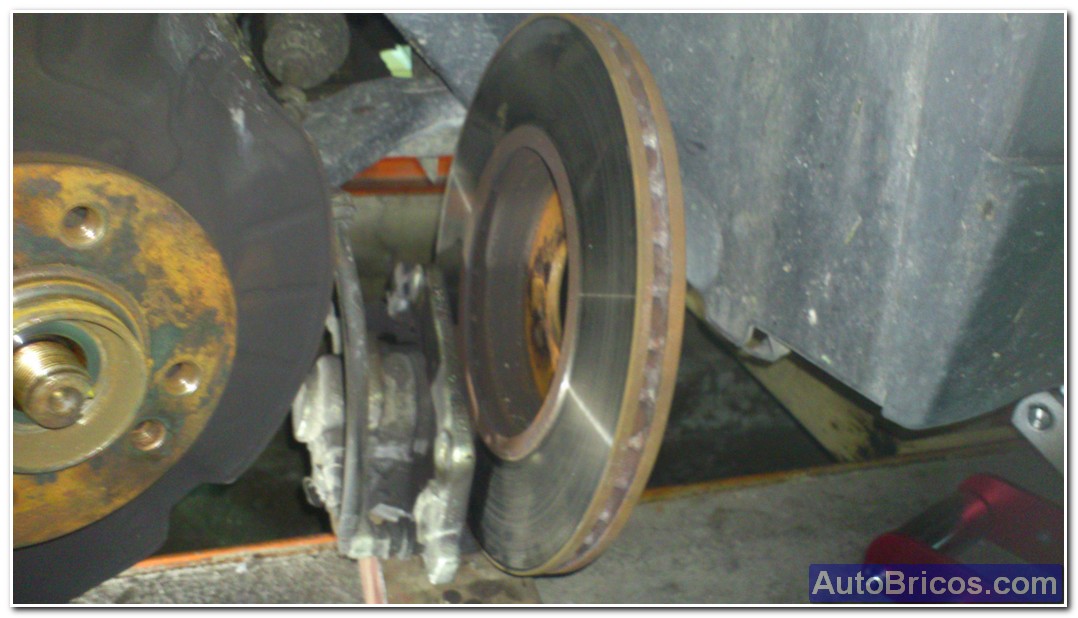 |
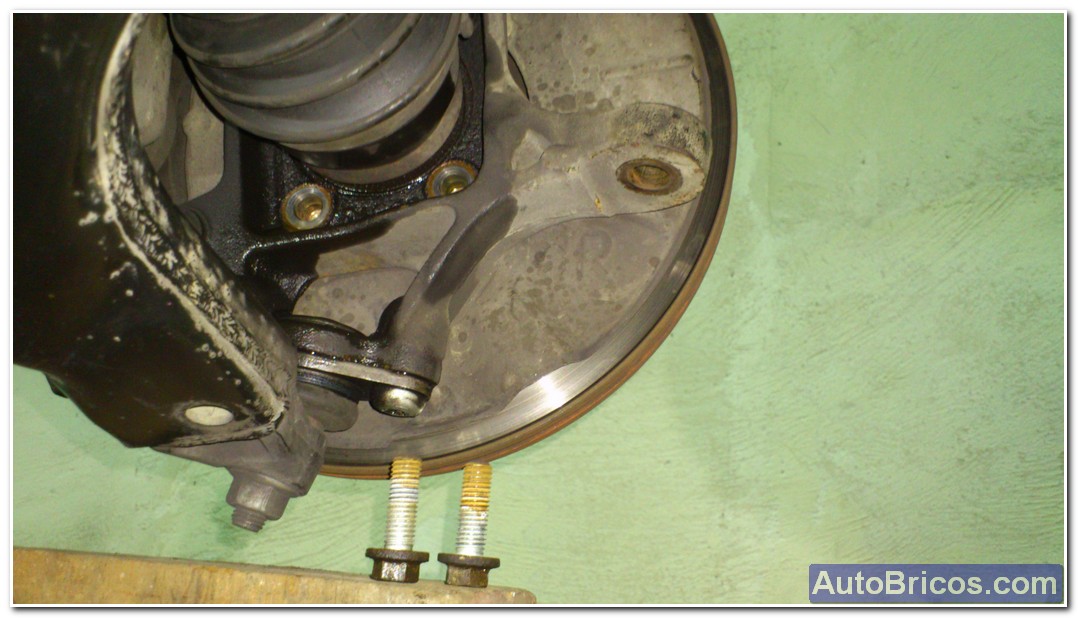 |
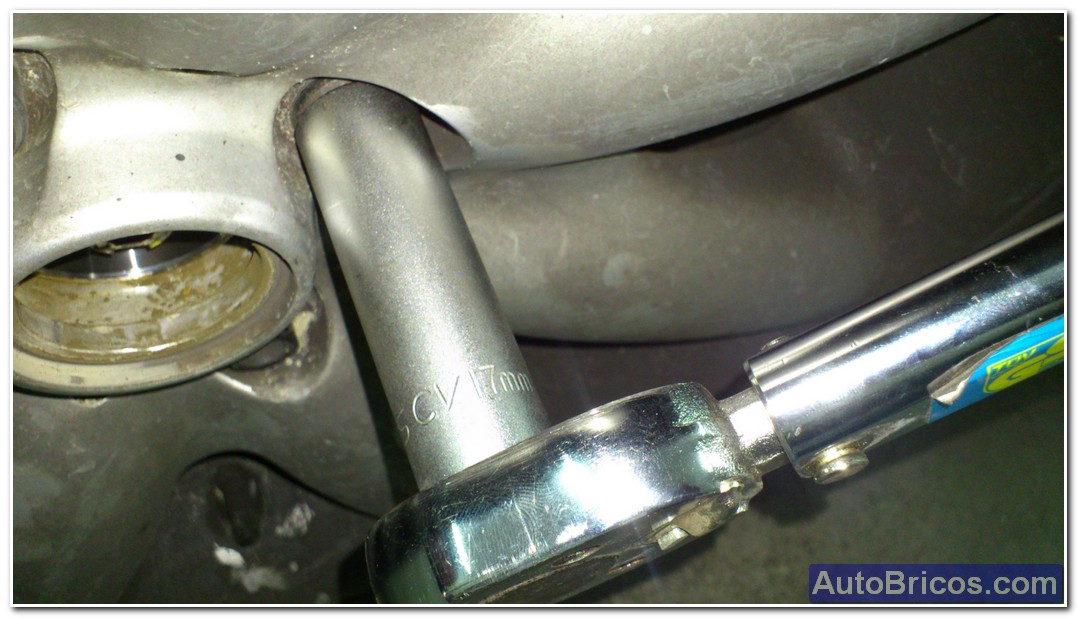
Remember that one of the two brake shoes brake the witness has to be drawn (pulling it) to not bother us at away gag aside. In the next picture you can see the brake warning light (central green part). Note also the position of the ratchet with extension and glass. The extension not to brush with bellows covering the CV is necessary.
 |
 |
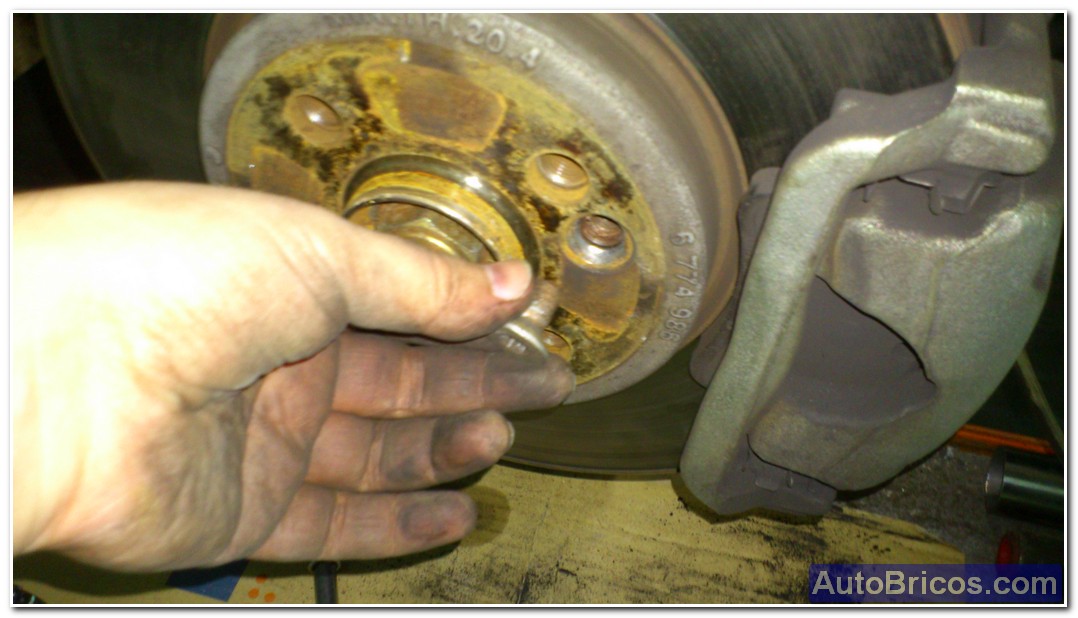
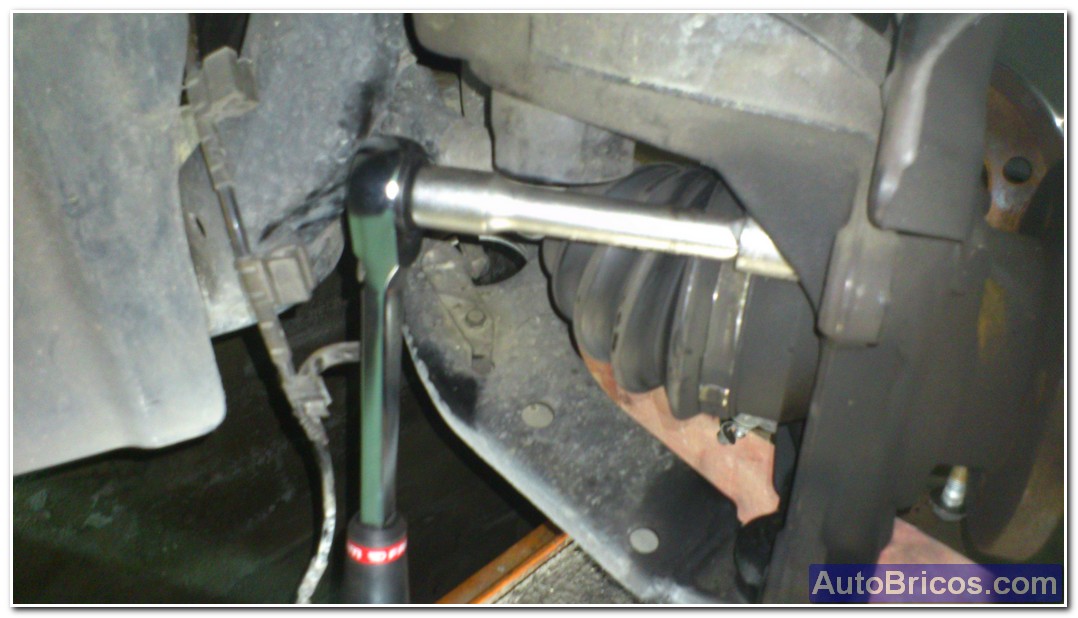
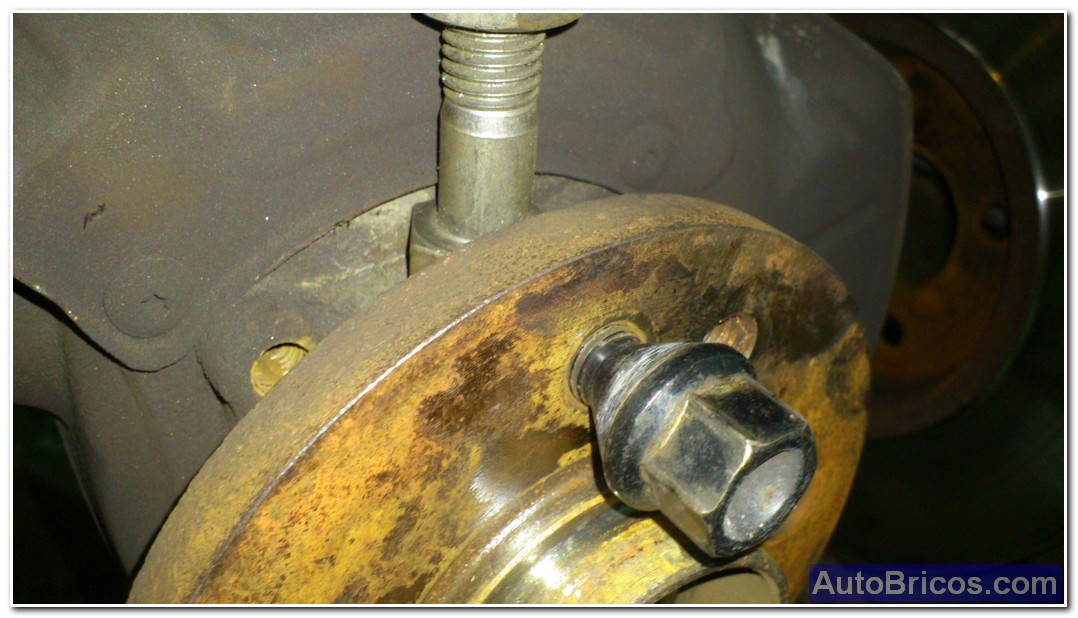
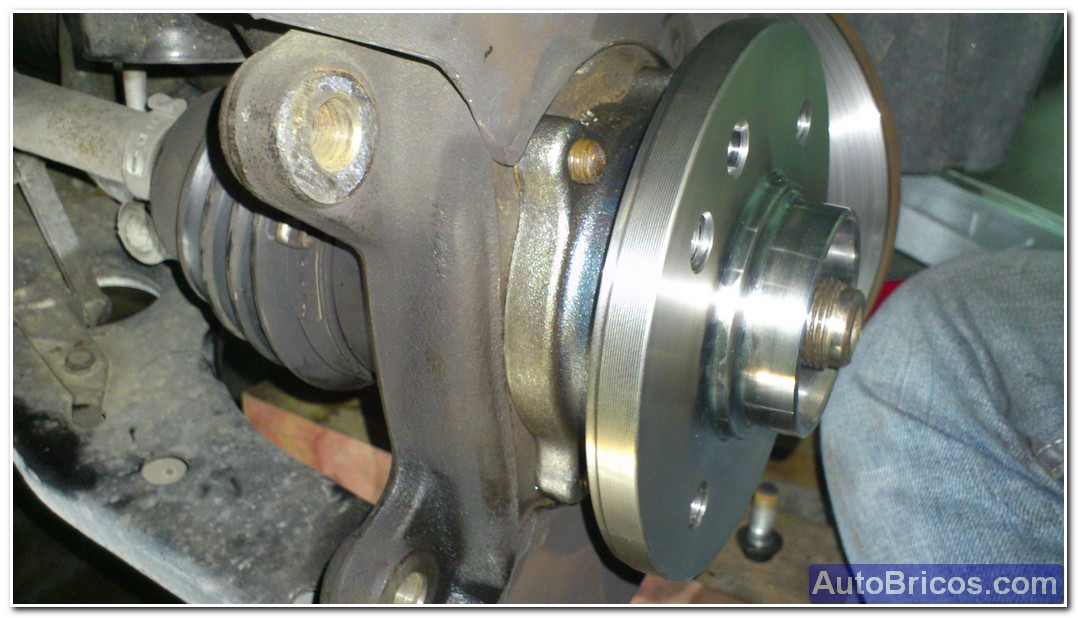
As seen in the above photo (in this case the left wheel), the Mortaza and the disc is disengaged, no need to open the grippers; supported leaving the set aside so that the brake hose does not suffer.
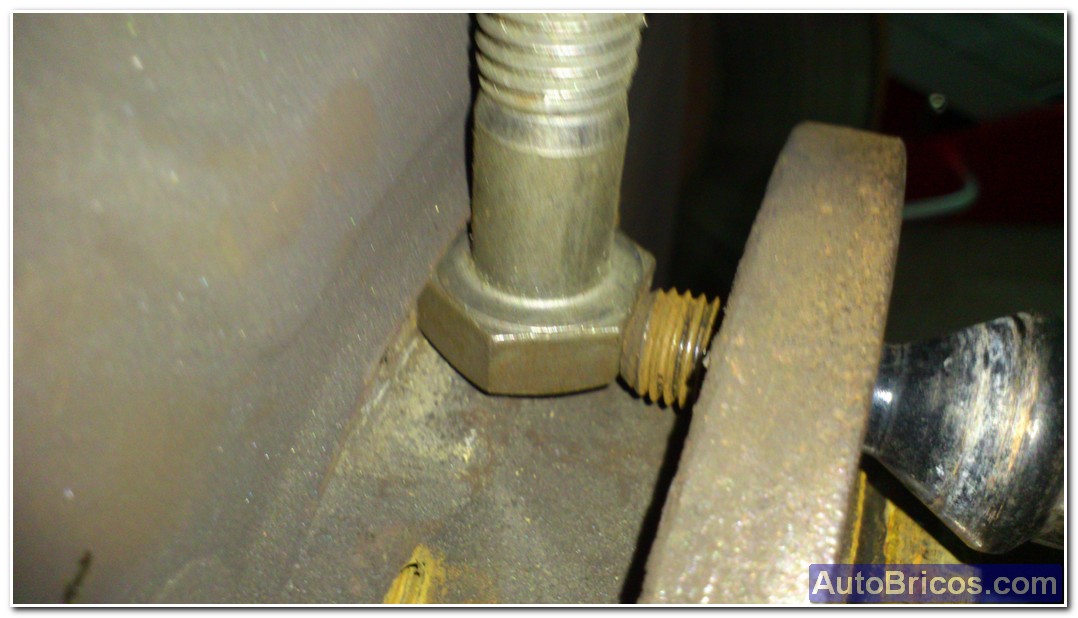
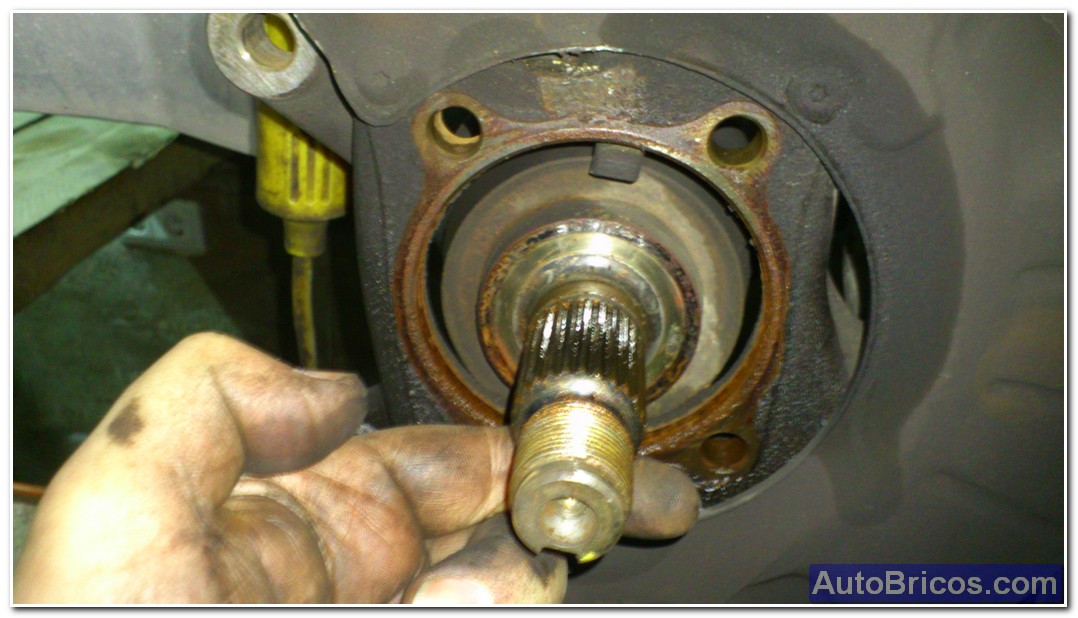
Once removed the four screws holding the bearing, remove plays. For this we can serve the same wheel bolts as pullers with the help of abutments or parts that can press against the body of the spindle. If placed as shown in the photos below, and are gradually tightening the wheel bolts, we see that the bearing is going smoothly; you can also help at some point with a rubber hammer.
 |
 |
 |
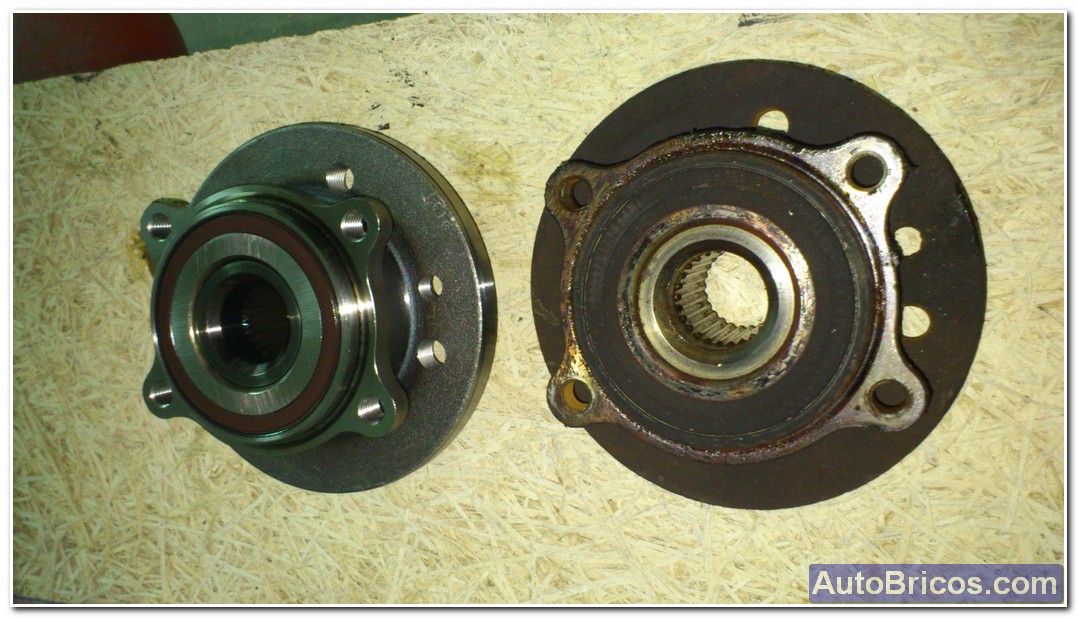
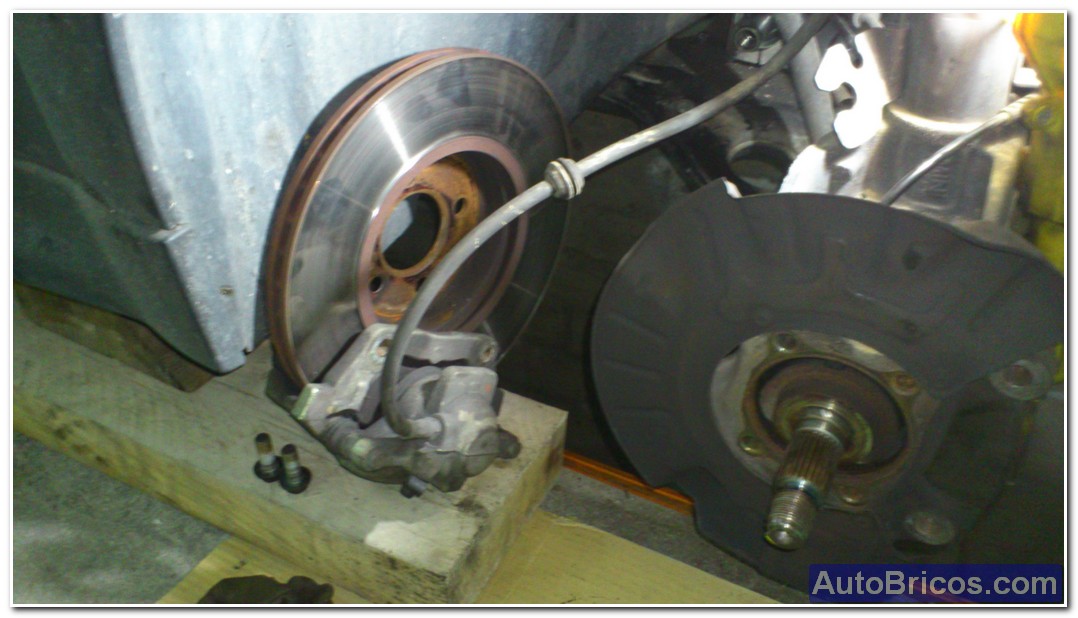
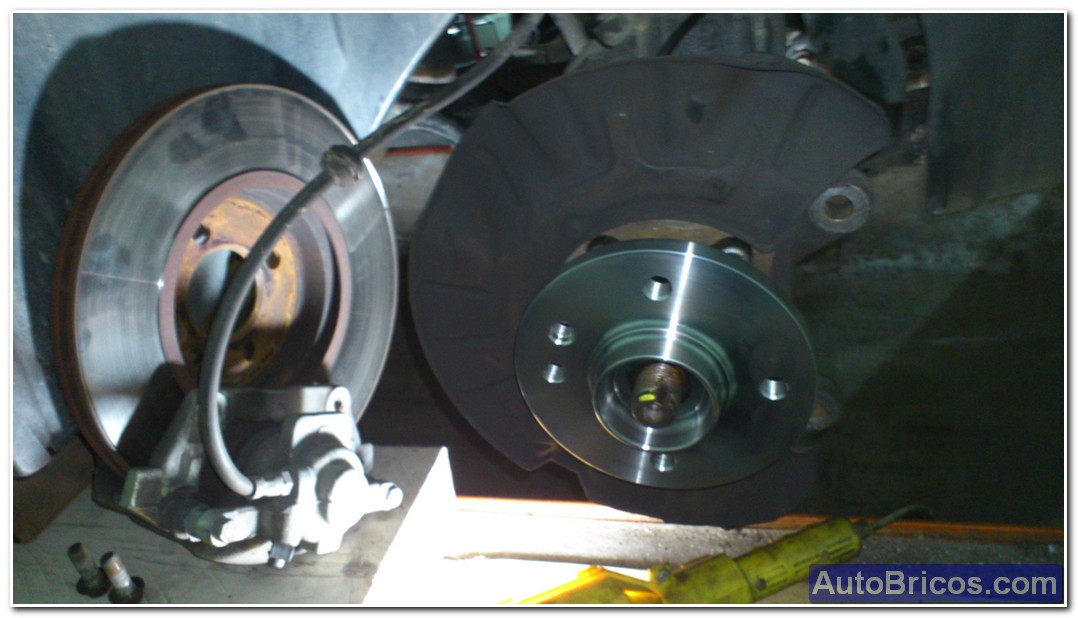
Finally the bearings out smoothly on two wheels; I put some pictures to see the difference between new and old.
 |
 |
 |
 |
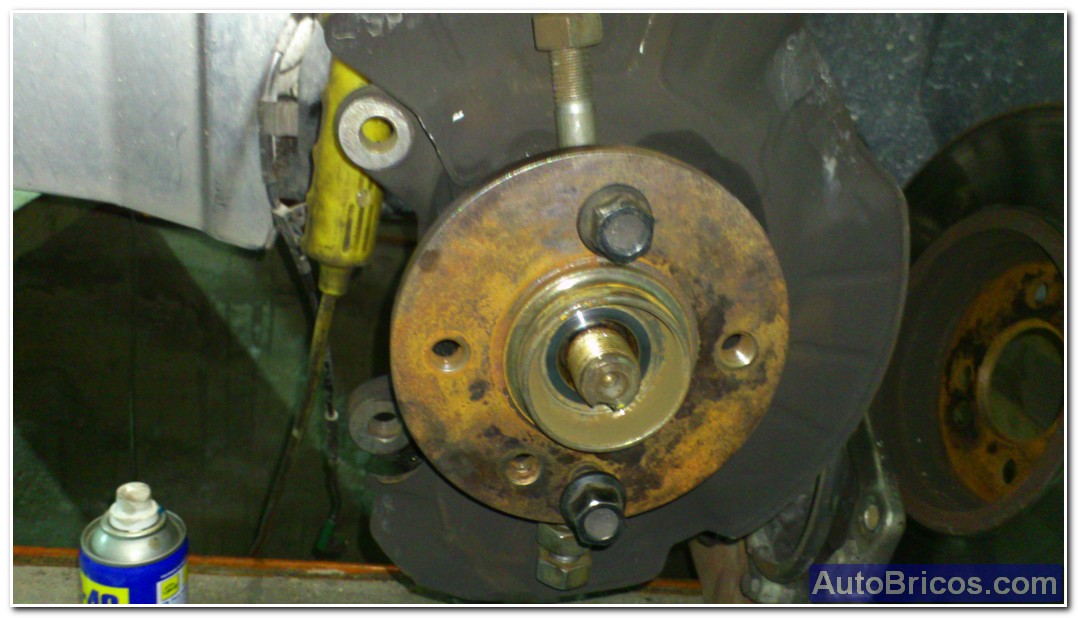
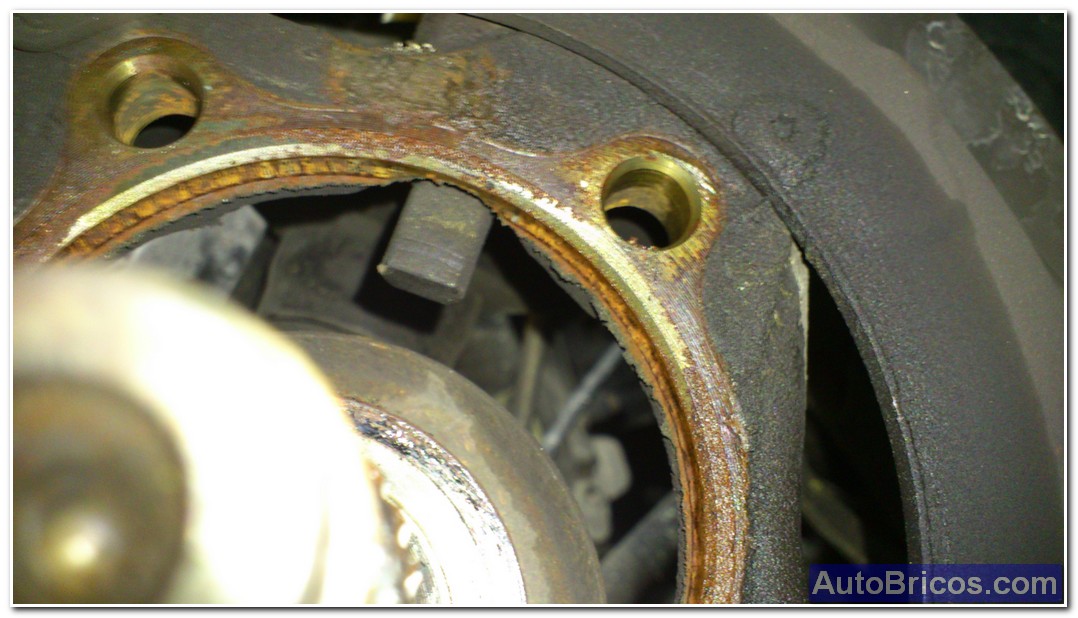
Once removed the bearings plays thoroughly clean areas to allow new bearings come without problems. we must ensure that the joint plane between spindle and bearing is perfectly smooth. When placing the new bearings, I advise putting copper grease (sparingly) in the striatum of the bearings. Also worth cleaning the sensor wheel speed (ABS sensor) if it is very dirty, it is usually a bit enferrichar with loose powder that the brake pads.
 |
 |
 |
 |
When placing the new bearings, it is important to use new attaching screws 4, since the former are already tired of the previous tightening. For the correct tightening of the screws is necessary to make a rundown of each screw 20Nm end up making a 90 ° angle tightening. ie: 20Nm + 90º. I do the same with the other wheel.
 |
 |
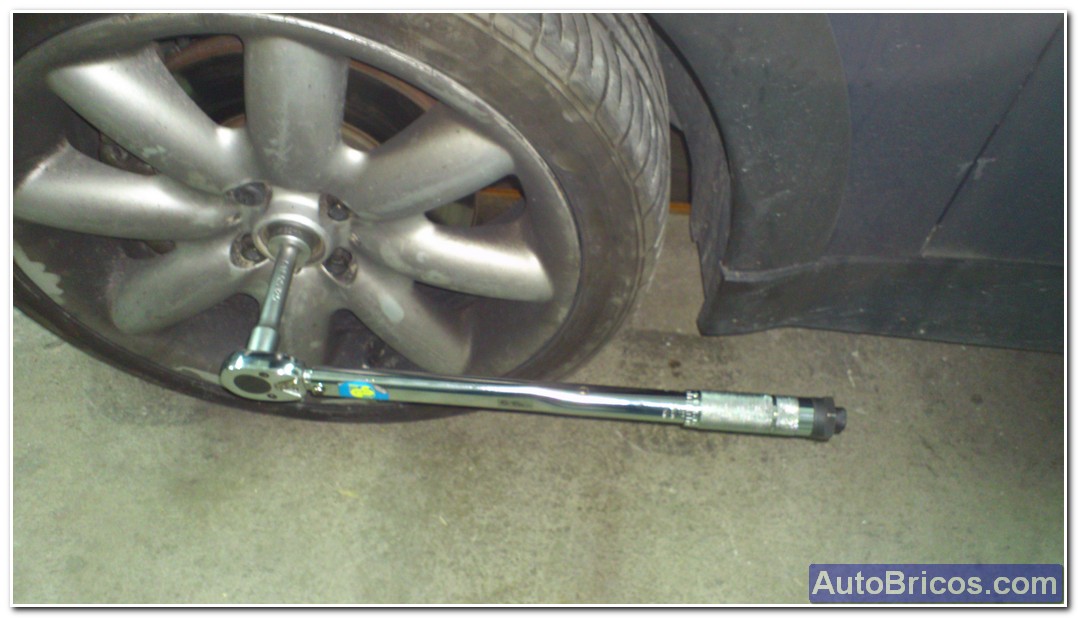
Once properly tightened the screws of the bearings, we can replace the brake disc and the clamp, and the articulation of the address bar, if previously removed.We must also remember to put back the conical Torx screw that holds the brake disc. The following would tighten the nut and the bearing to 182Nm; I preferred to do this by placing the wheel with its 4 screws (when they had previously removed plastic centers to insert in the middle of the socket wrench 32).
 |
 |
 |
 |
Once tight nut bearing, as seen in the photo, using a nail set will give tapped to deform slightly the end of the nut bearing area of the bearing crevasse so that is fixed and can not be loosened. Once fixed can already put the wheel center caps with the logo.
 |
The tightening torques of all screws would be:
Nut ball stud steering arm (M10x1,25): 52Nm
4 screws holding bearing wheel: 20Nm + 90
2 screws securing the brake caliper: 110nm
4 wheel bolts (if M12): 120Nm
Bearing nut (M22x1,5): 182Nm
| Tweet |