

 Oil service interval reset Audi A4 B8
Removing the exhaust manifold
This is shown as Brico remove / change the exhaust manifold on a Mini Cooper S (R53) JCW. The first thing to do is prepare the car to complete the removal of the collector at the bottom. It is necessary to raise or have a pit below work fine.
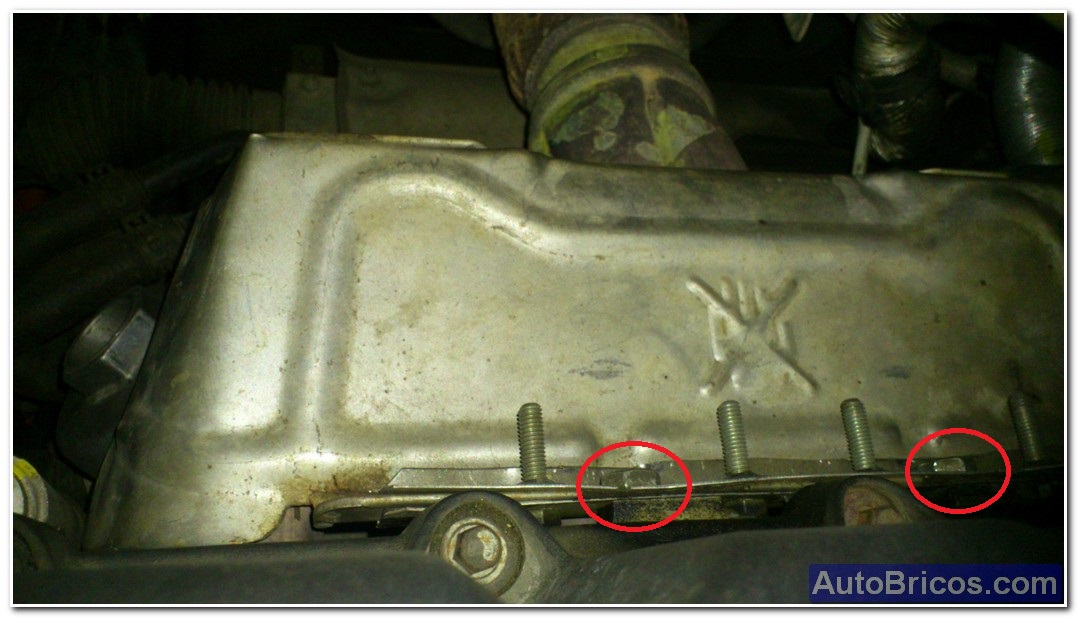
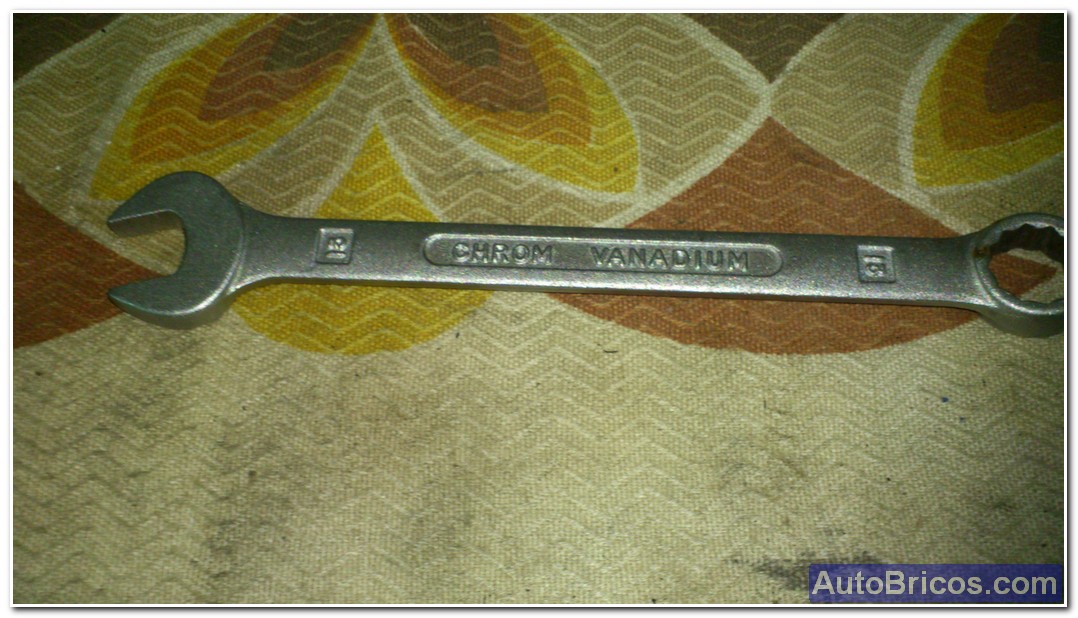
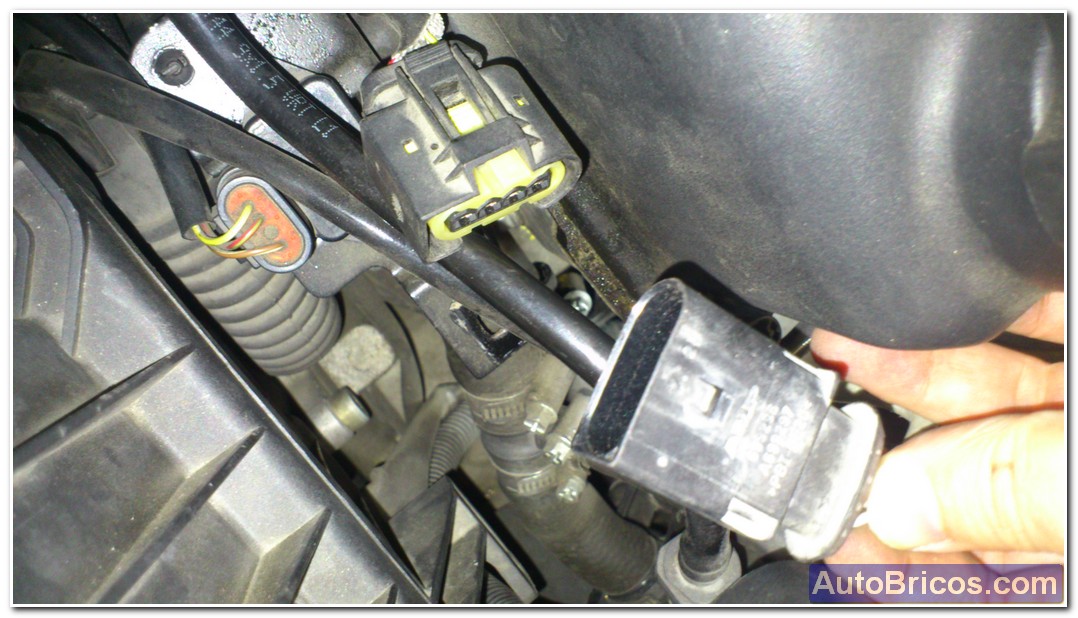
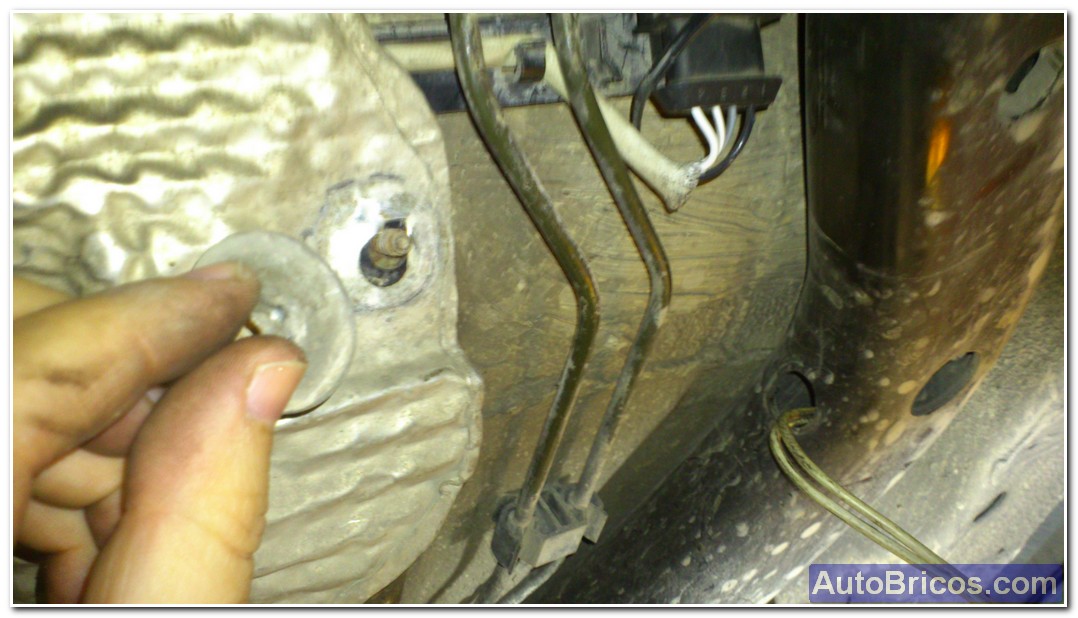
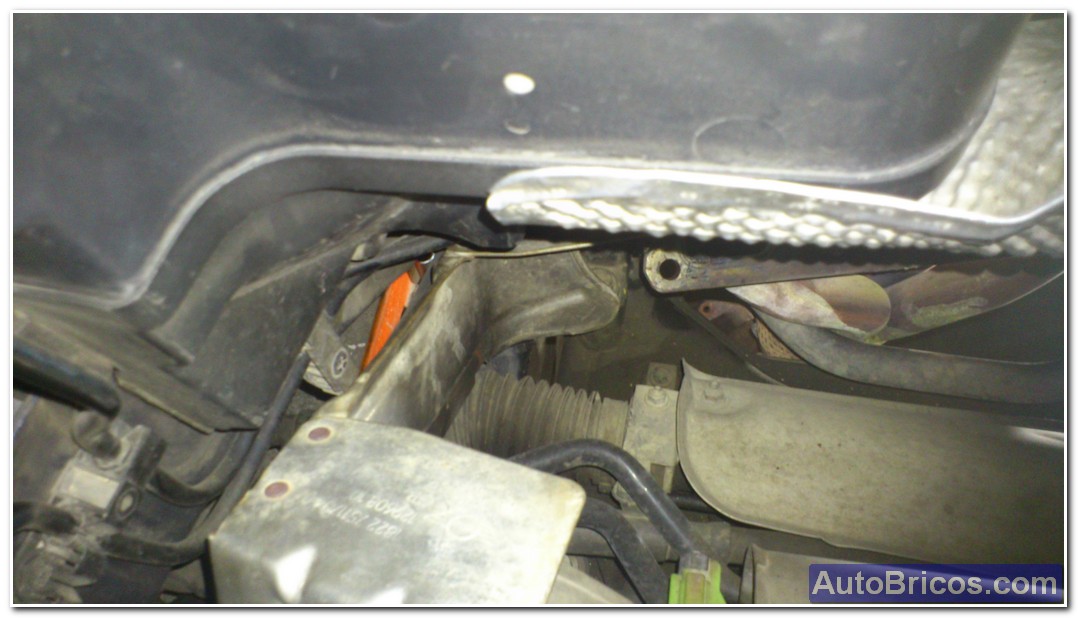
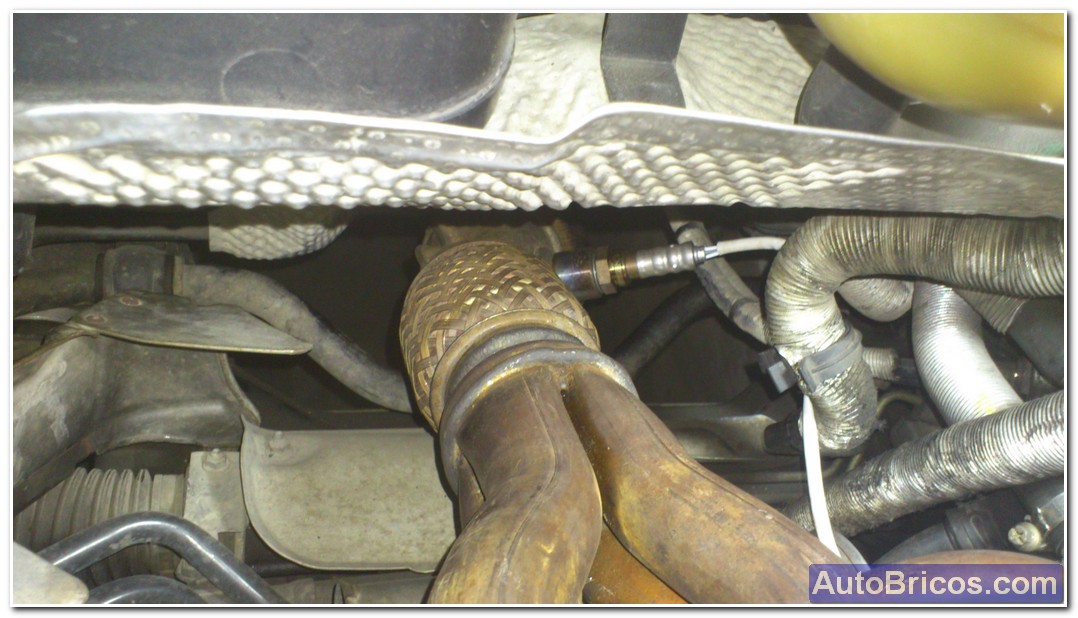
We must remove the upper heat shield to access the screws that hold the exhaust manifold to the cylinder head. You have to remove the 2 hex screws that hold the heat shield, a key is used 15. To leave the heat shield on one side (left looking from above), we take it to the collector without problems later. You also have to disconnect the connector of the oxygen sensor located before the catalyst, the connector is disconnected, and the base disembeds doing a rotation of about 45 ° to the base so that it is free. Once unpinned, I release the cable clamps that hold it and let it free to remove the oxygen sensor (or manifold with mounted probe) later. I opted to take the probes before removing to prevent the escape beat them, but you can do after if preferred.
 |
 |
 |
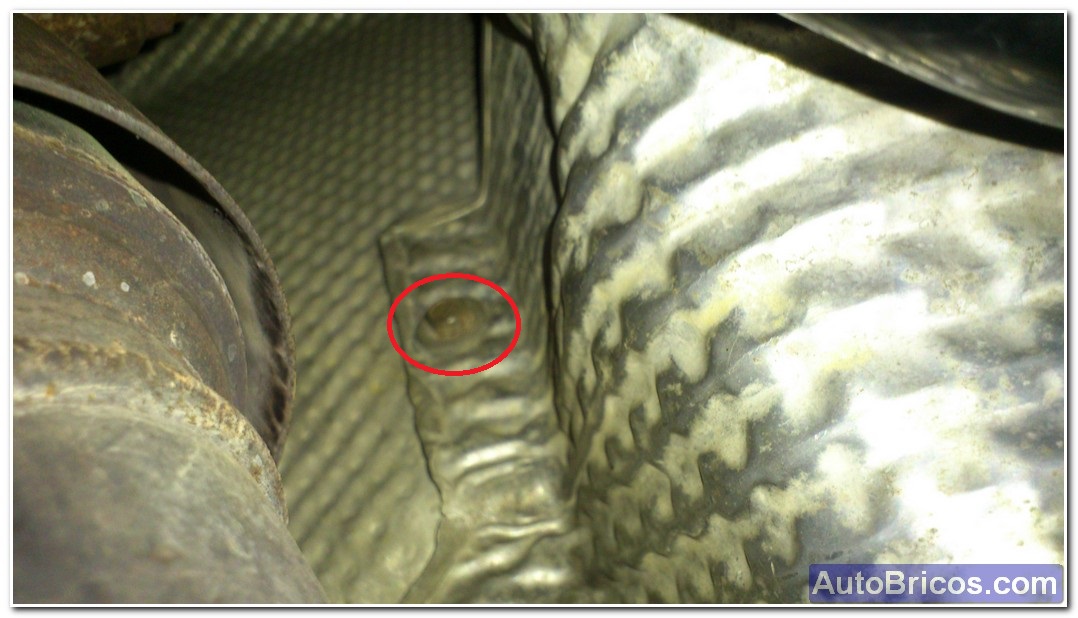
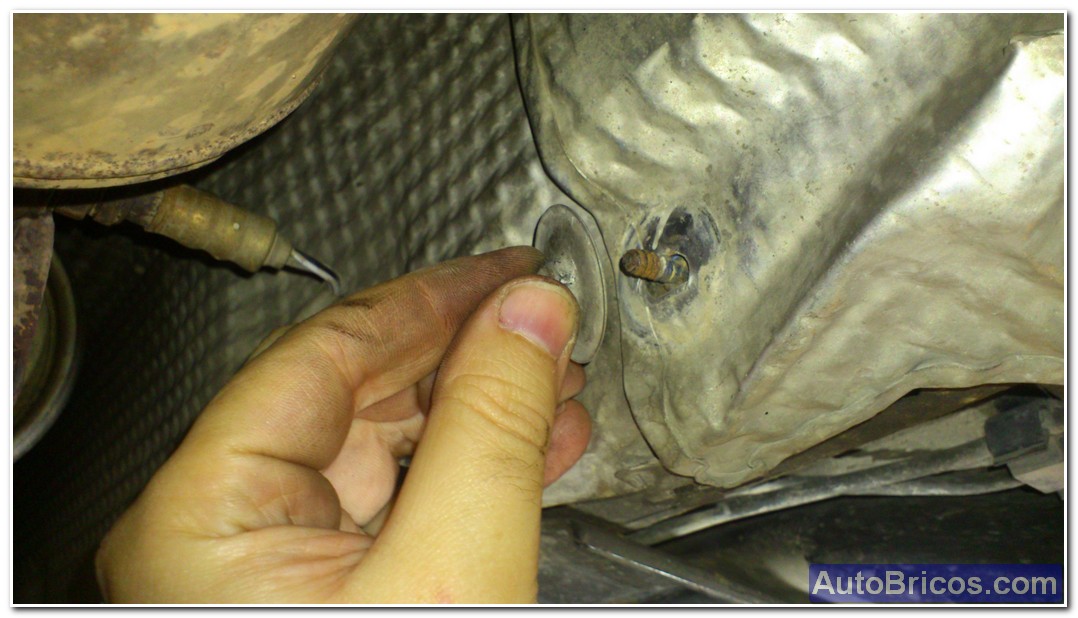
It should also remove the lower heat shield to the exhaust and out maneuver smoothly; volandera type 2 nuts and 2 screws are removed. That is enough to make the heat shield, it is necessary to find the correct position to remove it, does not go to the first, but it goes.
 |
 |
 |
 |
 |
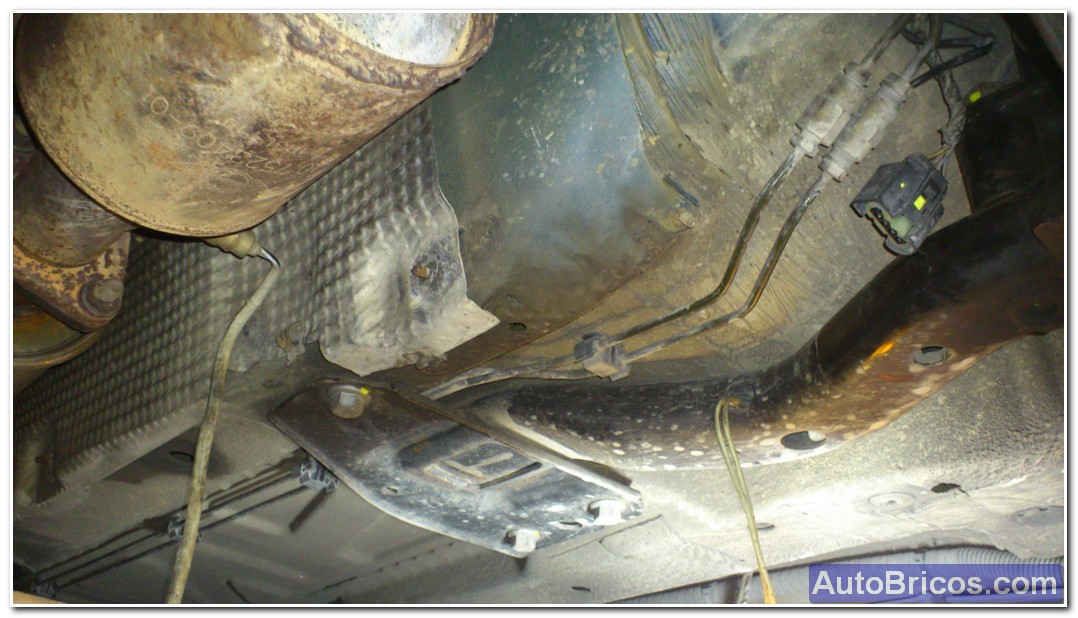 |
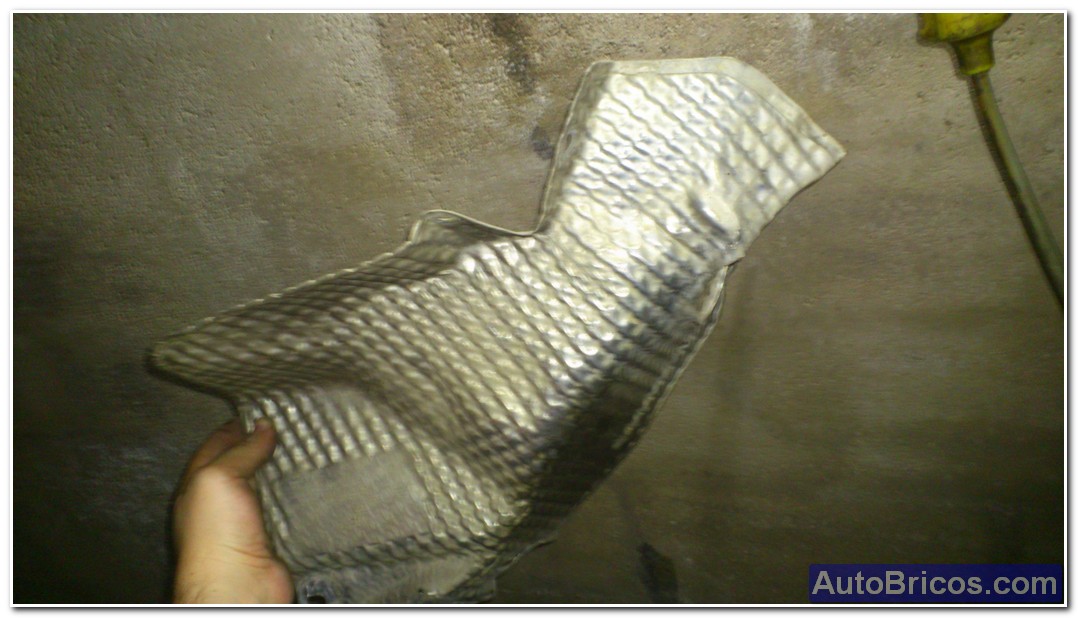
Once removed the lower heat shield also we can electrically disconnect the lower oxygen probe to remove the probe going after the catalyst, so we have 2 free to also take them out or exhaust manifold with them on probes.
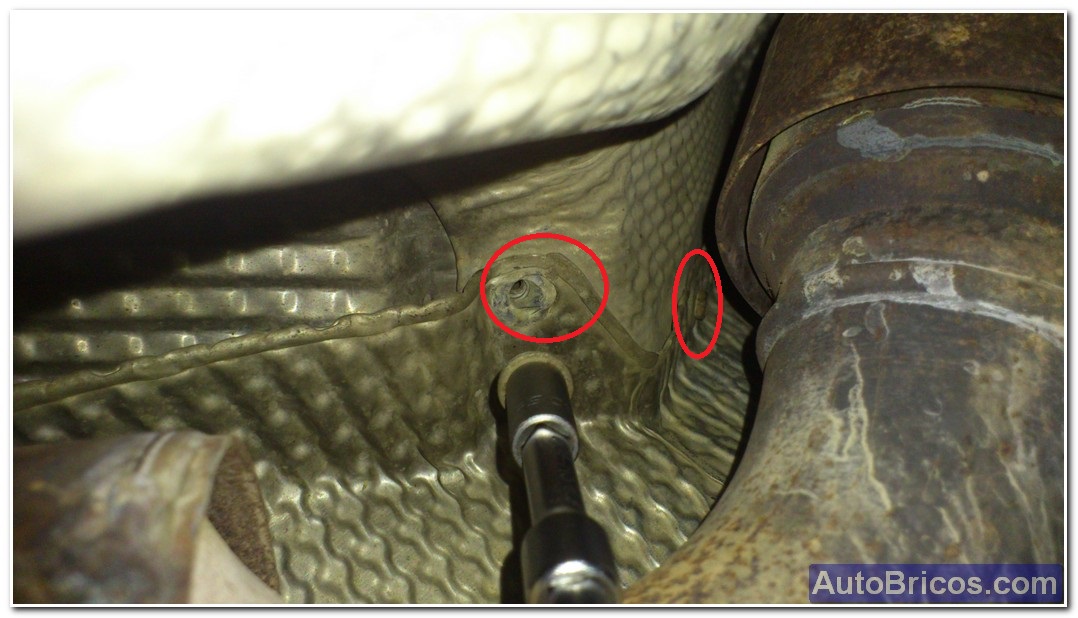
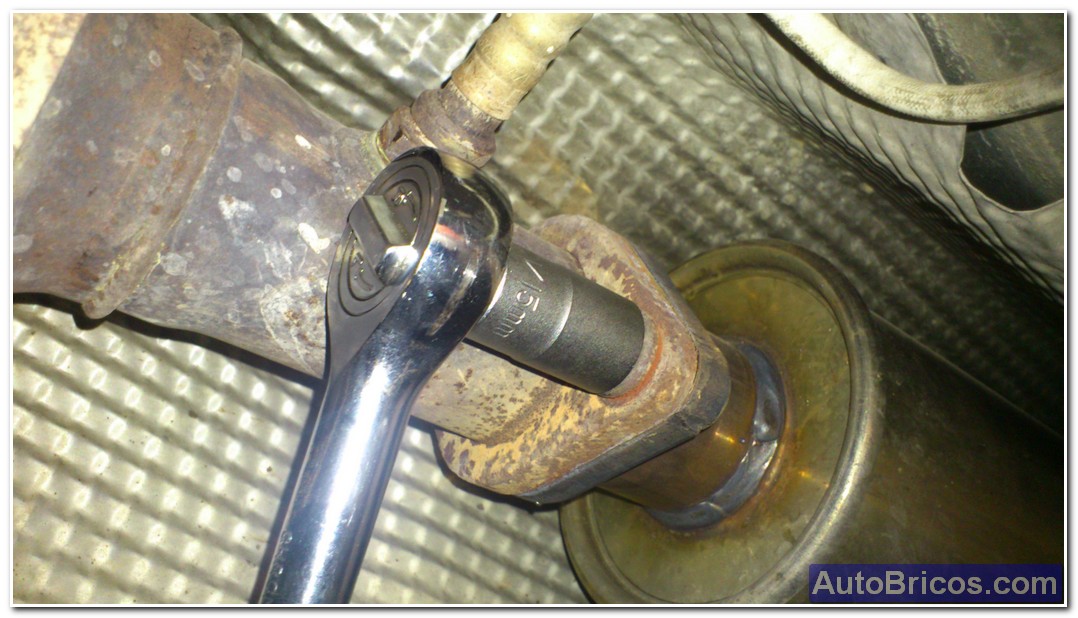
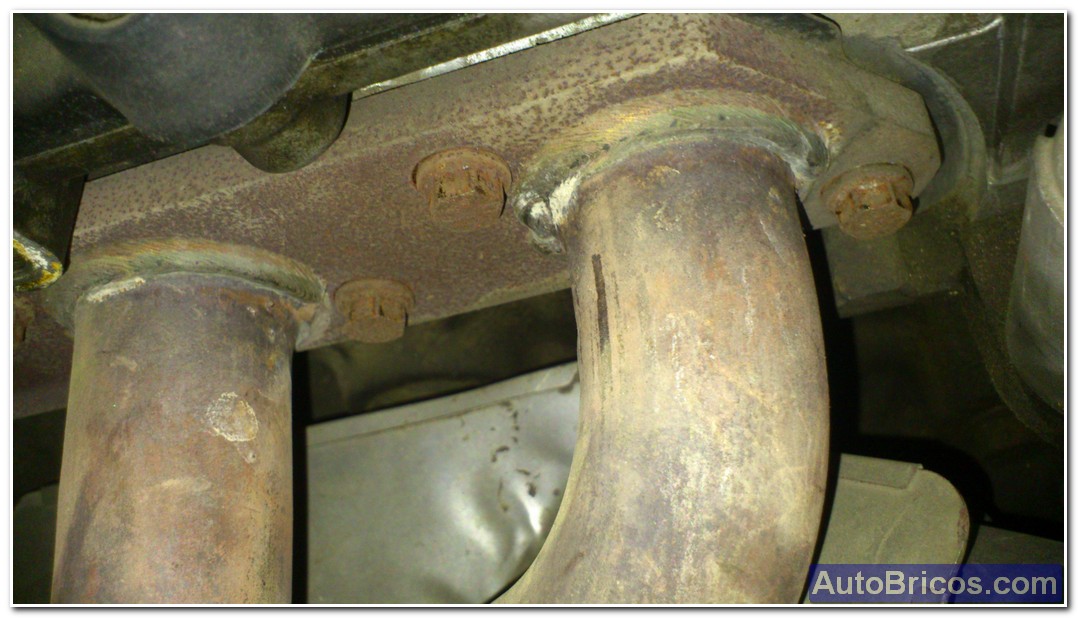
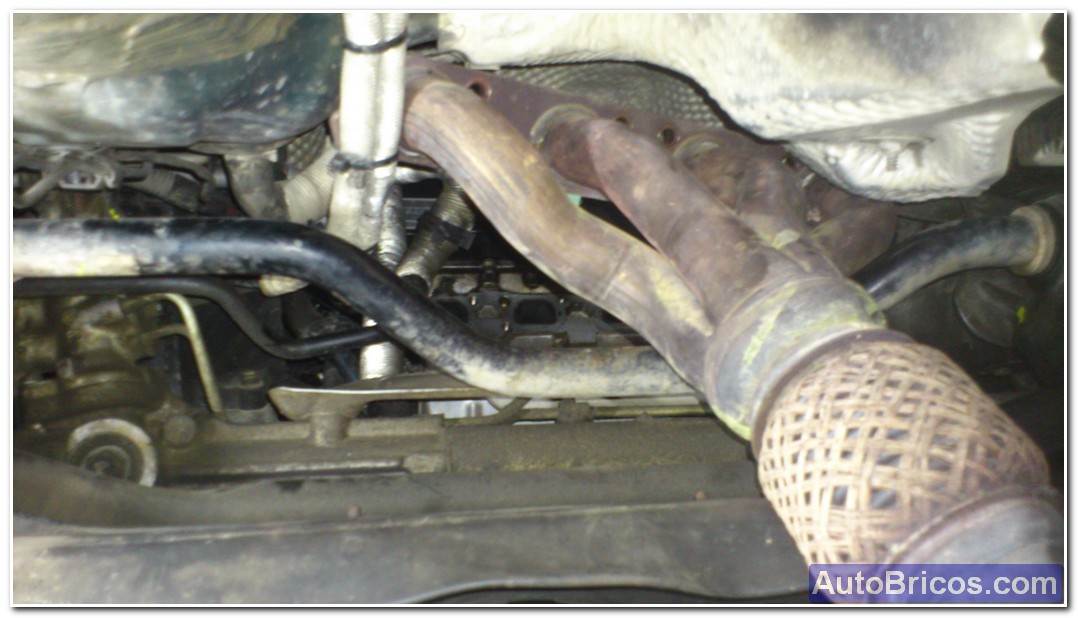
At this point, you can disconnect the exhaust manifold on the bottom (which is attached to the central silencer) are 2 nuts that are usually pretty hardened by corrosion, you can use a socket wrench 15 with a good lever.
 |
 |
 |
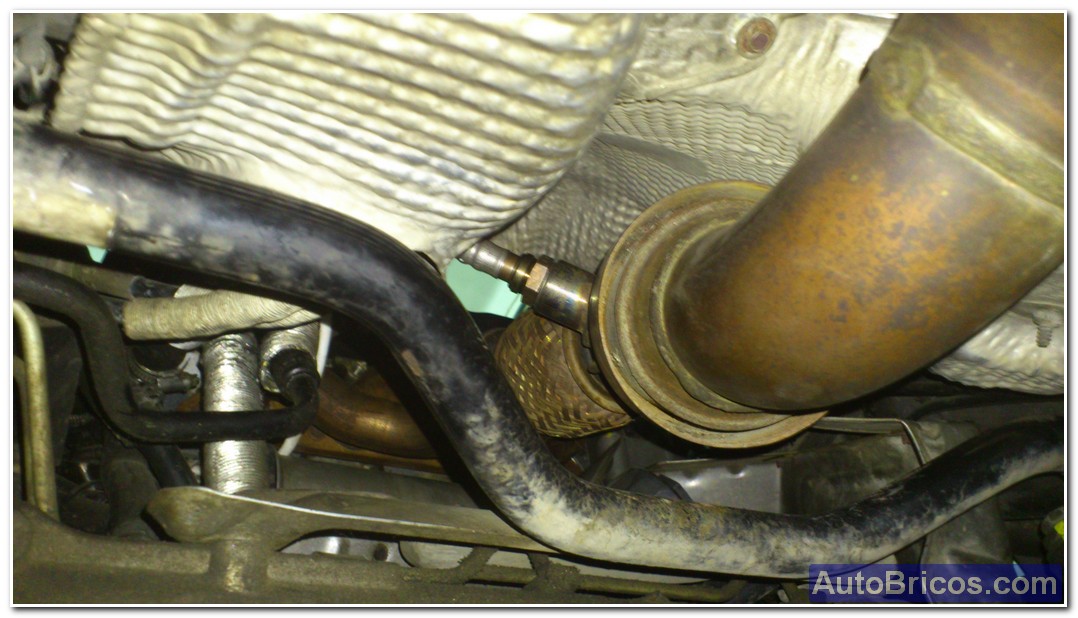
You can desacoplae manifold, for it will use a key with a glass of 10 and we must find the correct order to reach all the screws as there is no excessive space to put the key angle as we would like. once removed, we have the free collector above and below, and we heat deflector on the left so you do not bother us to get the collector (in my case since I have 2 probes removed too), and the board collector has been free to have removed all the screws holding the exhaust manifold.
 |
 |
 |
 |
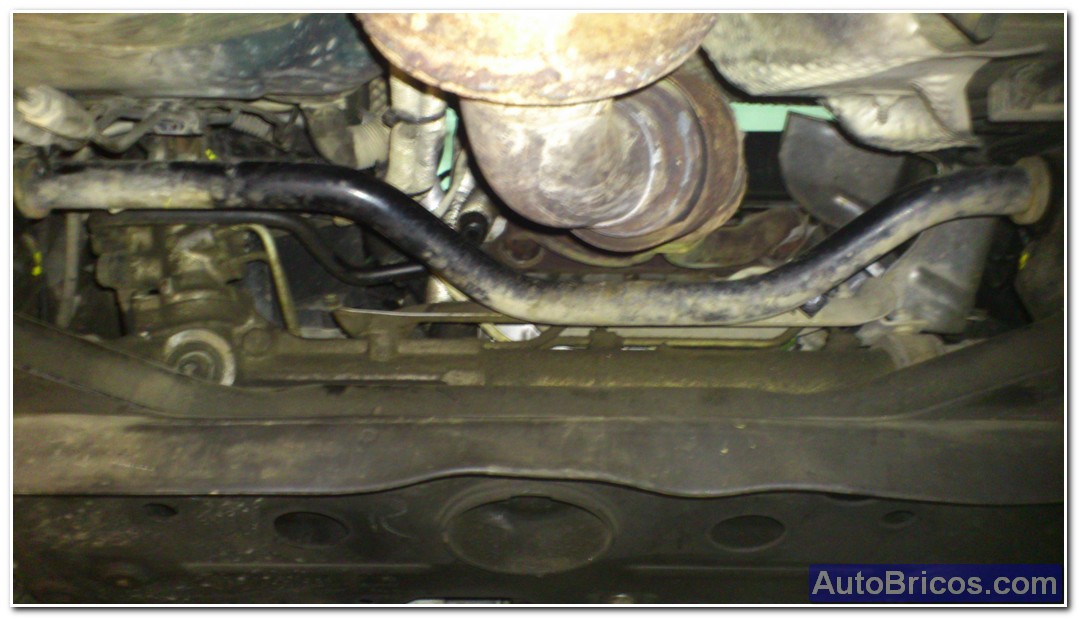
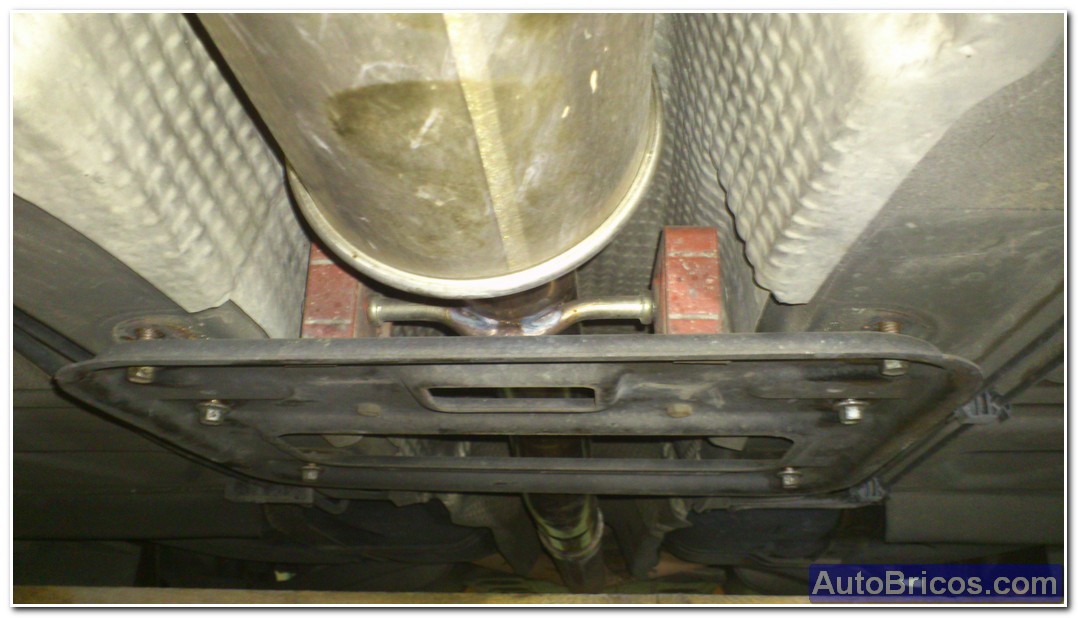
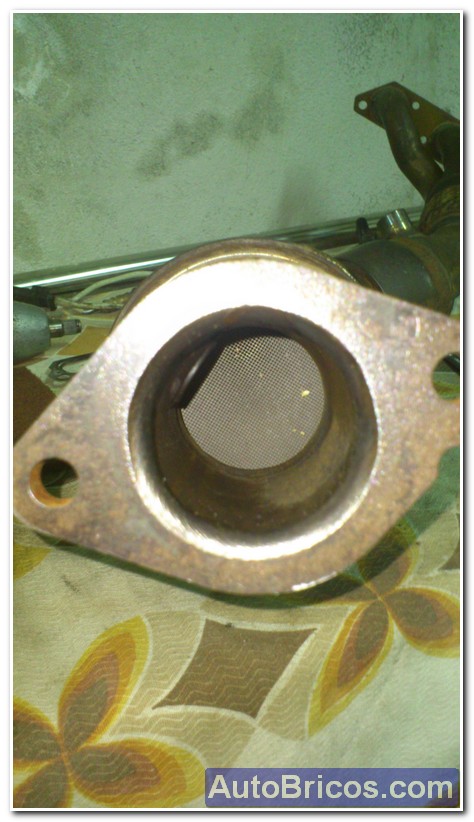
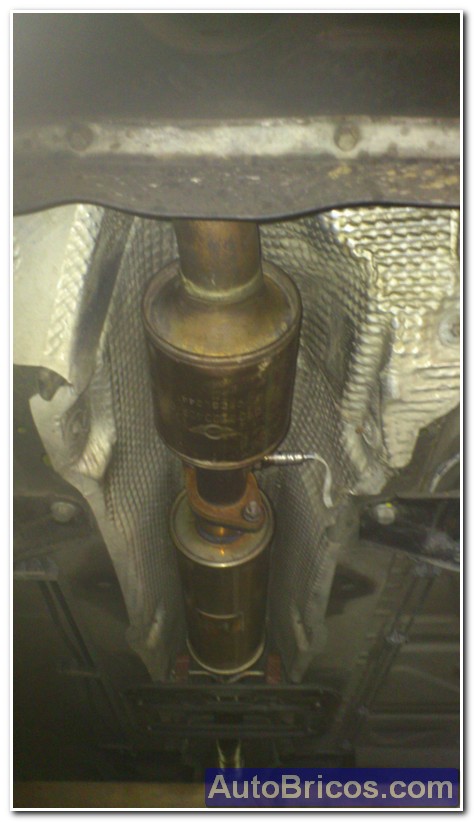
Taking the loose collector and loose bottom flange, we can see that there is still no way to separate it since it is cojido by studs fastening flange central silencer, the solution I adopted was loosen the grill that holds the central silencer for I could go down a bit and let me space to separate the flanges connecting the central silencer with catalyst. It worked out well so as to get him later. Grilled got about 3 or 4 fingers, and held it with a wood to keep me too and not to make lever on the rear bumper (trims the exhaust outlet).
 |
 |
At this point very carefully pulled the exhaust manifold, first leaving it to the right to save cables selector lever just passing by. With the manifold to the right, a little stray cords selection manifold change goes smoothly.
 |
 |
 |
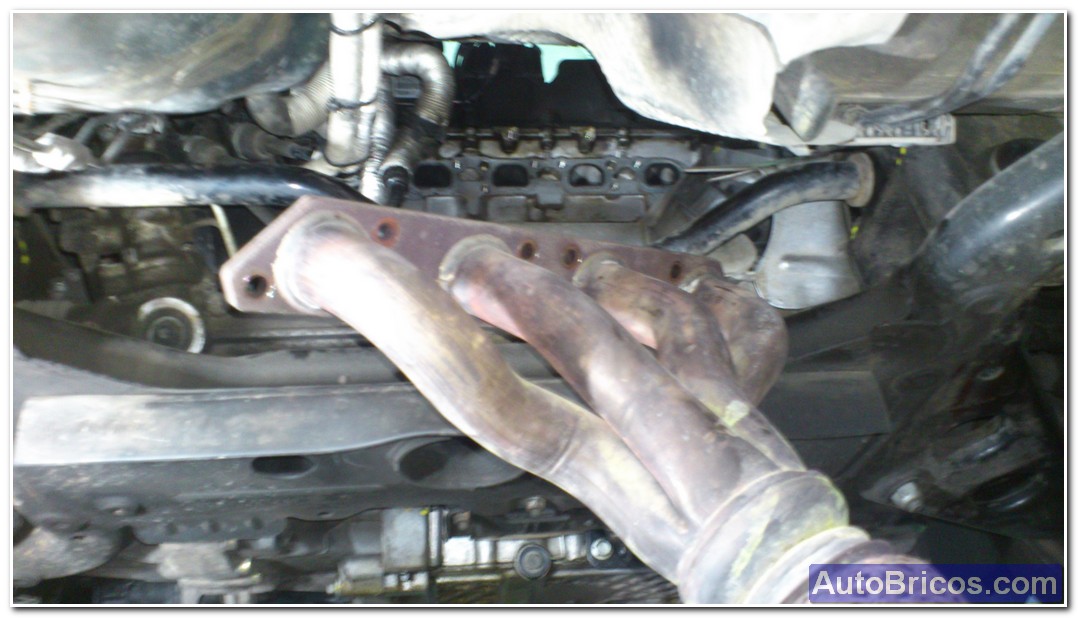 |
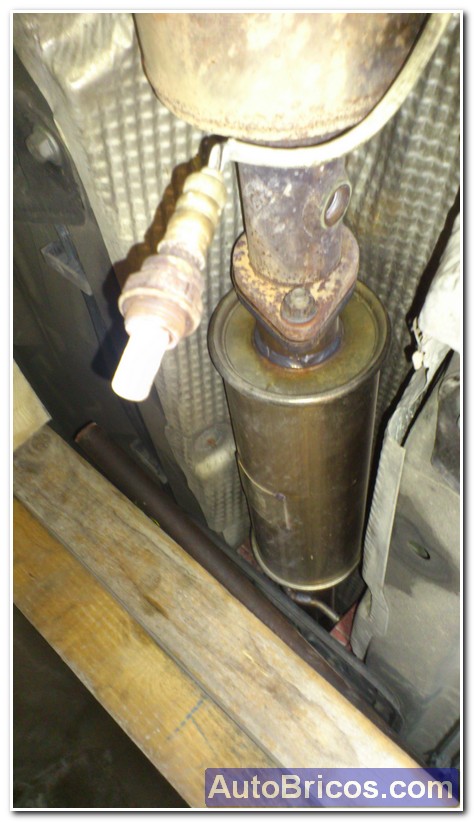
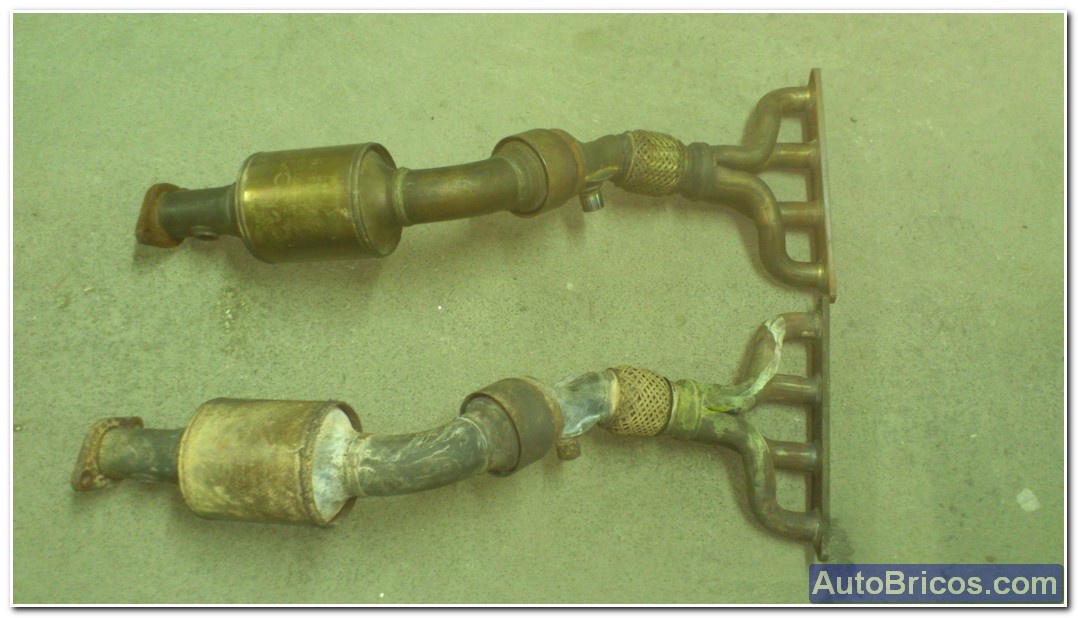
Here you can see the collectors (the old and replacement), pan gasket, the area where the head goes the exhaust manifold and the interior cells of the catalyst.
 |
 |
 |
 |
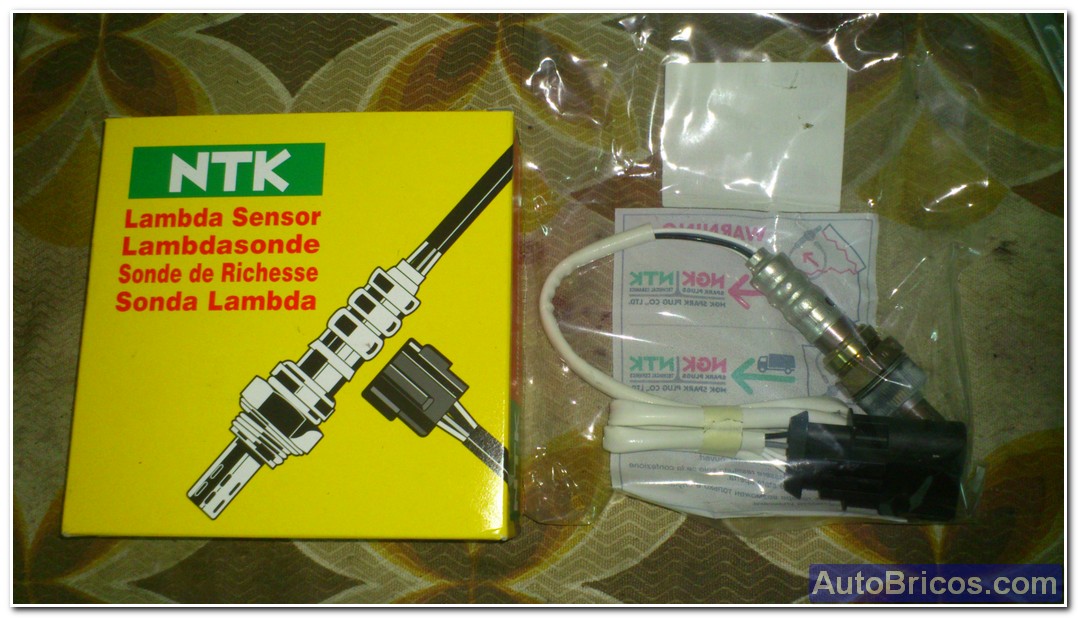
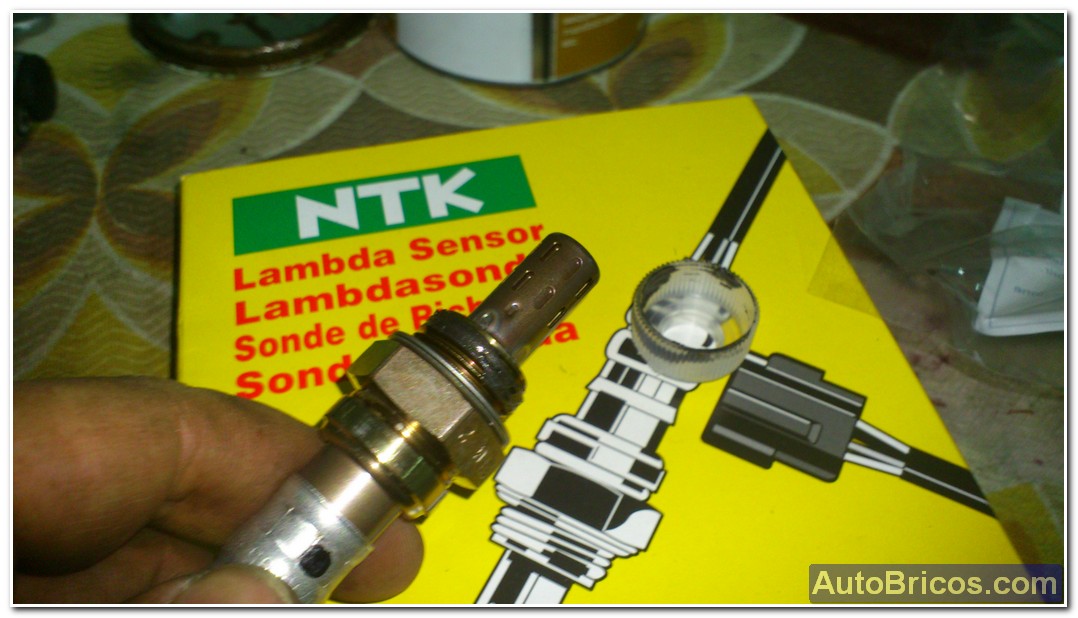
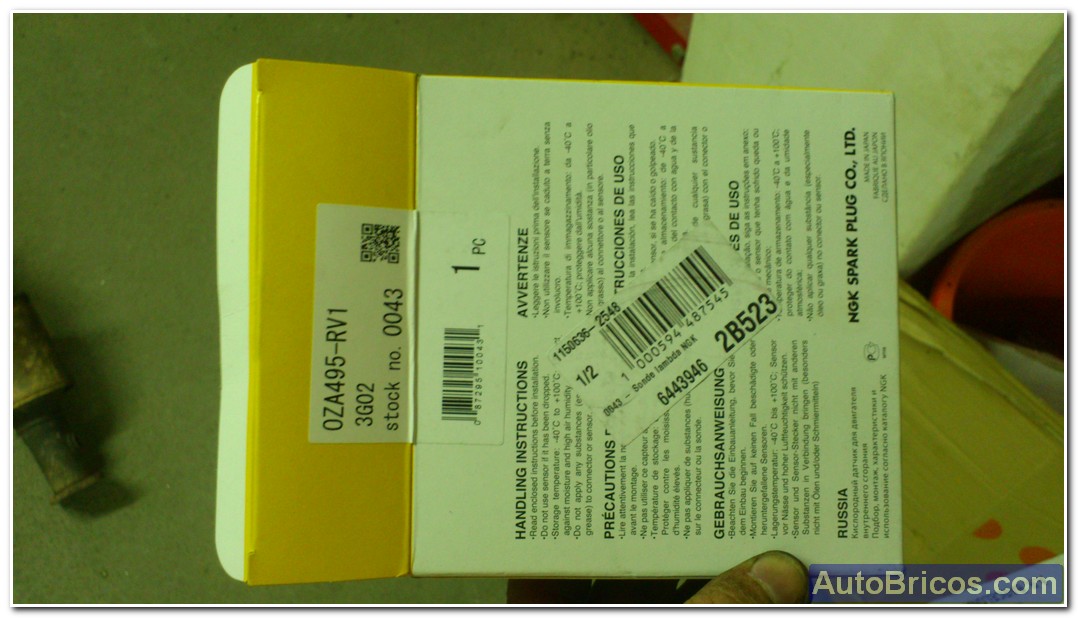
2 take to change oxygen sensors, since a sporadic errors gave me, and the other would be to fall, you have set are these:
 |
 |
 |
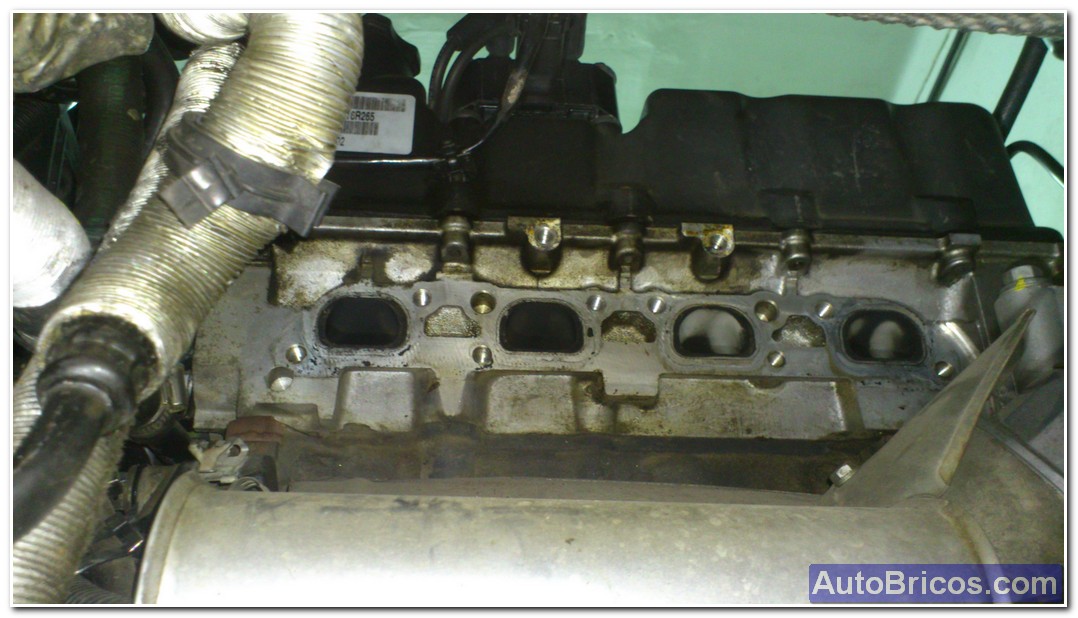
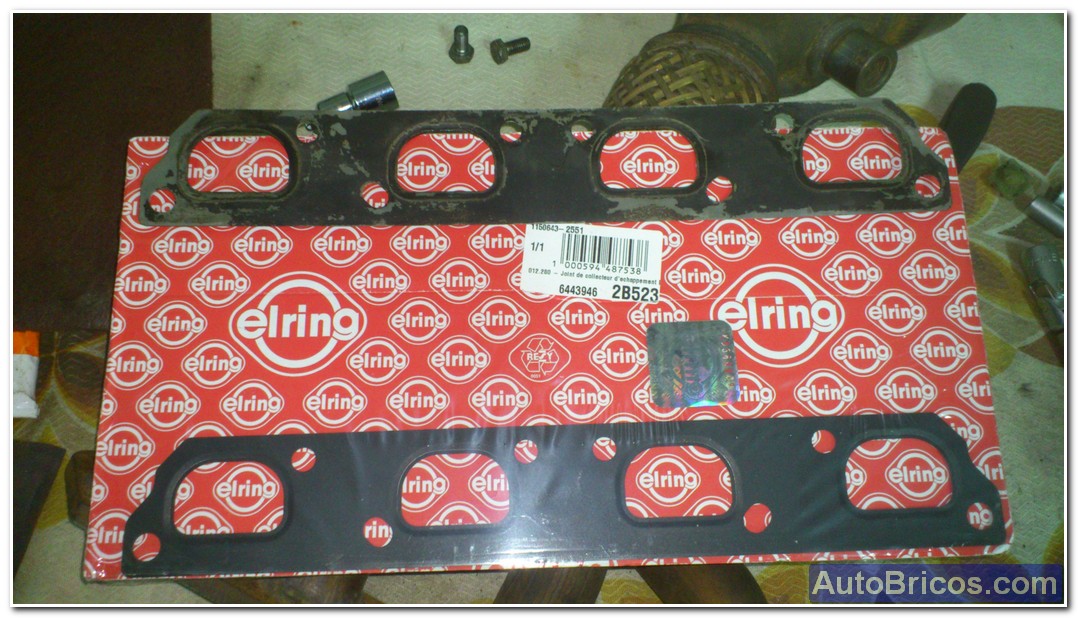
For installation, simply follow the reverse order of disassembling, no complications, yes, tighten the exhaust manifold according to manufacturer's torque to avoid leakage problems, etc ... and replace the seals both places the collector and the connecting flange with intermediate silencer. According to TIS, torques are:
-> Protector (deflector) exhaust (2 hexagonal bolts M8x 20): 13 Nm
-> Exhaust manifold to the cylinder head (8 hex screws M8x30) 24 Nm
-> Flange to flange catalyst middle silencer: 2 nuts M10 to 60Nm (apply copper paste to the threads before tightening nuts and discard old).
So manifold was mounted with the new probes:
 |
 |
 |
| Tweet |