

 Oil service interval reset Audi A4 B8
Replacement Full Kit Drivetrain and DMF
This shows how to replace boric Drivetrain-DMF have already disengaged once the gearbox and we have to look at the whole.
In my case I had to replace the whole clutch kit (bearing + press + disk) and also mass flywheel, but there is no why change everything forever, it is provable that the DMF remains in good condition and necessary revirarlo look you do not have excessive torsional game, but what if counsel is always replace the clutch complete kit, not just one of the 3 parts, since the task that entails the removal of the gearbox is expensive enough to risk to taking it apart again for not changing the 3 parts of clutch kit (bearing press, disk).
The symptoms I had before they spoil the whole clutch was that the clutch pedal had to make quite an effort, with one or two points pretty hard at full pedal travel (especially in the lower) than when triggering what caused a sound like "old bed" which was perfectly audible both inside and outside the car.
One day when I get home (thankfully!) started vibrating when I stepped on the pedal, more and more, until it began to make a tremendous noise metallic friction clutch pedal no longer allowed me to remove up normally, was hooked, and eventually ran the pedal at the bottom and I started to smell something burning, I immediately stopped the engine and let cool until the next day, but to start it in neutral even made the same noise, and the pedal had to force upward to disengage, because by itself did not rise, so as I could put it in the garage and decided to change the clutch (and also DMF).
The DMF changed it because every time I made an effort to twist the engine (accelerate or decelerate in gear), hear a "click" metallic, and I thought it could be due to a defect in any of the internal springs DMF . Anyway, the "click" was solved when they changed the clutch and DMF, so provably would be.
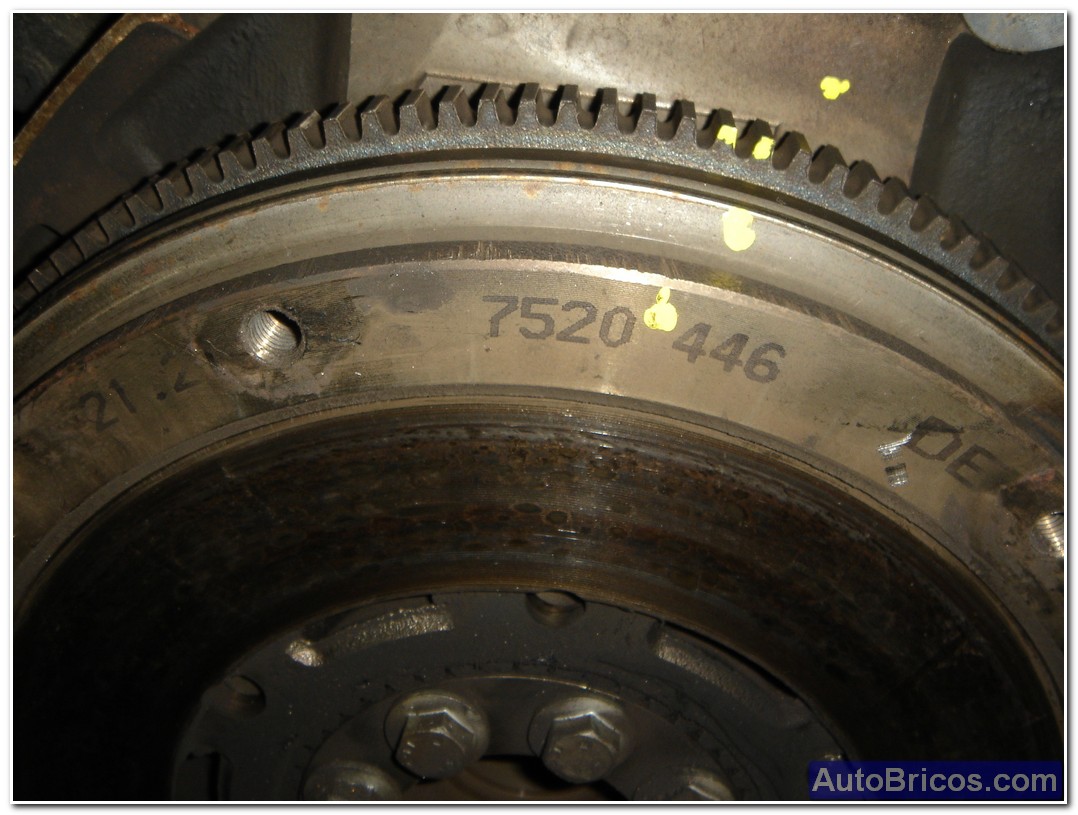
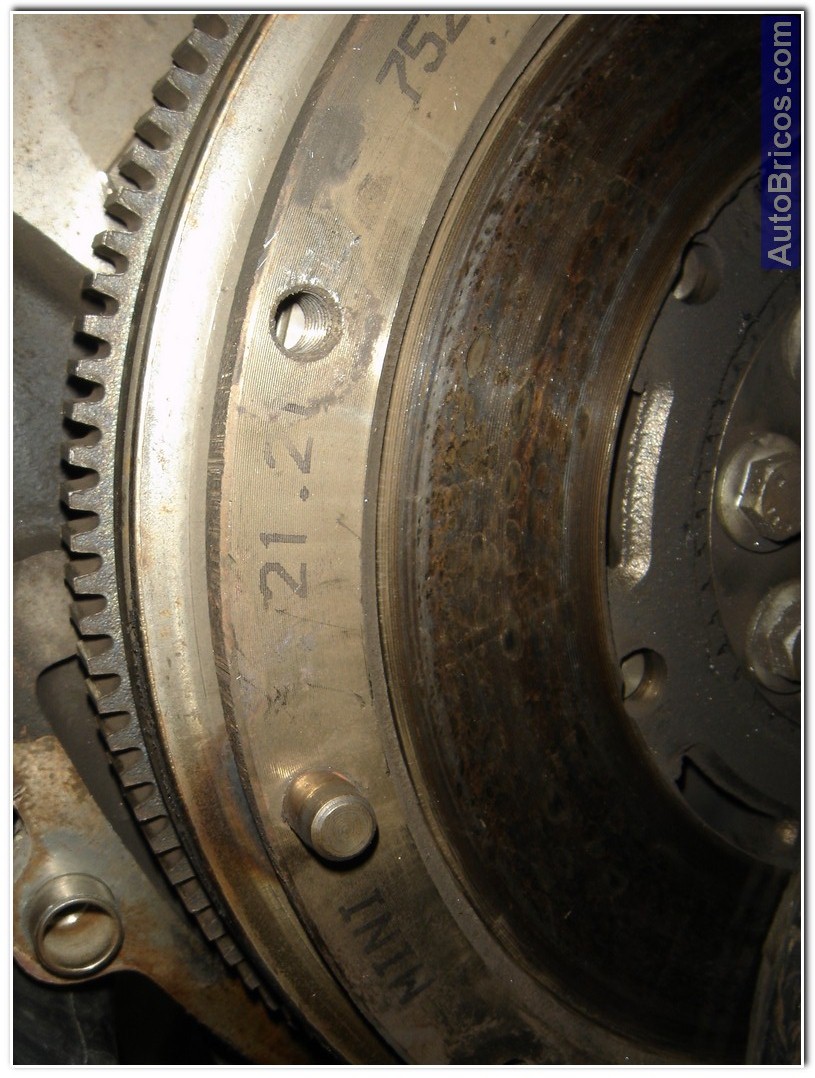
Brico Beginning .... The first thing to do is check the status of DMF to see if you need to change it (it's a pretty expensive item). It is normal to have some play, but not excessive, I remember that game free angle 11th round, but best to make sure properly, it is provable that according to the manufacturer a little variety. The game can be seen physically trying to rotate the entire assembly clockwise and counterclockwise. In my case I decided to change it for the noise before mentioned, and put the same brand as that of origin (Luk), and the entire kit is also Luk clutch.
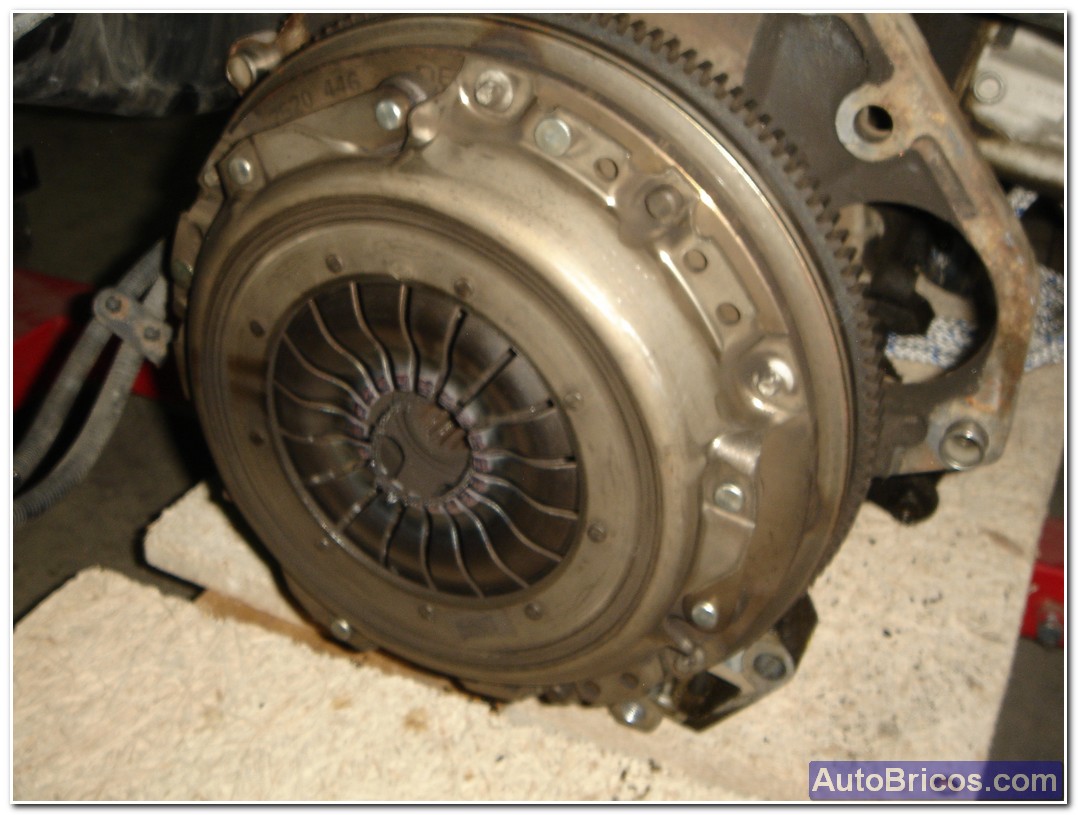
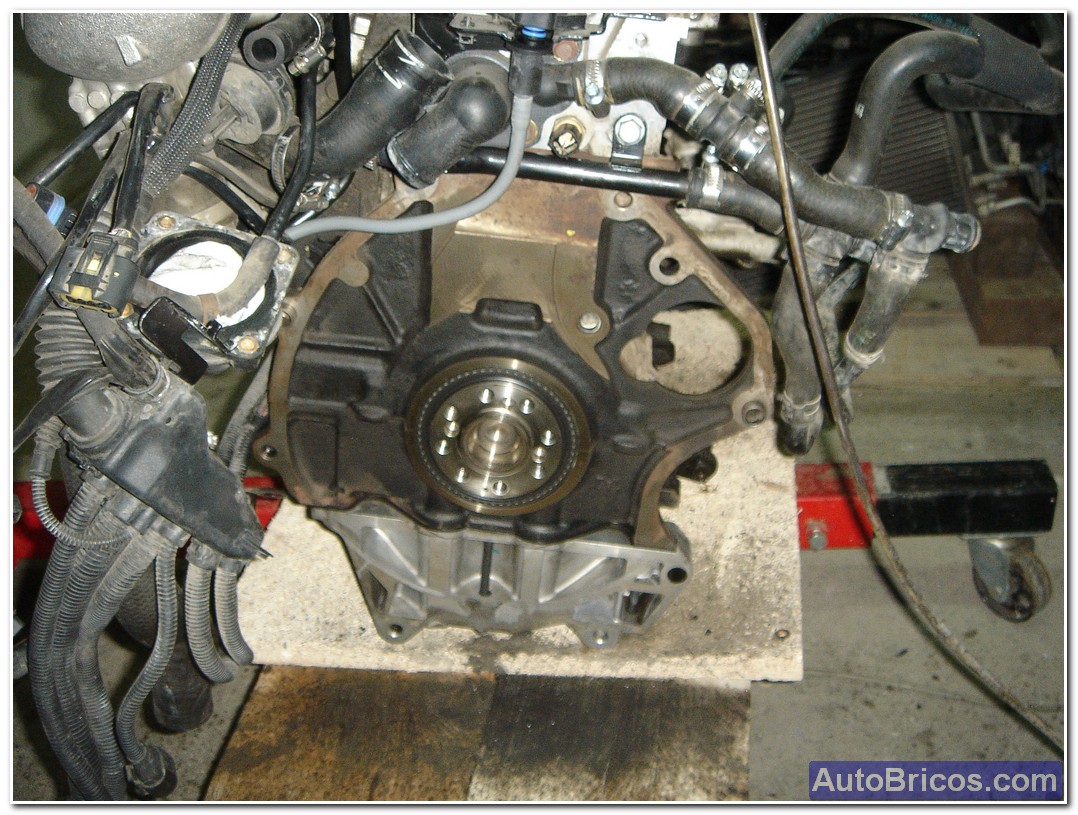
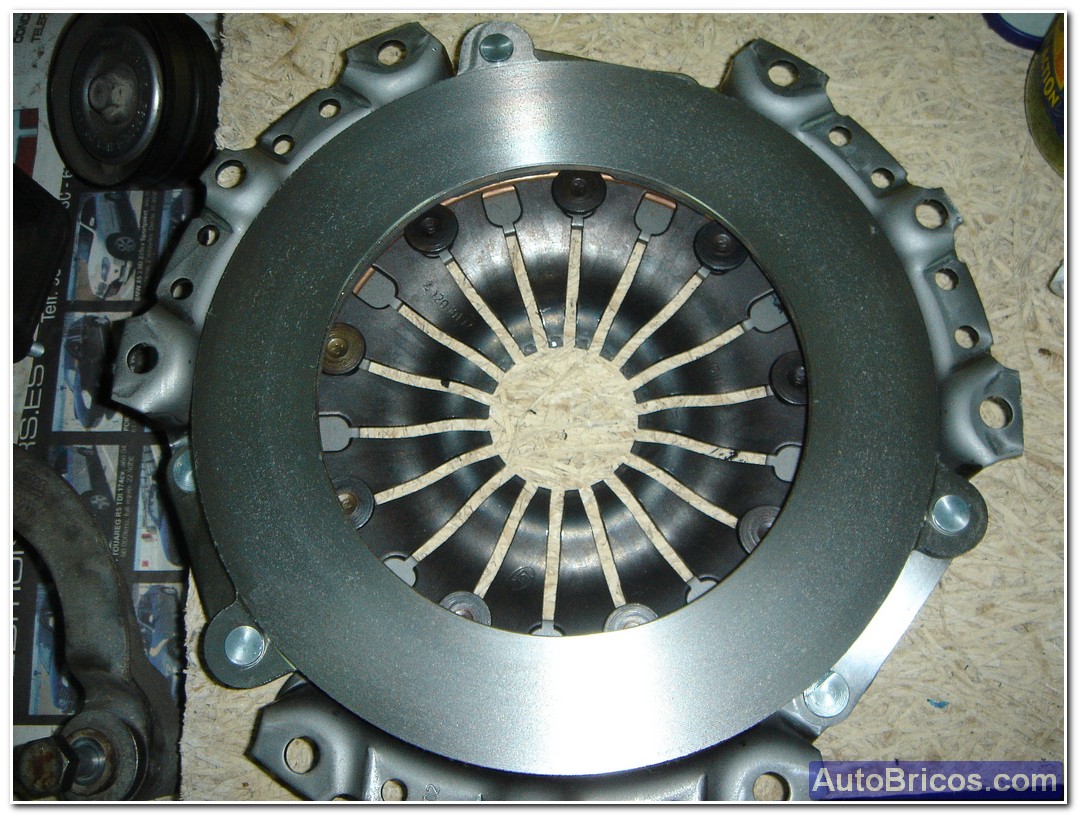
Start removing the clutch release (6 screws are Torx head inverted). In the picture you can see the state in which it was the clutch.
 |
 |
As we gradually loosening the 6 screws we see that the press is leaving to put pressure on the clutch disc and DMF, once we removed the screws and remove the press and the clutch disc.
 |
 |
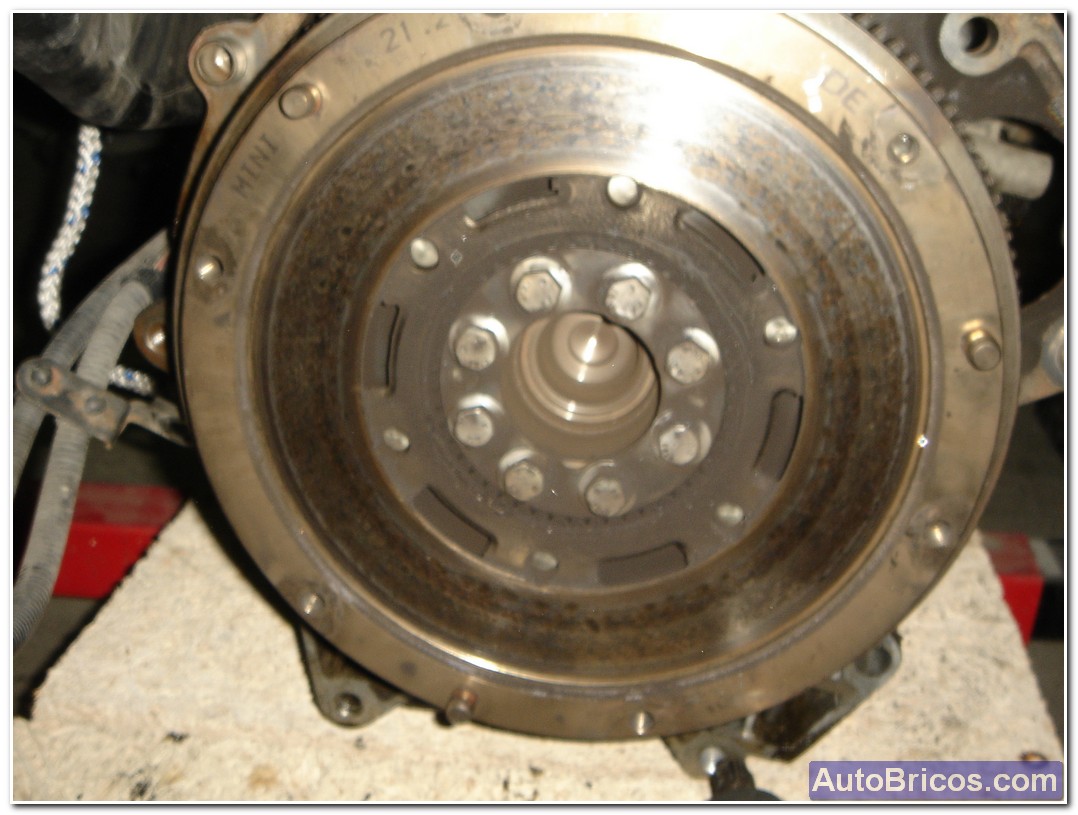
We can see the full and DMF and its 8 hex screws that have to be loosened to remove it. The screws are pretty tight, so maybe we will have to immobilize the ring gear so it does not rotate when you force us to loosen, with an air gun is usually not necessary to lock the ring gear of DMF.
 |
 |
 |
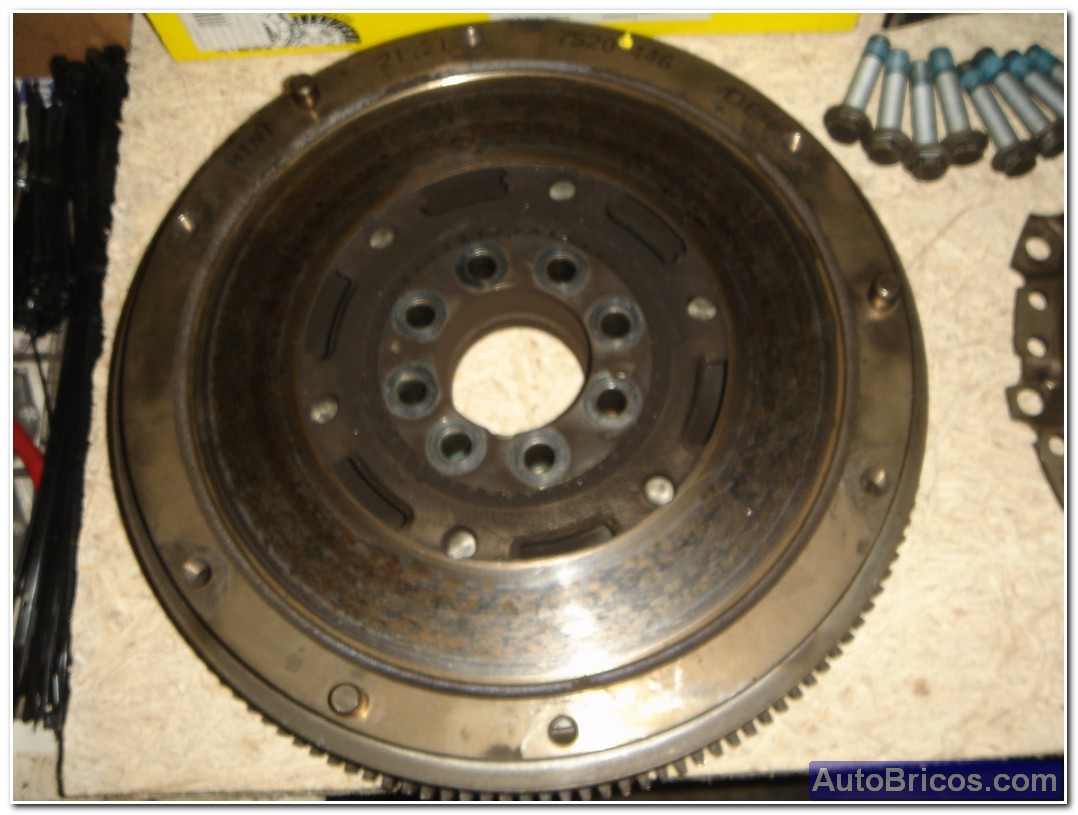
Once extracted the 8 hex screws that hold the DMF, I can easily extract, I have made some marks to relocate the new DMF later in the same position.
 |
 |
 |
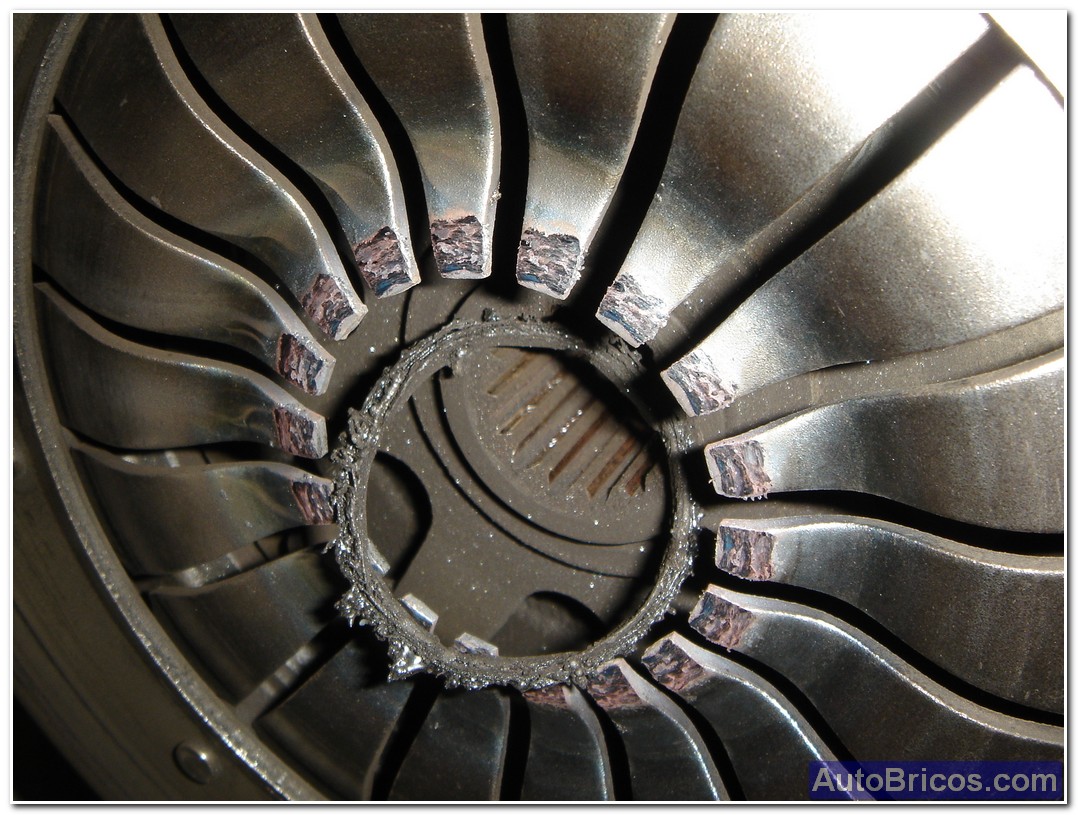
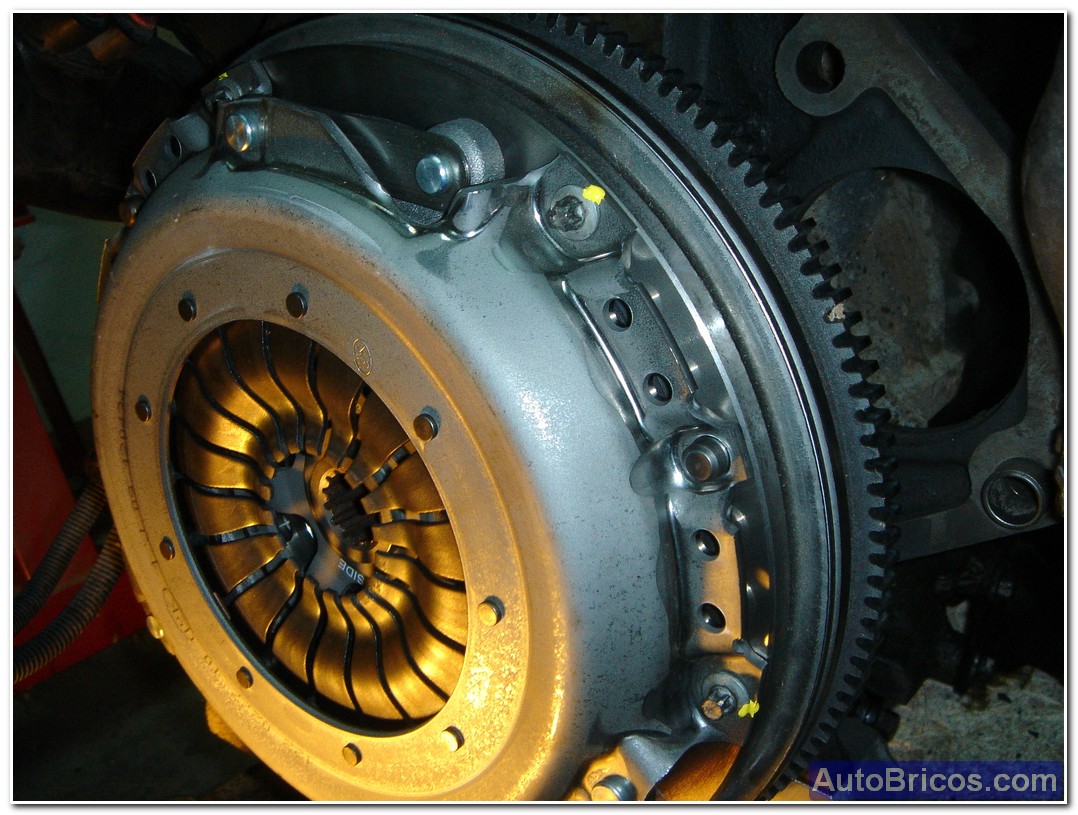
In this image you can see some of the press studs clutch are more sunken than others (that may cause vibration in the clutch pedal, since the thrust bearing presses on these lugs, and agree that they are in perfect condition; also be observed frictional wear on the tips of the lugs of the press.
 |
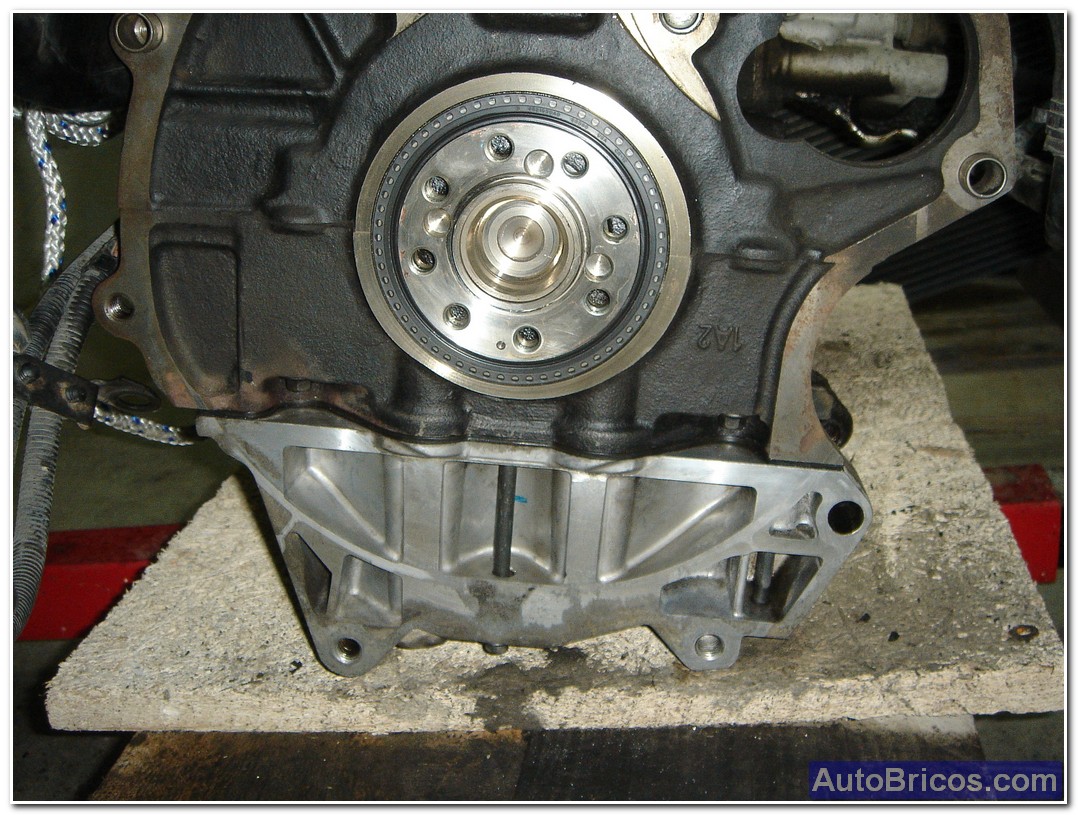
After removing the DMF, the engine block is as follows:
 |
 |
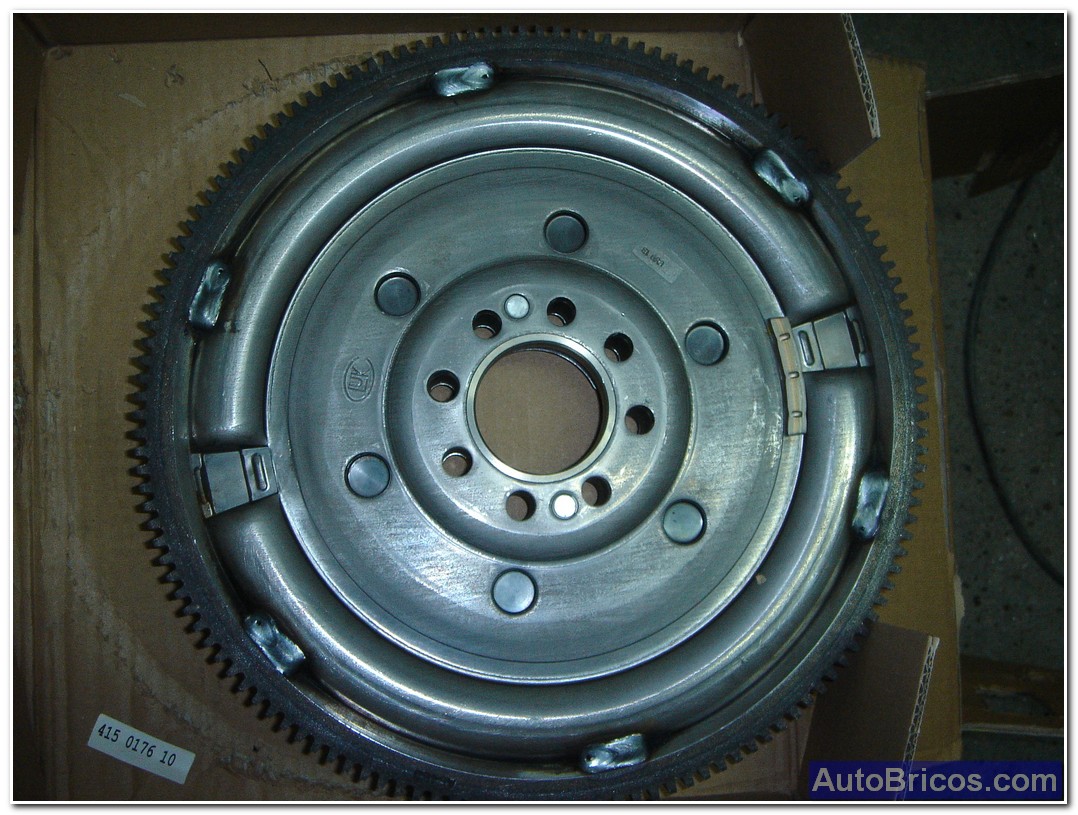
This is the replacement I put DMF (Luk ref. 415 0176 10):
 |
 |
 |
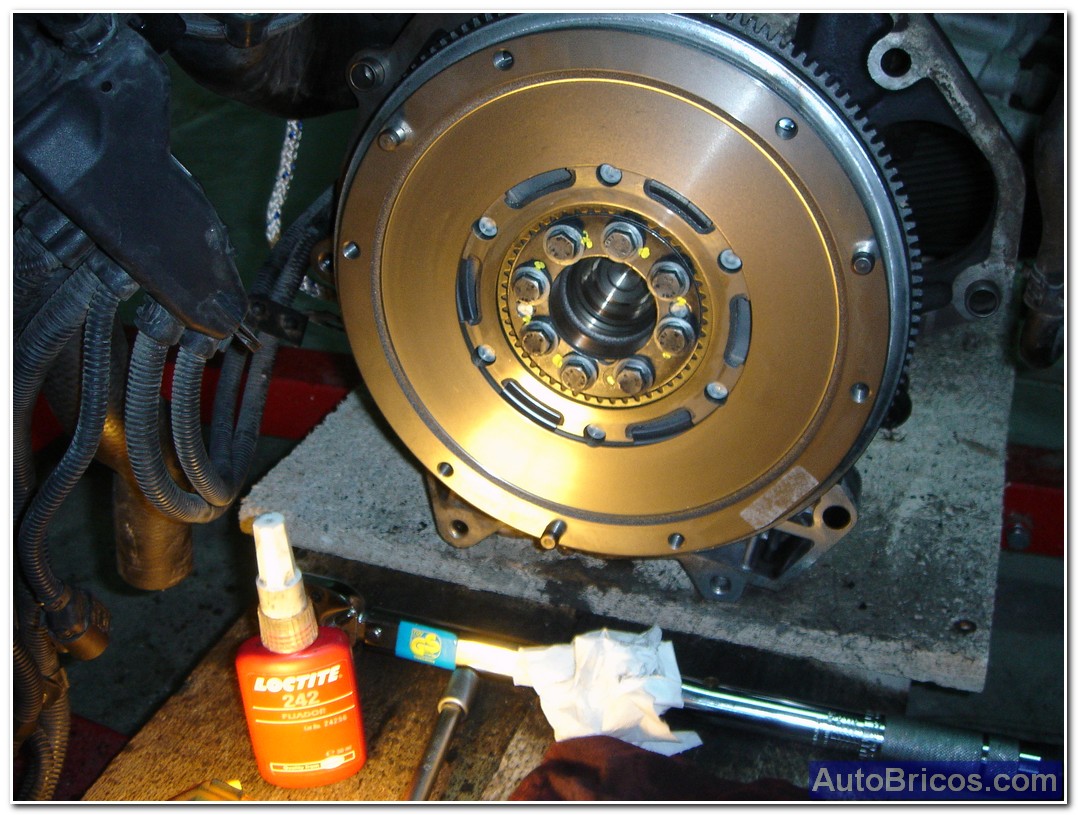
Place the new DMF in the same position as was the original and screwed the 8 bolts holding it, tighten the screws to the correct torque and torque (see torque tables).
 |
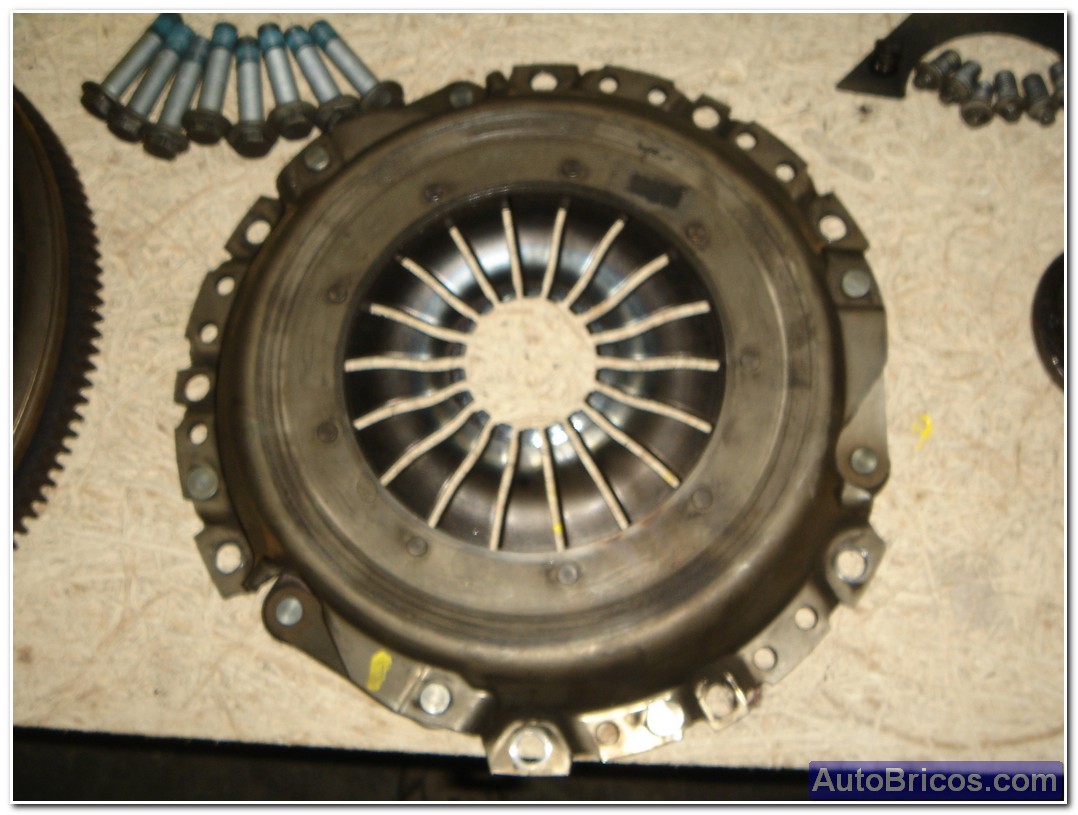
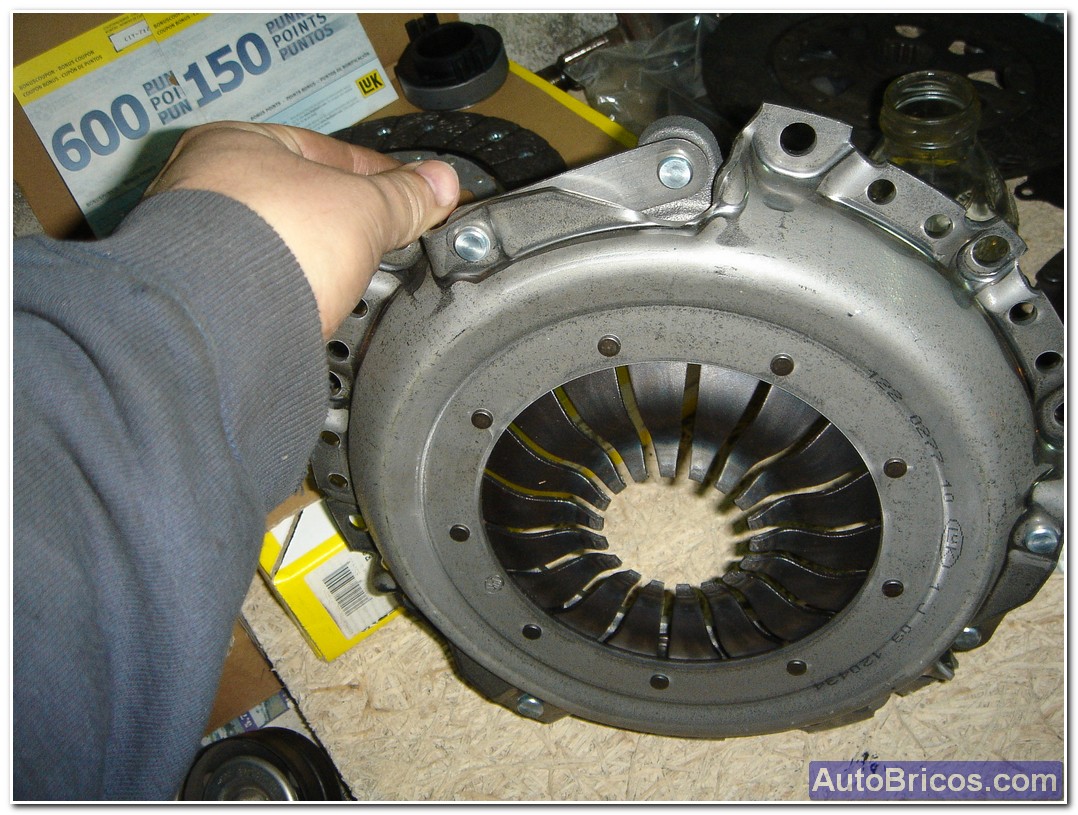
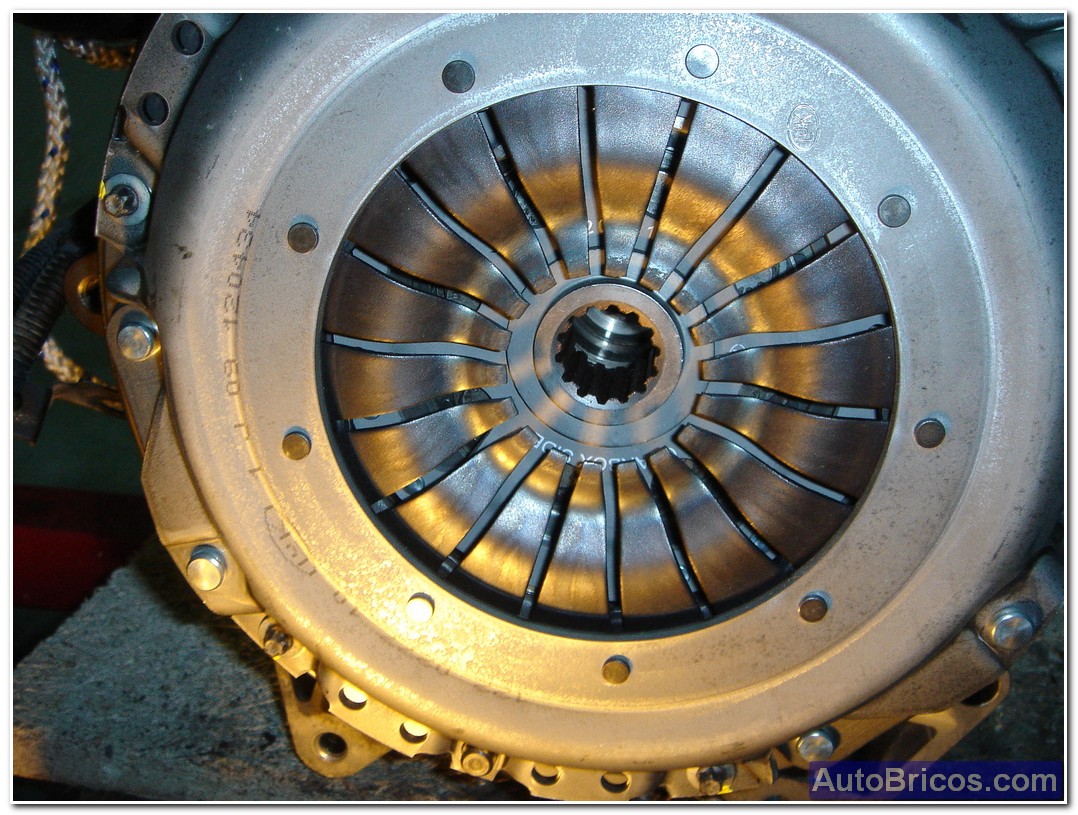
This is the parts that I used as clutch repair kit (ref Luk. 622 3046 00), comprising press, plate and bearing:
 |
 |
 |
To replace the clutch and press the disk, we need an element that allows us to keep the clutch disc centered as we tighten the vise body. Ideal would be to have a gearbox input shaft and centering, but that's not easy to get, so in my case I made a custom centering, but as the manufacturer replacement is purchased, the centralizer often you come inside the box (usually a plastic centering), in this case I coming.
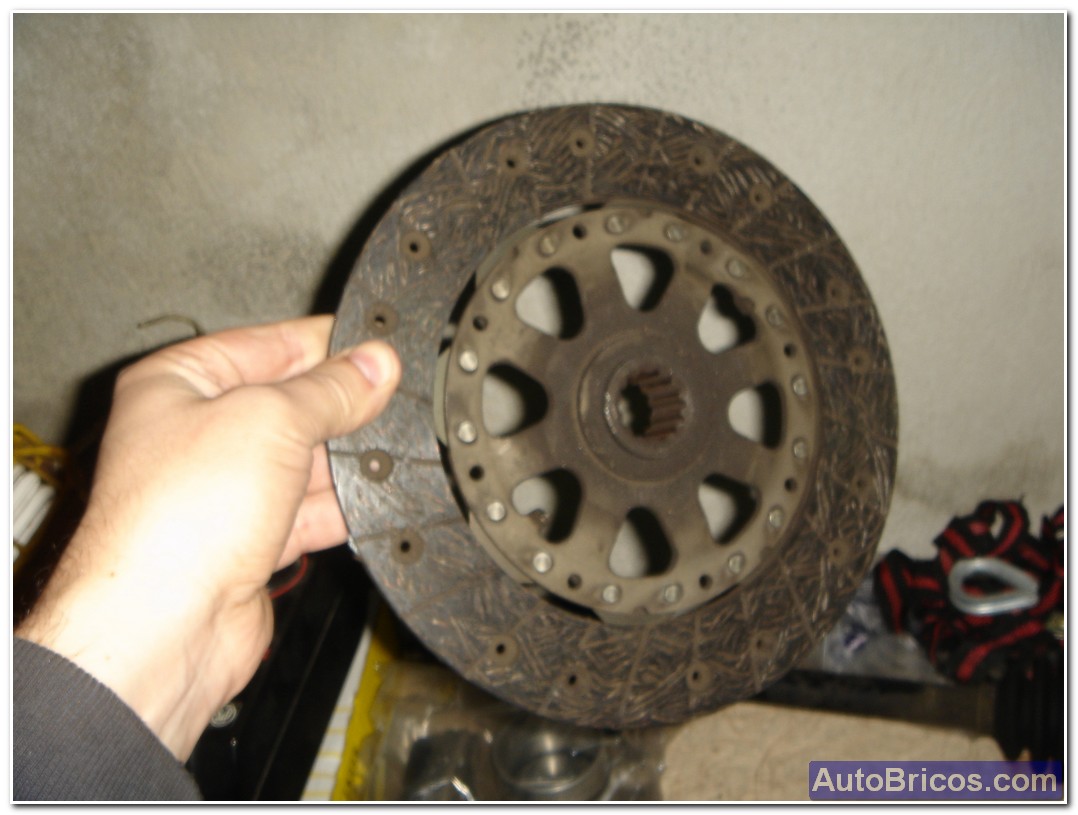
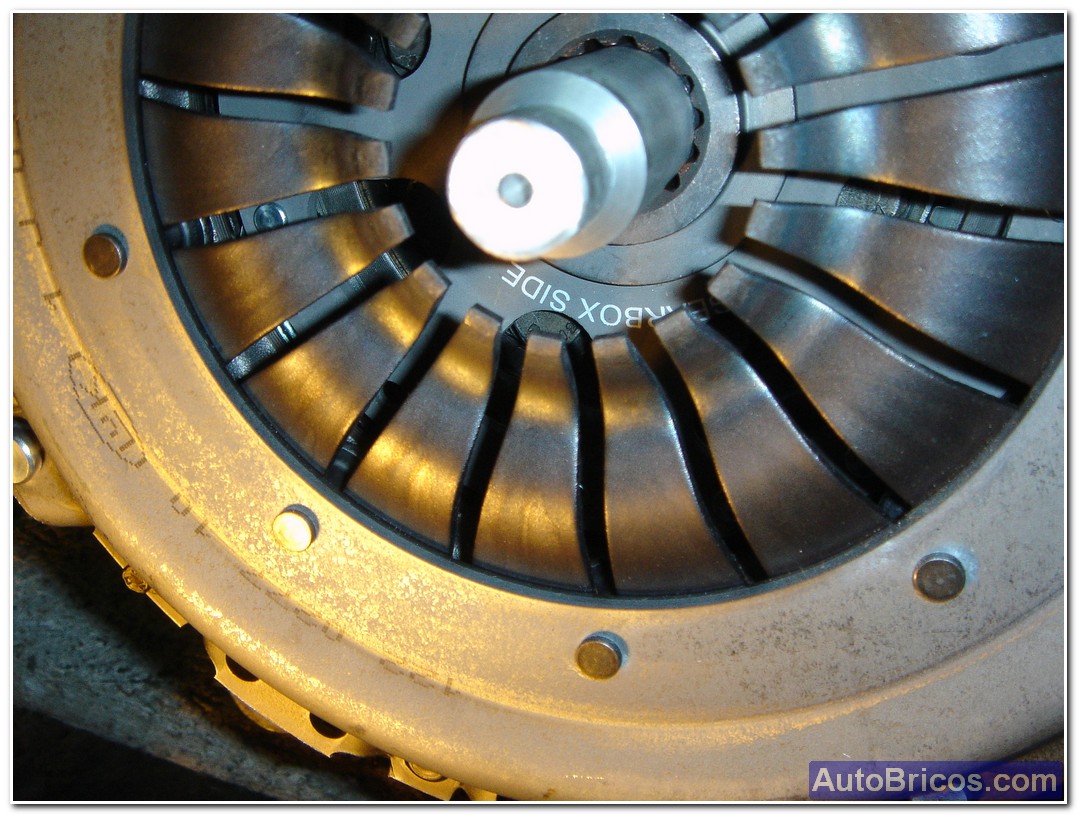
EYE! CLUTCH DISC HAS POSITION!. Keep in mind that the disk has a face that says "gearbox side", and that face has to be oriented towards change, ie once placed the disc in the press, we should being able to read as shown in photo:
 |
 |
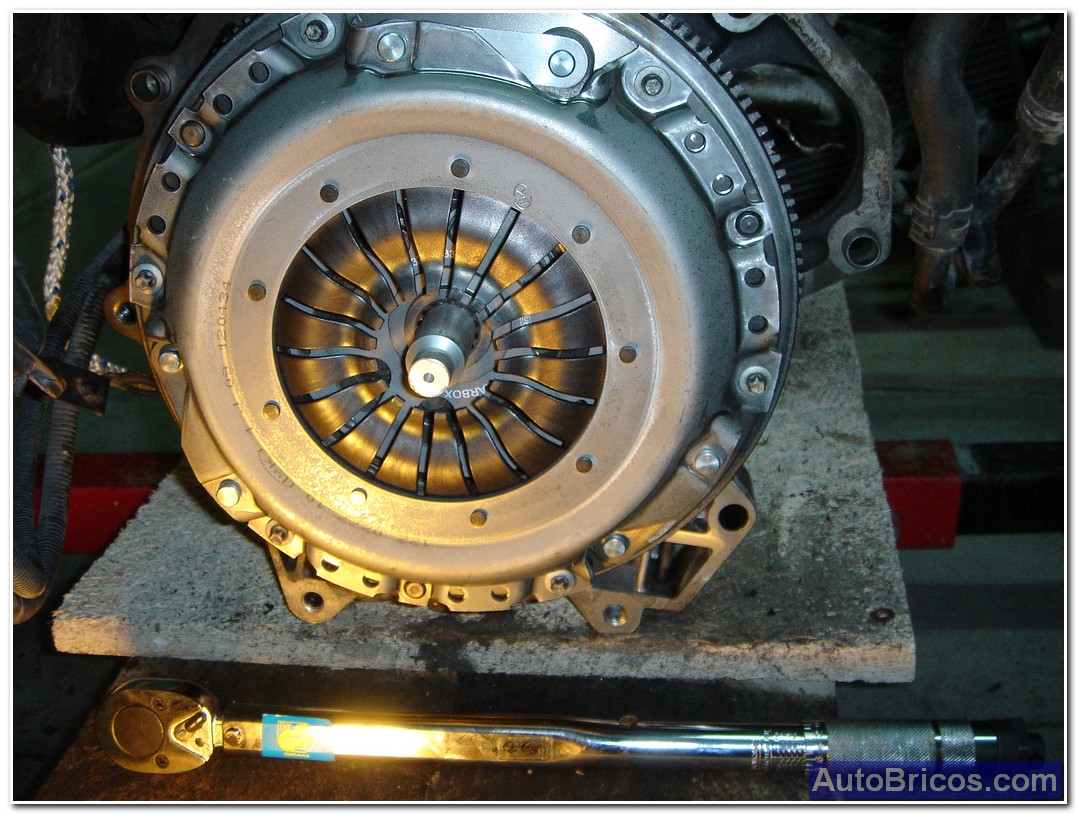
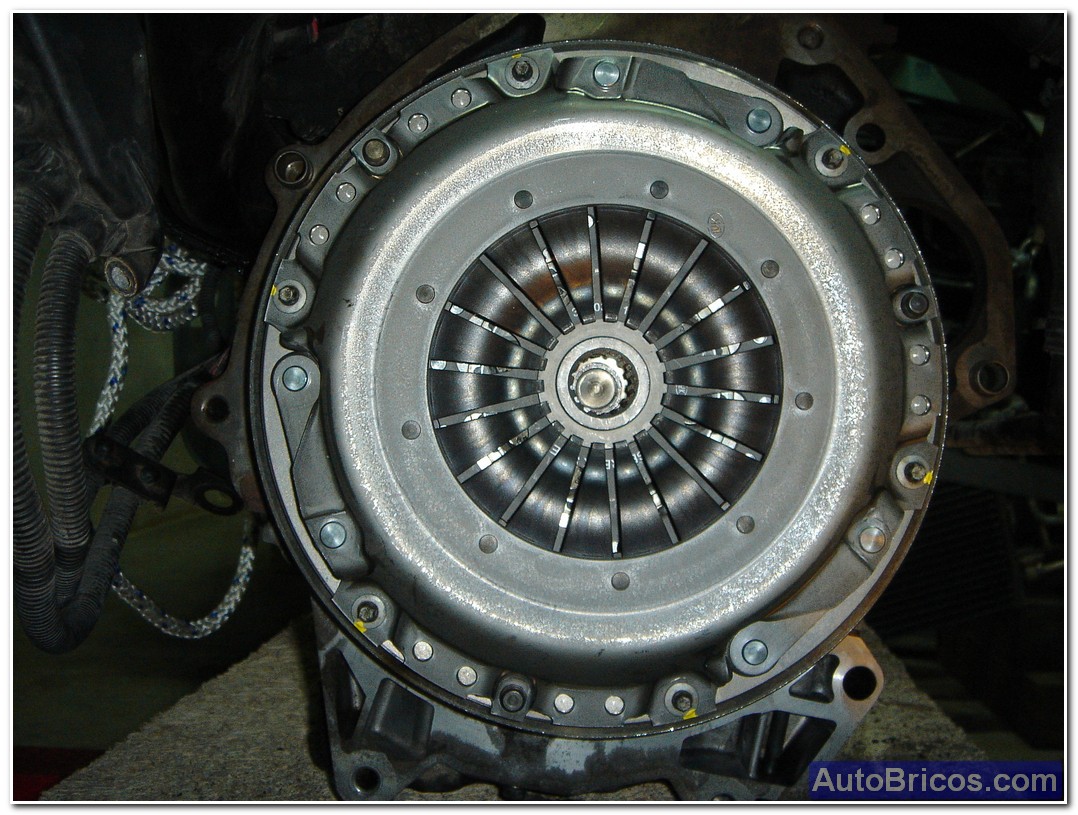
After tightening the 6 screws of the press to the correct torque marking the manufacturer, we can remove the clutch plate centering, as this will hold up under the pressure of the press. It is also important to review the torque on all the bolts, both of DMF as the clutch, since they are located in a critical and difficult access and a screw loose in that area could be catastrophic.
 |
 |
 |
The following and would attach the gearbox very careful not to force the clutch disc to face her, often a little easier if you rotate the assembly a little while attaching box.
| Tweet |