

 Oil service interval reset Audi A4 B8
Removing the gearbox:
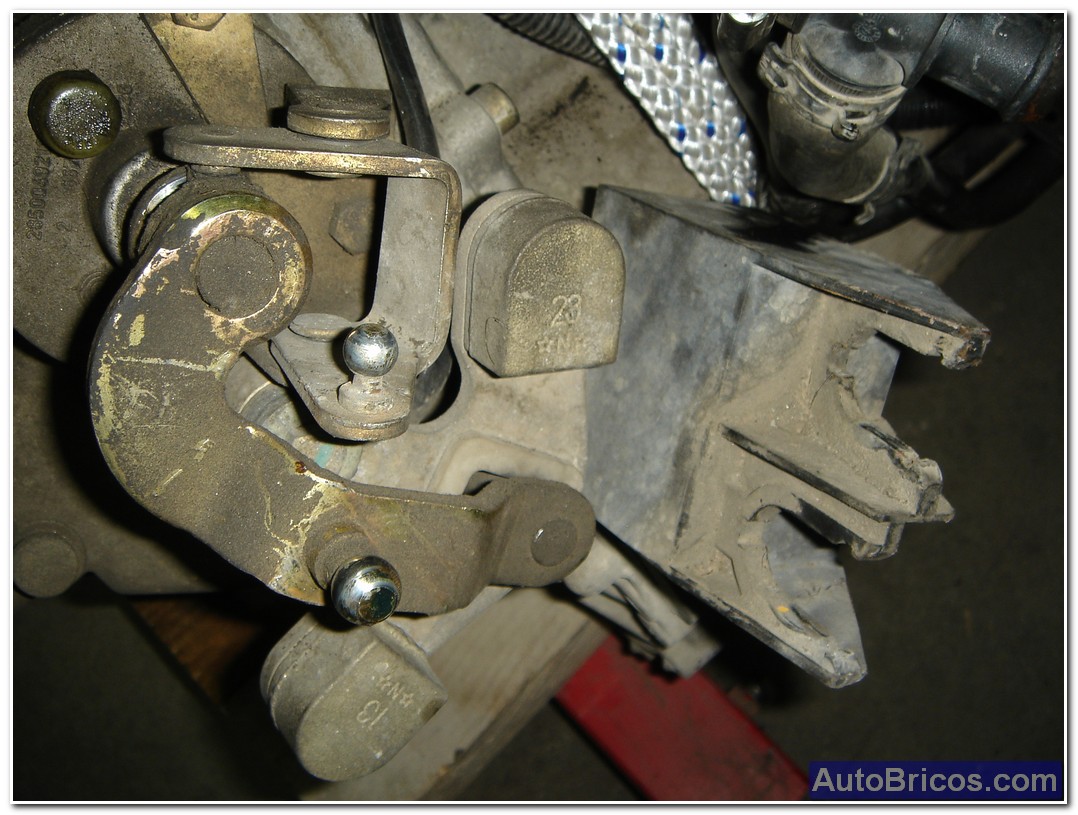
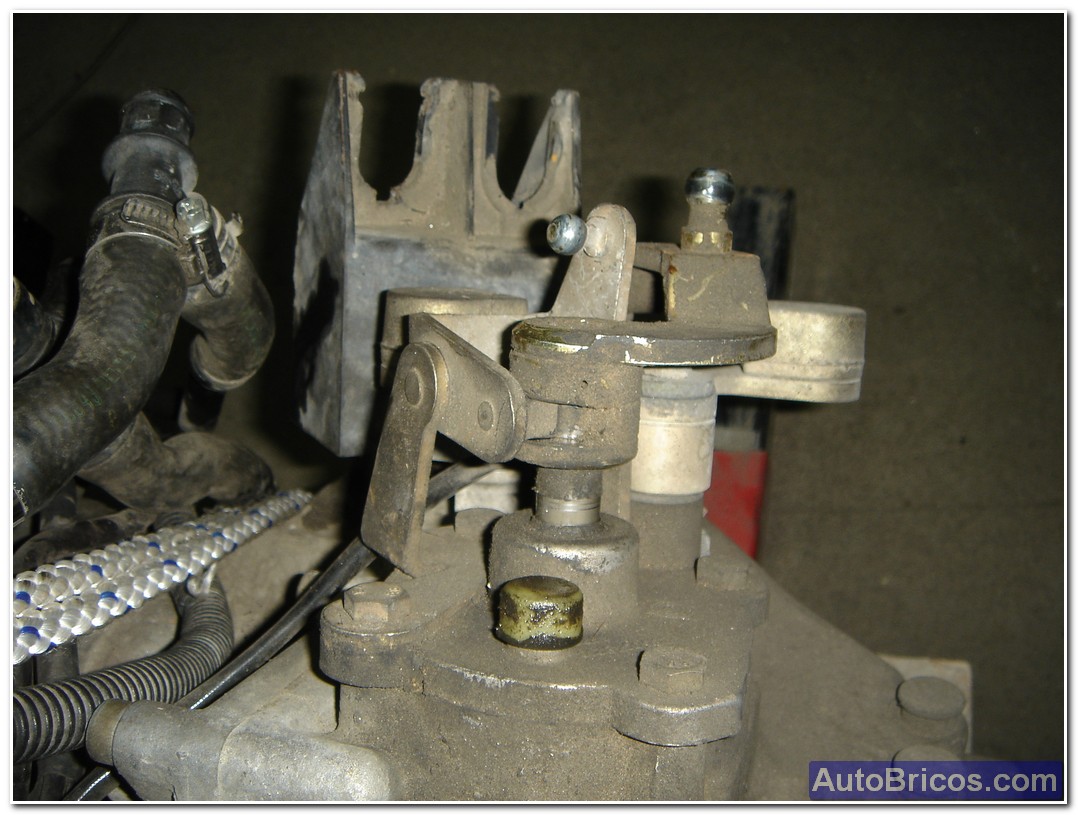
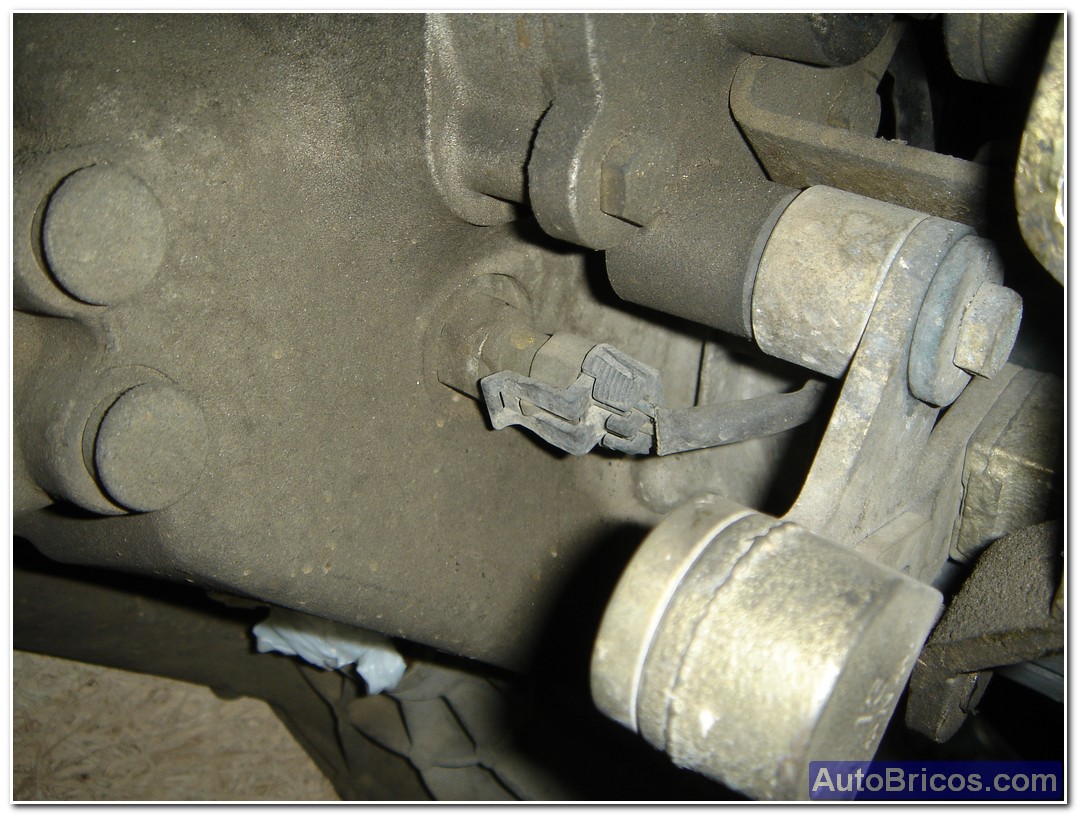
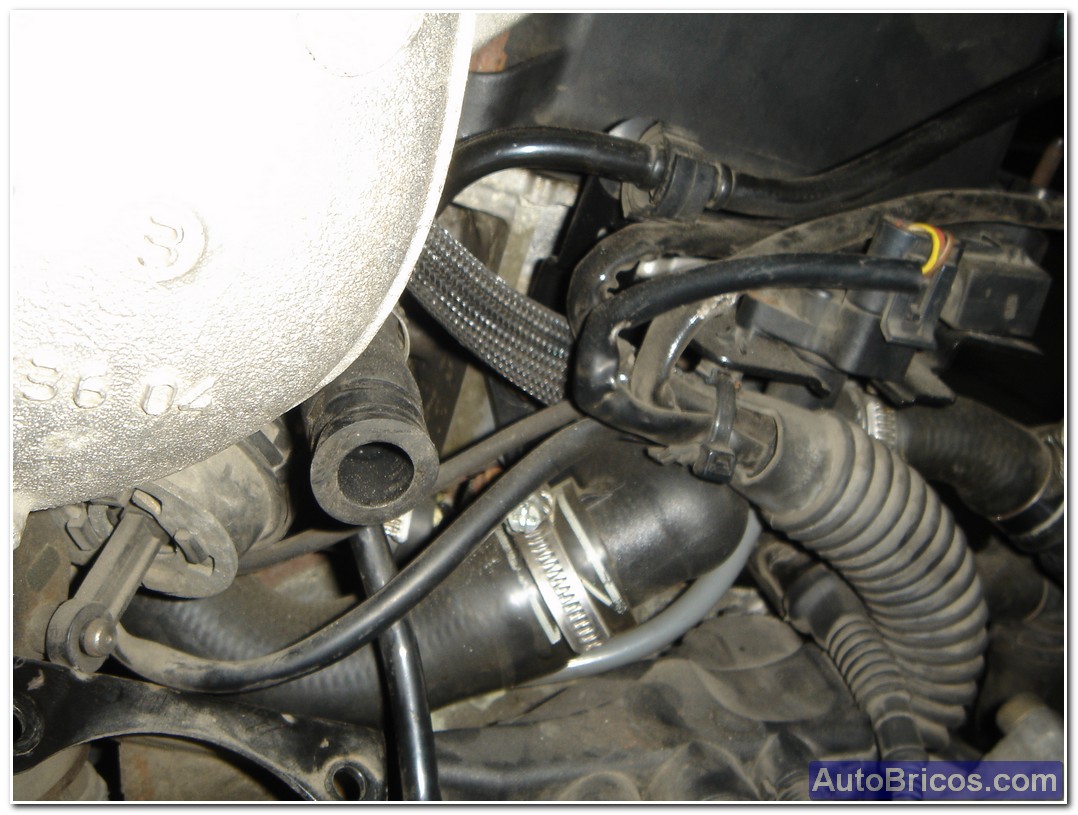
In this Brico will disengage the transmission from the engine block considering that we have the engine out of the car. To remove the gearbox with the engine in the engine would still another different process. In our case we just removed the car's engine with a workshop crane. We can see the rods and balances mechanism that moves the gears inside the gearbox. In the second picture can be seen a plastic plug which is a vapor outlet which prevents oil pressure is generated inside the box and thus prevent leakage of the retainer valvulina gearbox input shaft, for example.
 |
 |
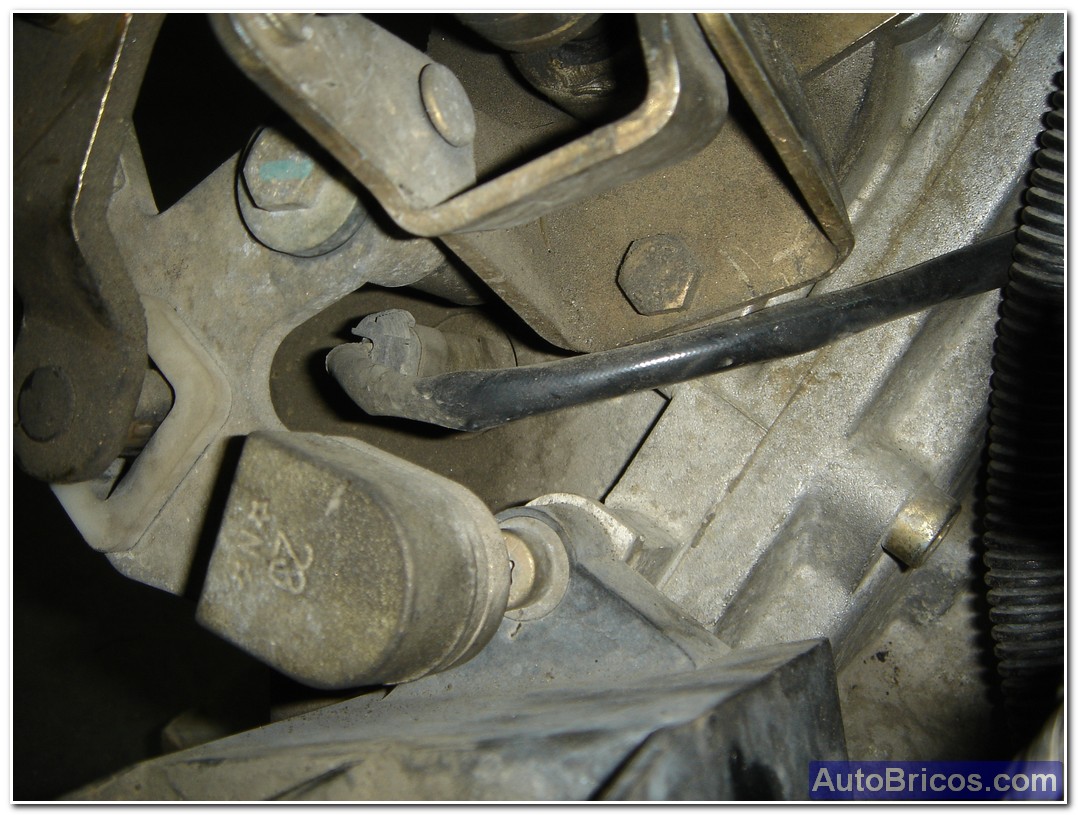
The first thing to do is set aside all electrical wiring to remove the screws holding the gearbox to the engine block. We'll pull the plug that goes to the running light contact atrás.Hay to look through which the cable is very important to pass the cables through the right places, as the linkage of gear selection are mobiles, cable and a past by a pinched or wrong site could obstruct the movement of the shift lever.
 |
 |
 |
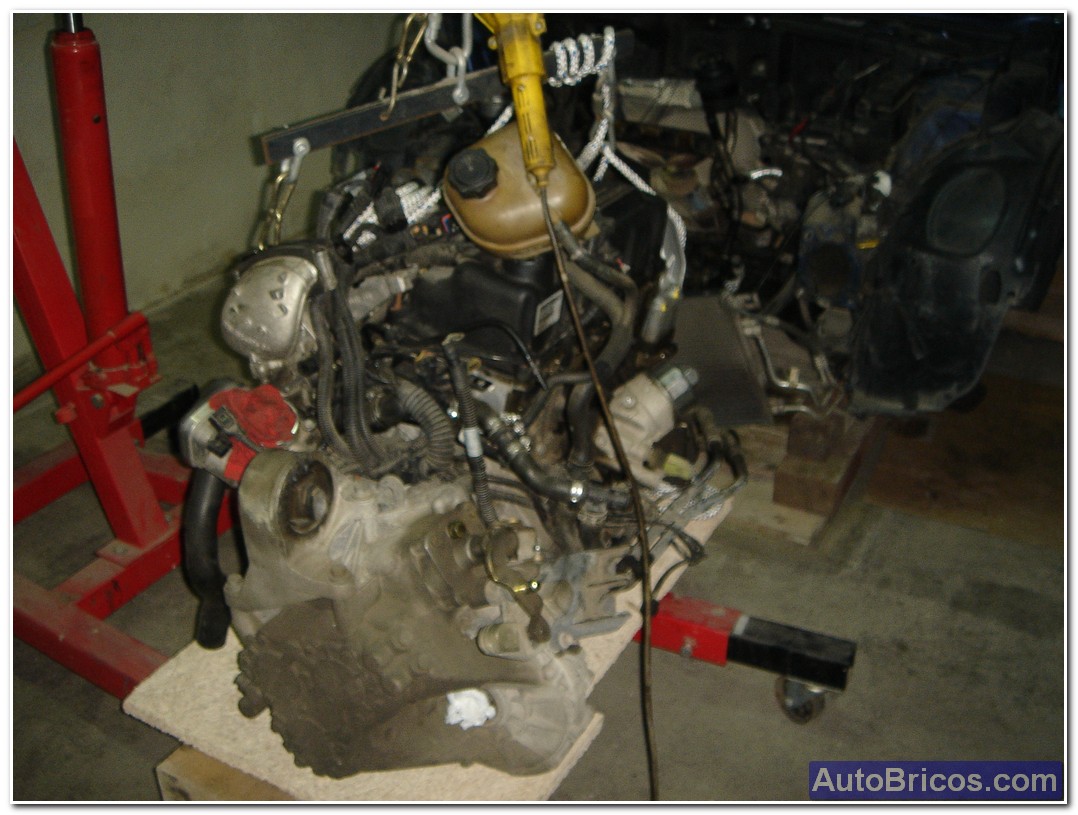
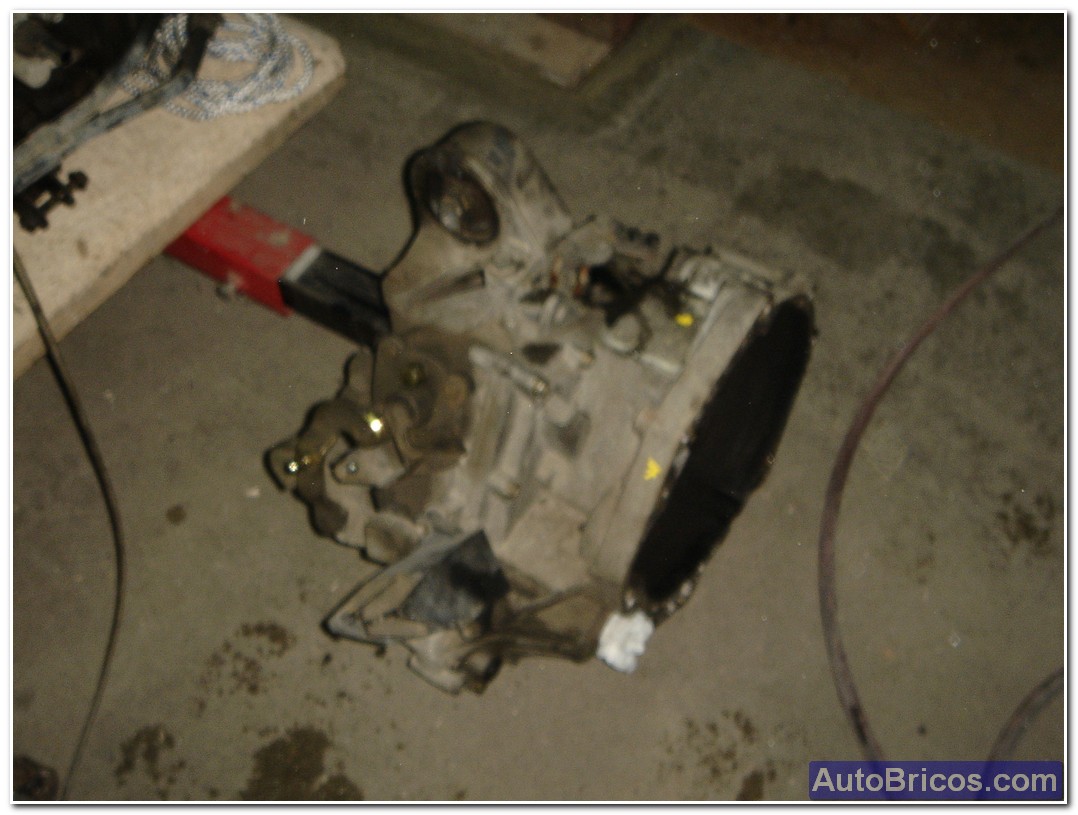
Here we have an overview of the motor-change. Positioning the assembly should be such that when detached the change, the engine is completely stable and does not expire. We can rest on the oil pan if we are careful to lift it a few inches so it will not break the anchor clutch slave piston (which is at the bottom of the clutch. Ultimately, leave the area of change the air so we can remove it freely.
 |
 |
 |
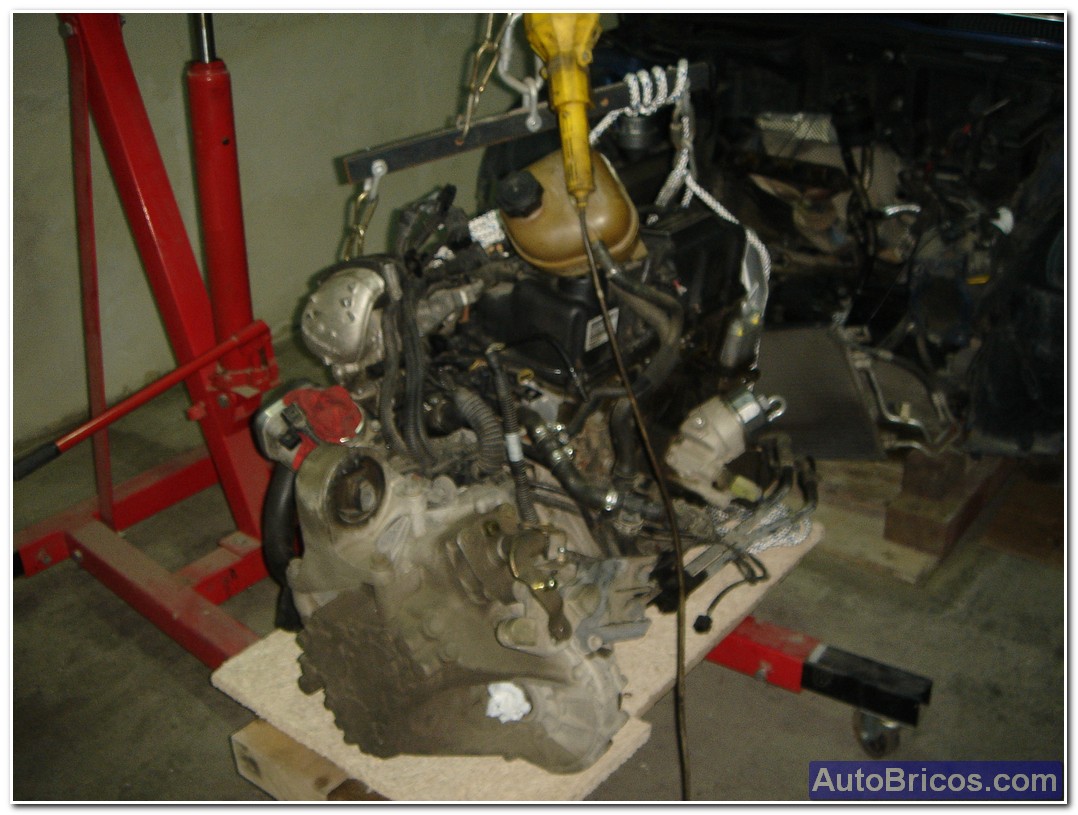
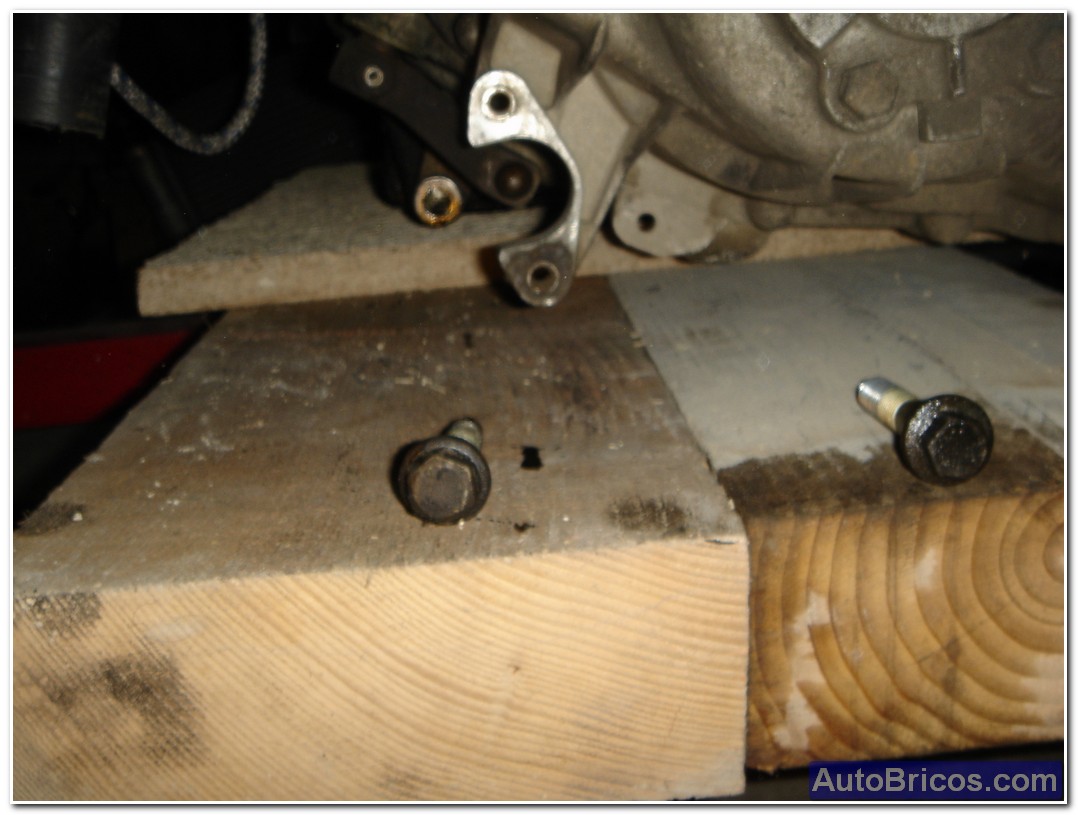
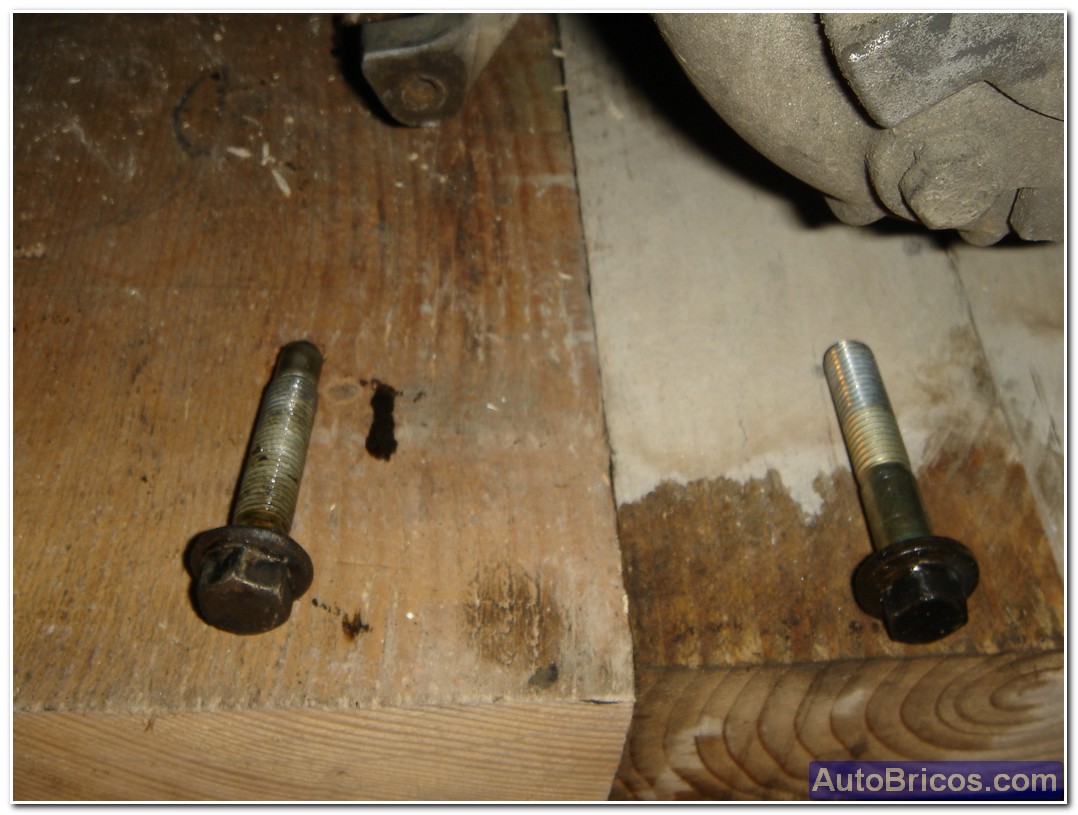
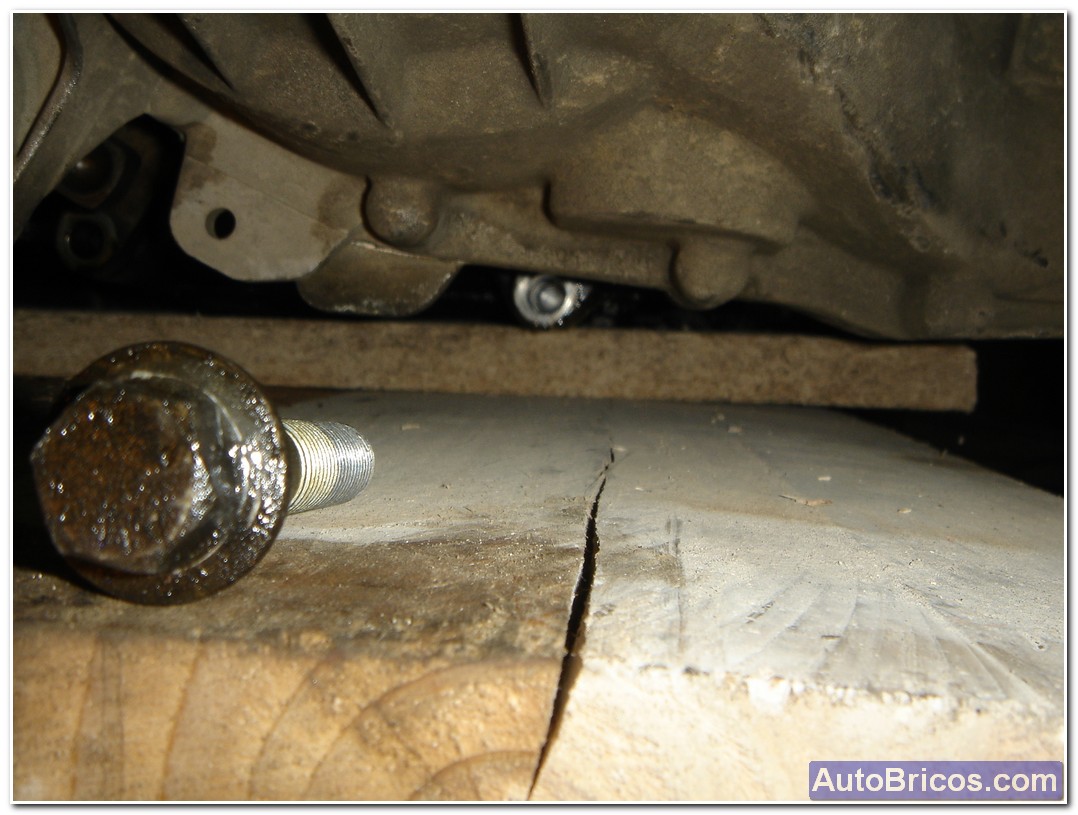
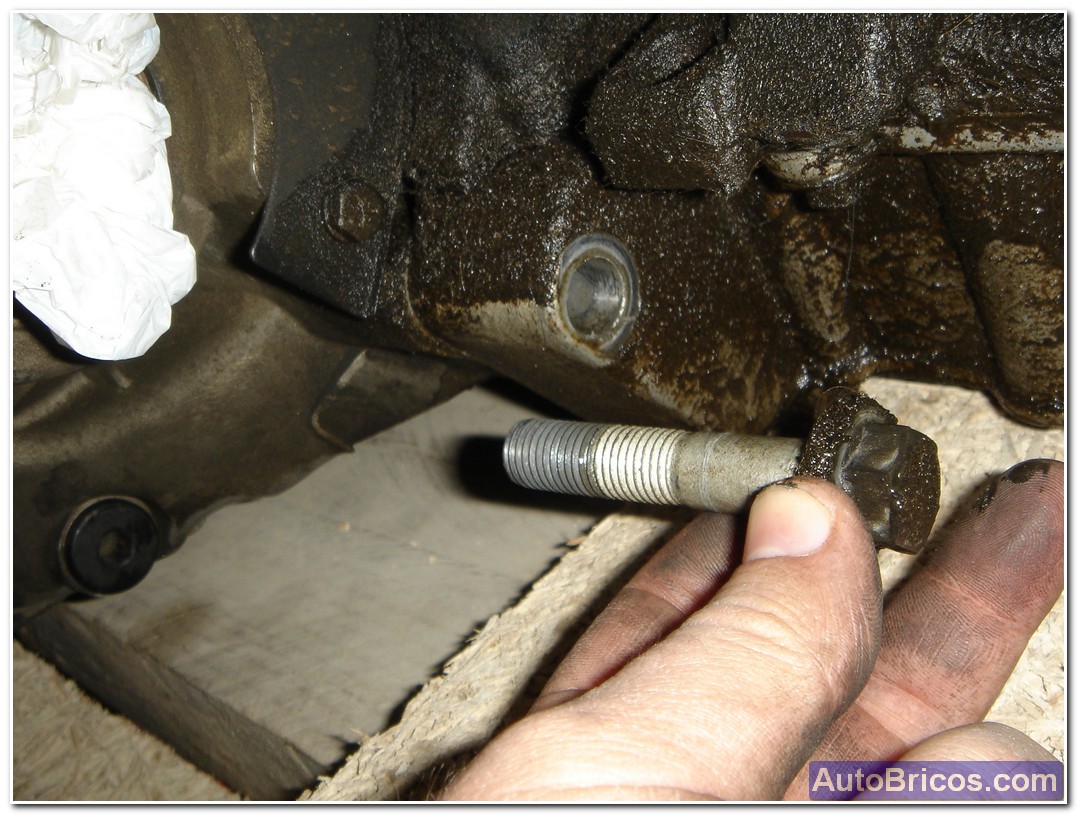
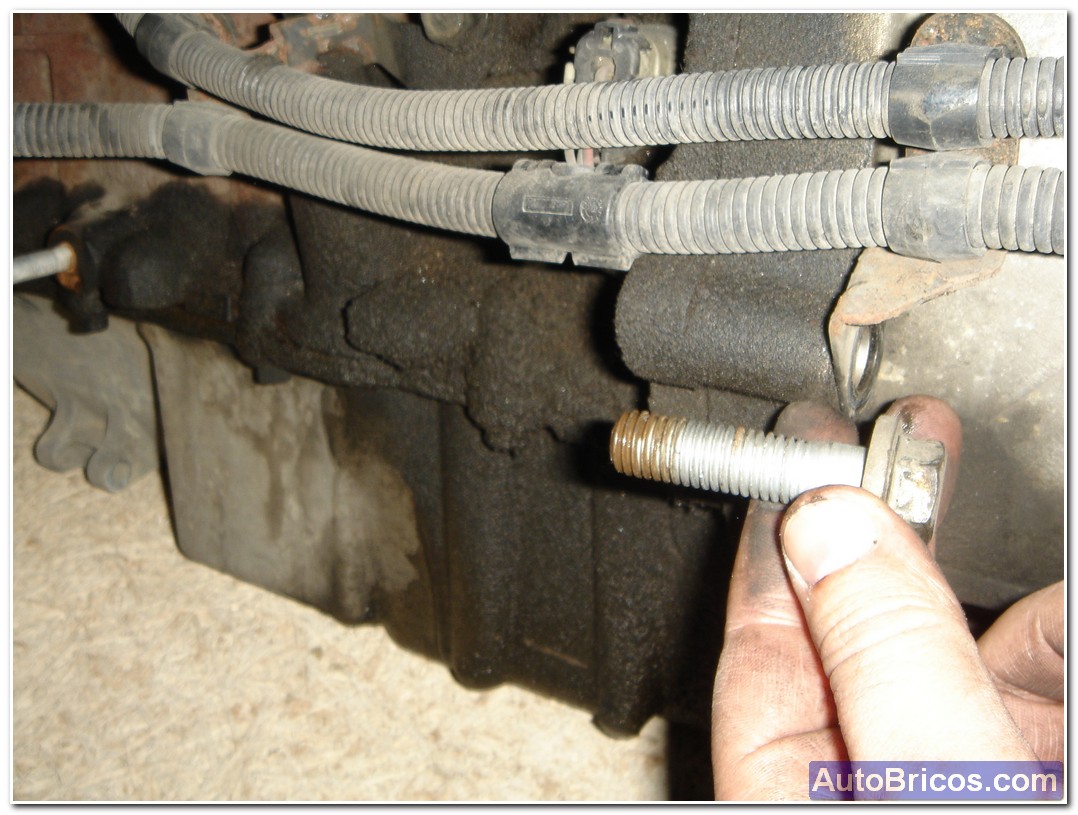
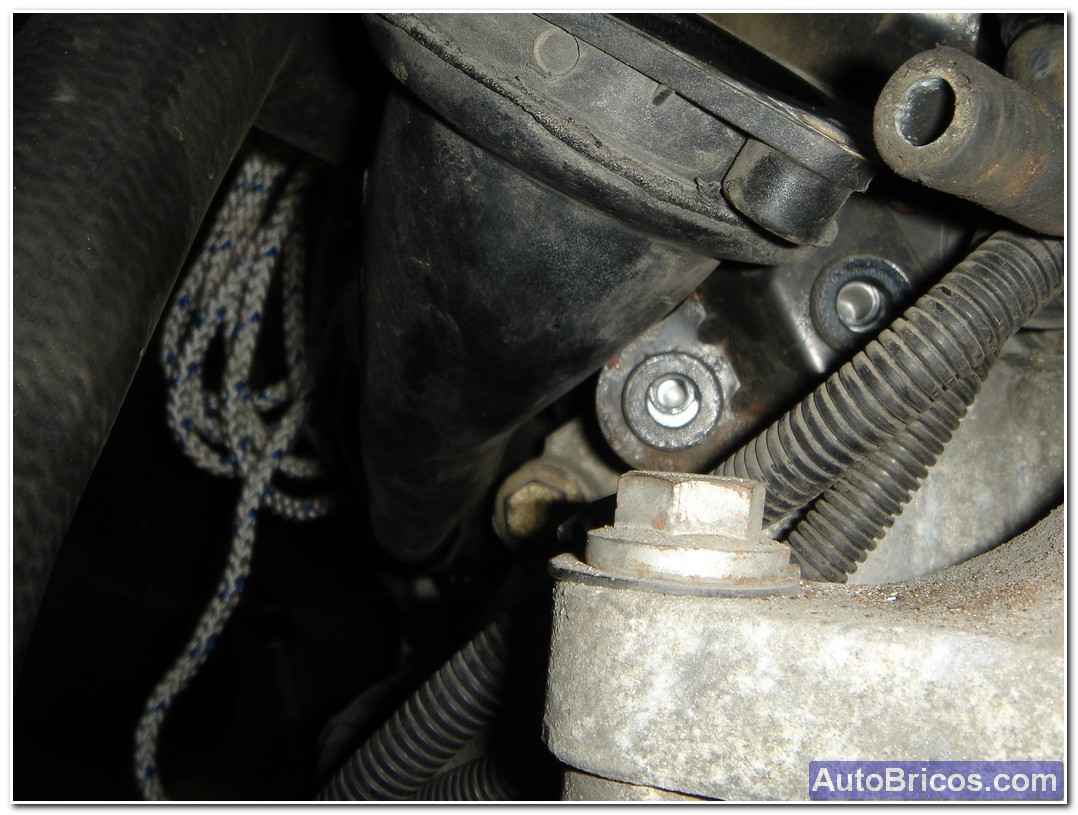
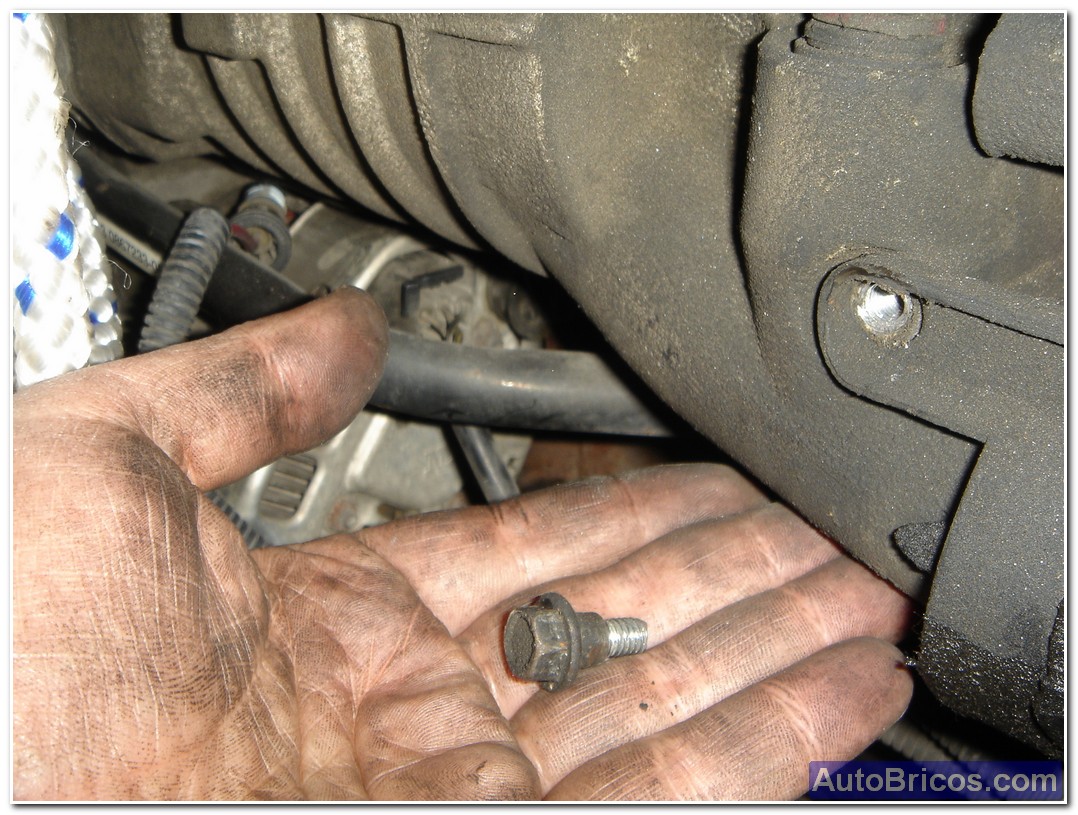
For now we can remove the lower hex screws that are visible. We will look if there is a different screw so we know where we put it later. In the next picture you can see the anchor of 'clutch slave cylinder, you can see which projects below, so we have raised a few inches from the zonadel engine crankcase, not to break this attachment of the cylinder.
 |
 |
 |
 |
 |
 |
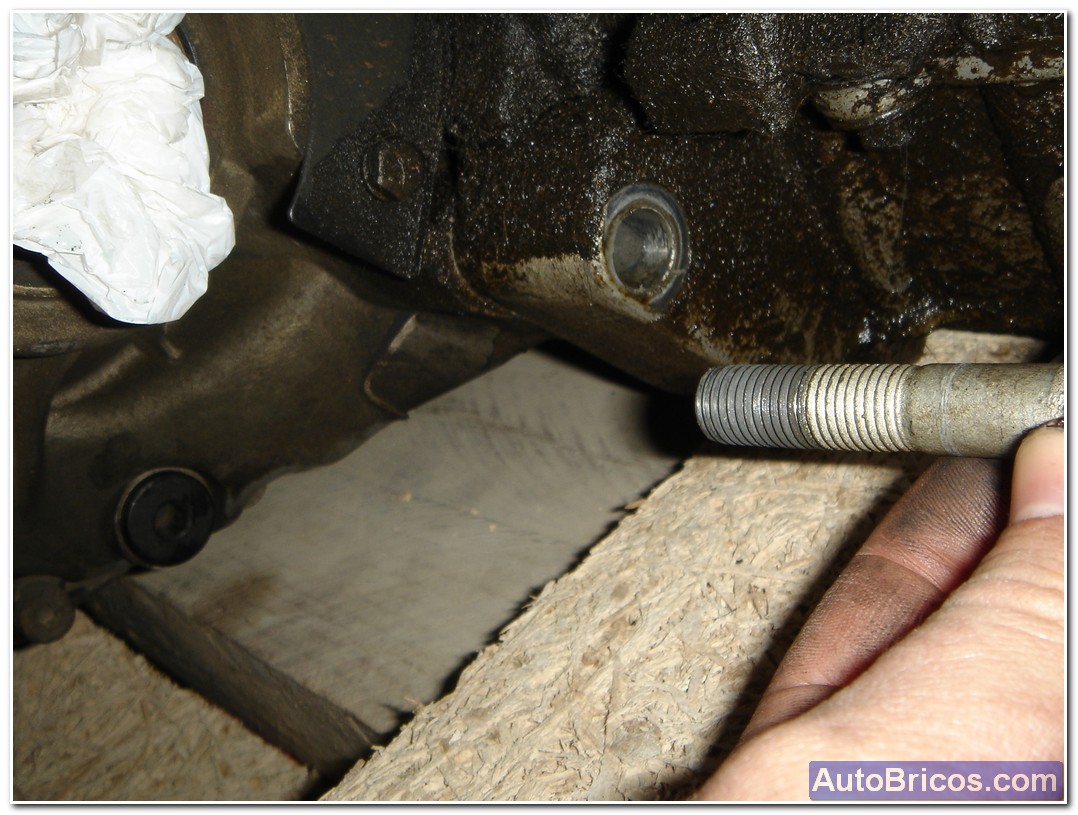
Also will remove the starter motor, which is attached by two hex screws, In the picture you can see the flywheel teeth of DMF. We must also disconnect the electrical wires starter (ring terminals that are fastened with nuts).
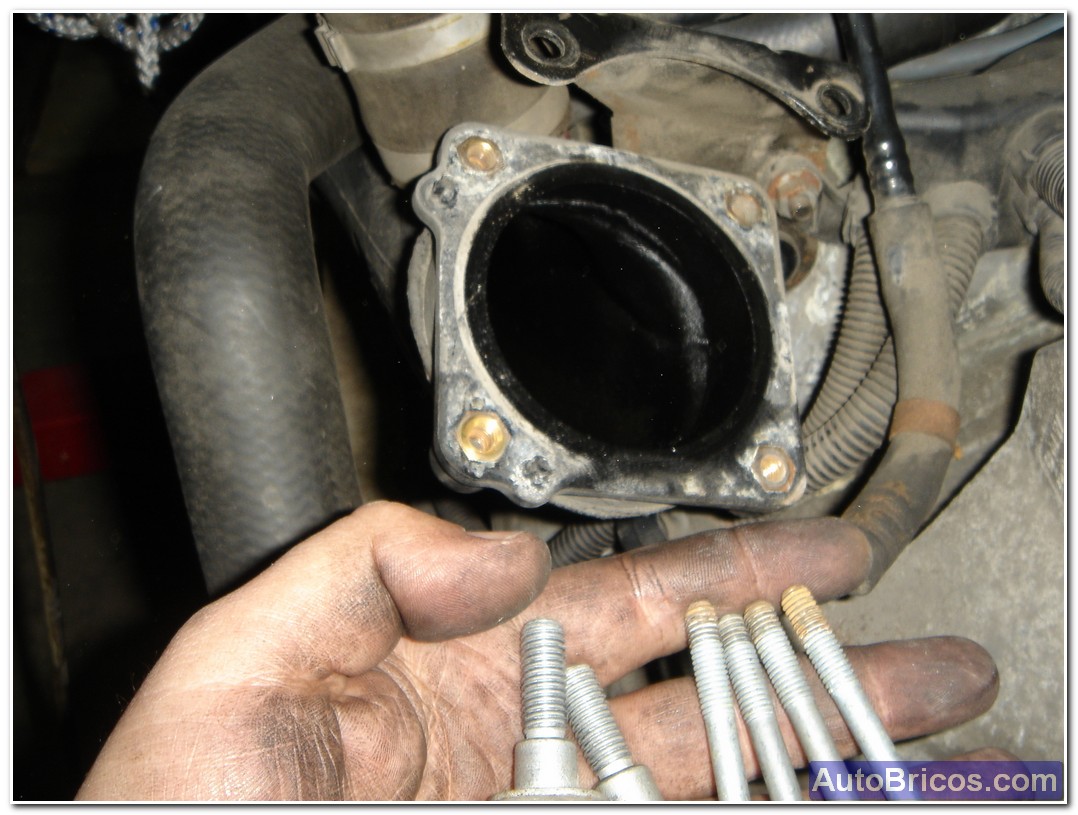
At this point, clear the area plays greater to remove the screws that hold the box in the upper region. I pulled the wing box intake. They are the 4 top screws and the 2 bottom that hold the metal plate.
 |
 |
 |
There is only hoses away wires to a site that does not bother disconnecting the connectors and through which we remembered each hose. In my case pushed the wiring harness to the compressor area to clear the area of the upper anchor bolt bell change. Initially I got a screw in the photo next to the compressor because I thought it would take out the plastic nozzle exiting the compressor, but it was not so, so that it would not take him out.
 |
 |
 |
 |
 |
 |
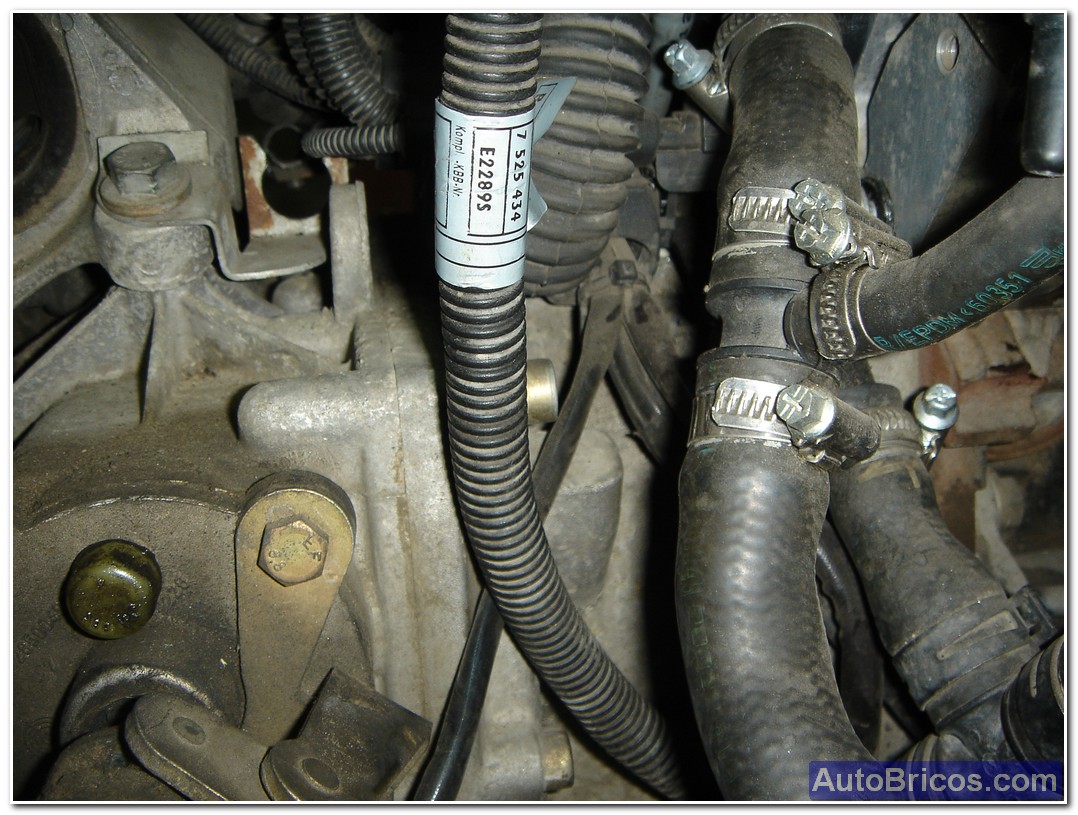
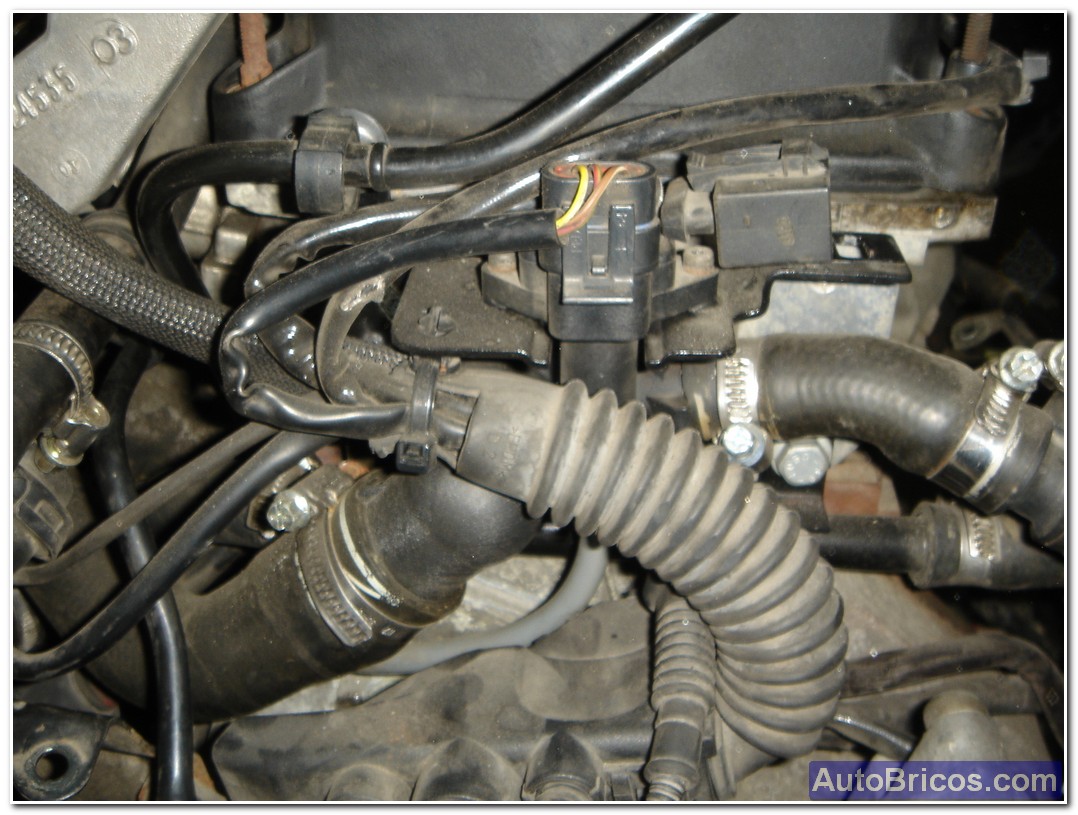
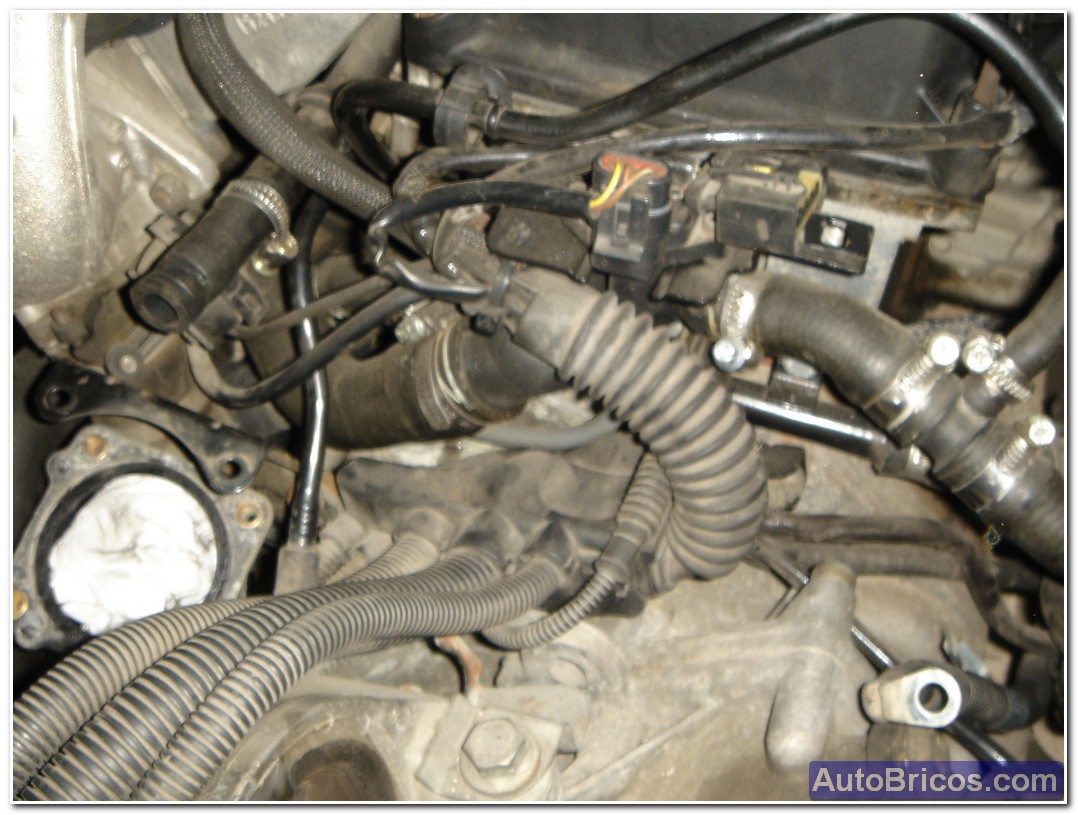
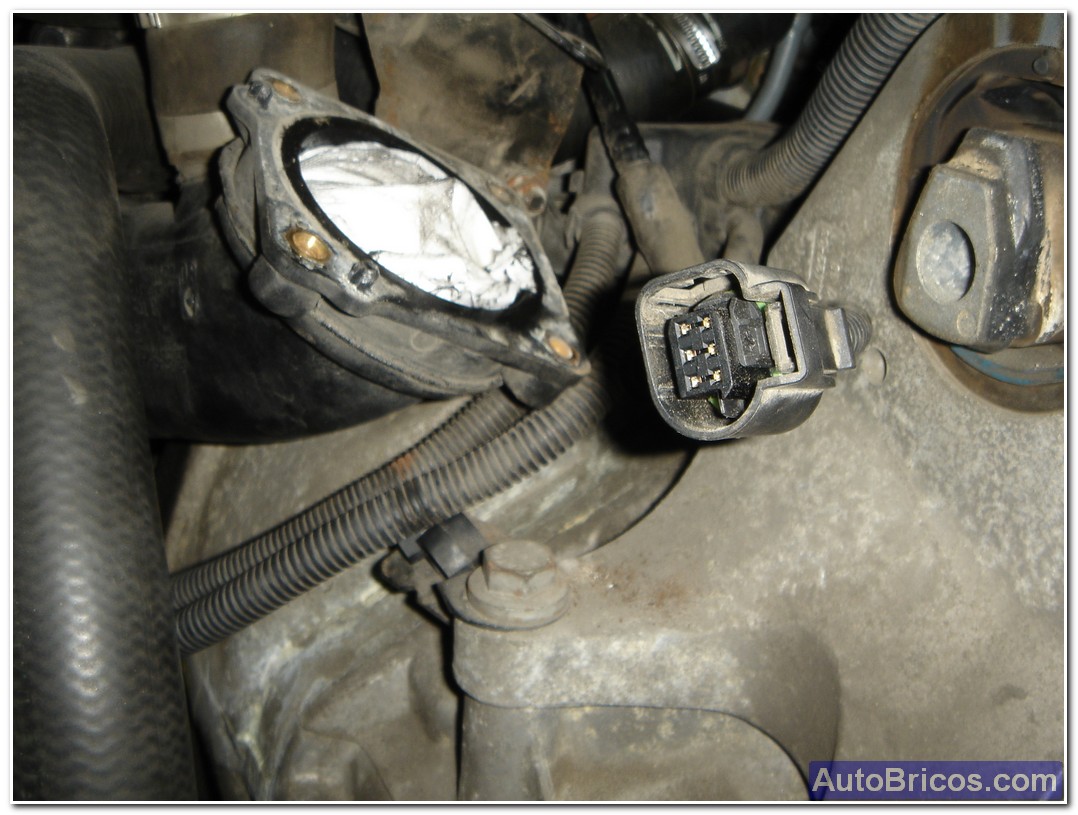
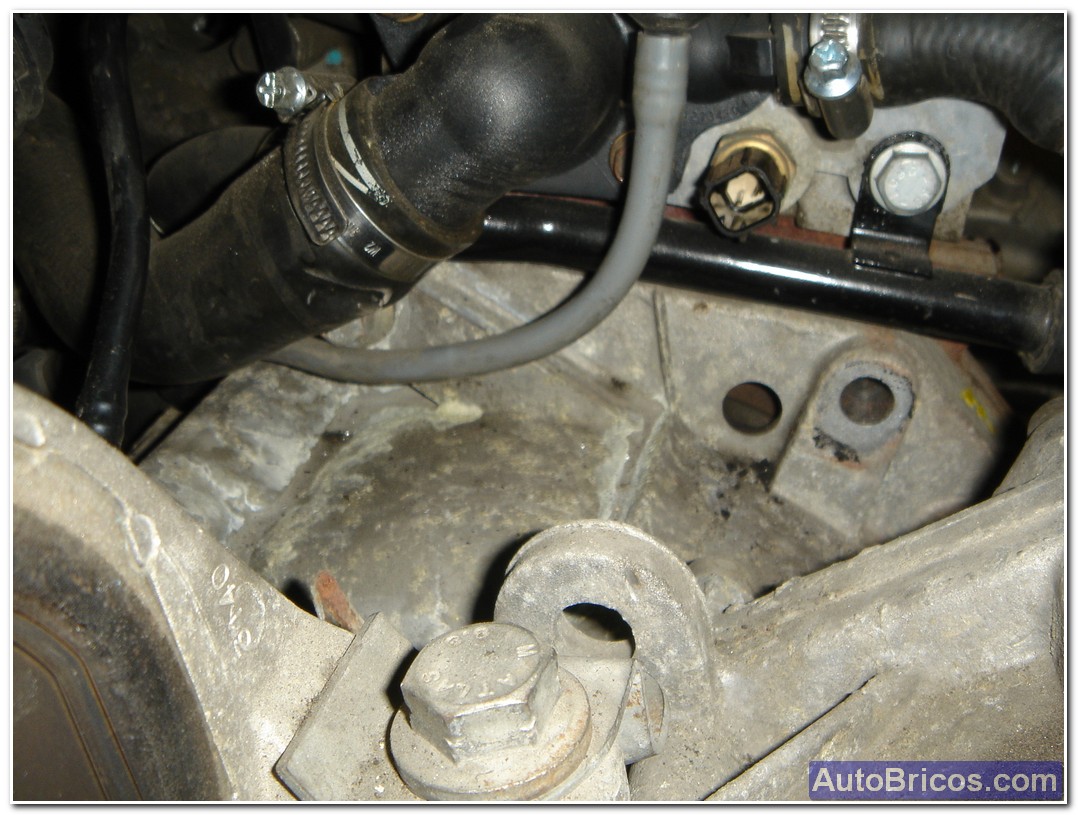
We finally got to the top of the bell of change remains clear, and proceed to remove the screws that remain to take. No need to remove the black metal pipe as you can see in the photos. The element that's right next to the metal conduit and has a 2-pin connector is a coolant temperature sensor, it is interesting to know where it is located. By the way, the metal conduit that is seen in the photo has a trap, it is also interesting to know where it is located.
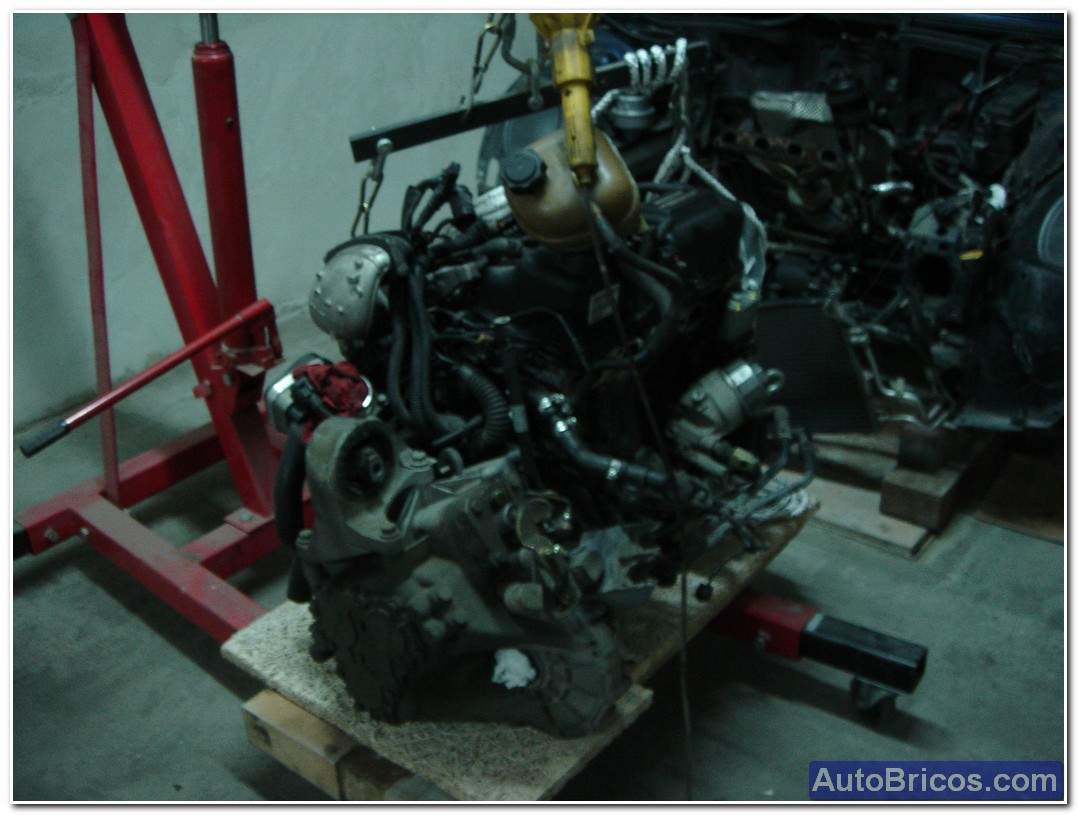
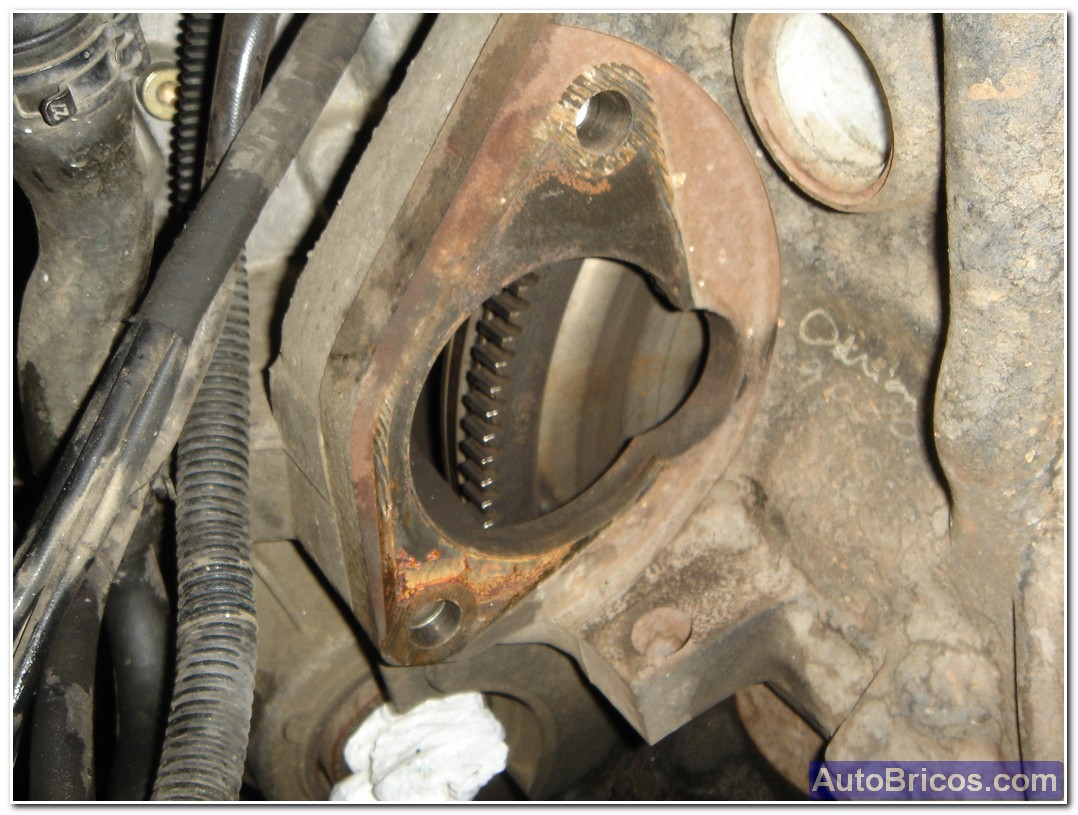
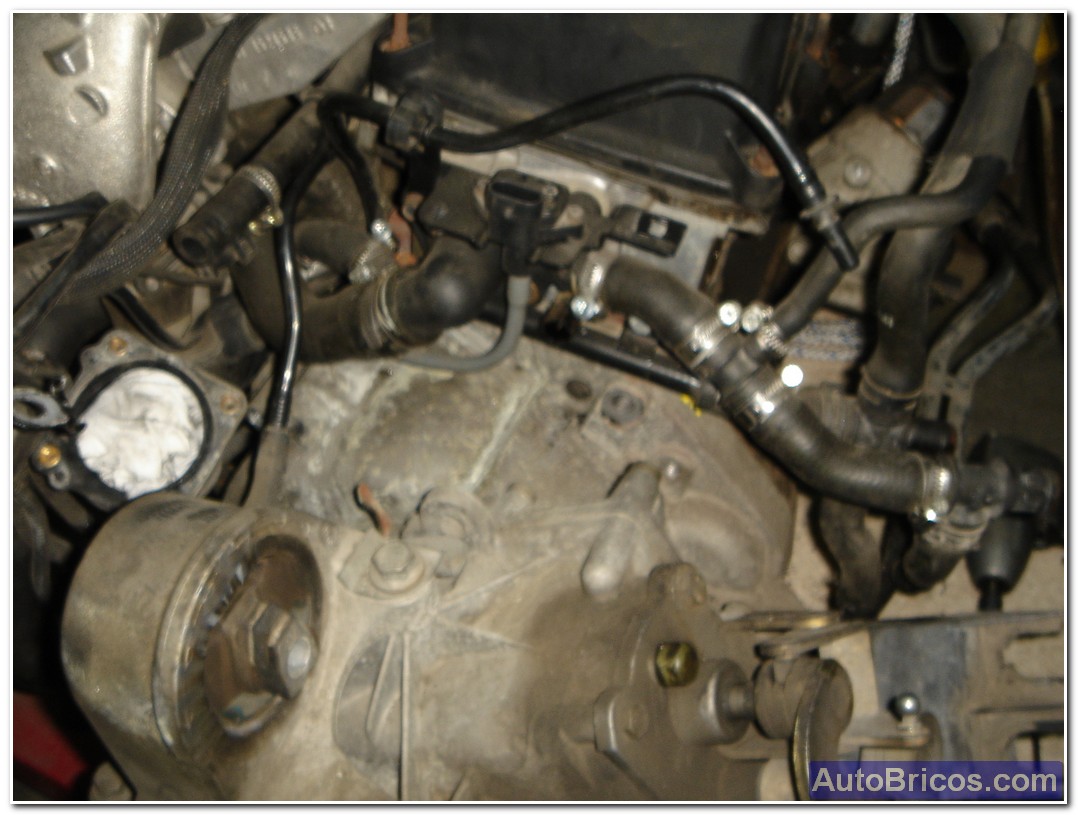
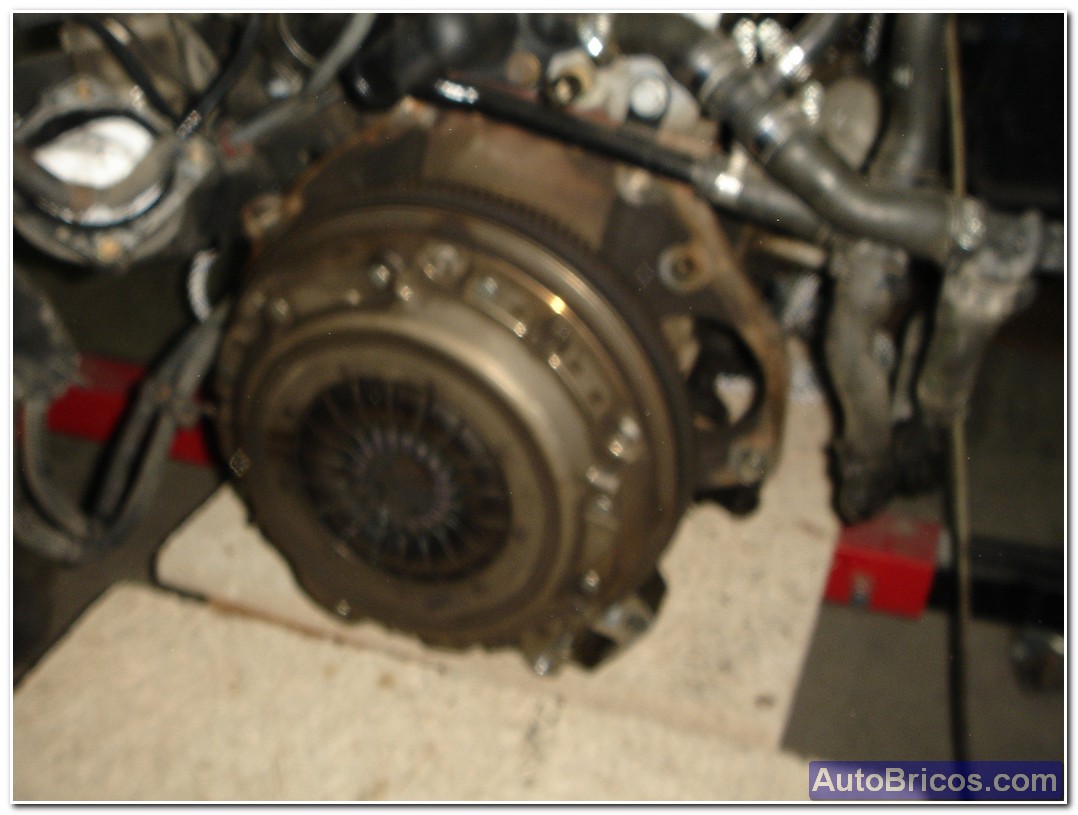
Finally, once we removed the screws and carefully remove the gearbox, is heavy, so maybe you will also aid when both remove and reposition when. As can be seen, are at last exposed the Drivetrain-DMF, which in my case is what I want to repair.
 |
 |
| Tweet |